Step-by-Step Guide to Installing Fiberglass Fence Posts
Installing fiberglass fence posts can be a rewarding do-it-yourself project, enhancing the aesthetics and security of your property. Fiberglass posts are highly durable, weather-resistant, and require minimal maintenance, making them an excellent choice for fencing. In this guide, we will walk you through each step of the installation process.
Step 1 Gather Your Materials
Before starting your project, it is essential to gather all the necessary materials and tools. You will need
- Fiberglass fence posts (length depending on your fence design) - Concrete mix (if applicable) - Gravel or sand - Measuring tape - Level - Post hole digger or auger - Shovel and trowel - String line and stakes - Safety gear (gloves, goggles)
Step 2 Plan Your Fence Layout
Begin by planning the layout of your fence. Use stakes and a string line to mark where the posts will be placed. Ensure that the posts are evenly spaced, typically 6 to 8 feet apart, depending on your fence design. Take into account any gates and corners that may require additional posts.
Step 3 Dig Post Holes
Using the post hole digger or auger, excavate holes for your fiberglass posts. The depth of each hole should be approximately one-third the length of the post. For instance, if your posts are 8 feet tall, the holes should be around 2.5 to 3 feet deep. The width of the holes should be about three times the width of the post to provide sufficient support.
Step 4 Prepare the Bottom of the Holes
After digging the holes, add a few inches of gravel or sand to the bottom of each hole. This layer promotes drainage and helps prevent moisture accumulation, which can lead to post deterioration over time. Level the gravel or sand to create a stable base for the posts.
step in fiberglass fence posts
Step 5 Insert Fiberglass Fence Posts
Carefully insert the fiberglass posts into the prepared holes. Ensure that each post is straight and aligned properly with the string line. Use a level to check that the posts are vertical. Adjust as necessary before proceeding to secure them in place.
Step 6 Secure the Posts
To secure the fiberglass posts, fill the holes with concrete mix (if required) or additional gravel/sand. If using concrete, follow the manufacturer's instructions for mixing and pouring. Ensure that the mix surrounds the post completely and is well-compacted. Allow the concrete to cure for the recommended time, typically 24 to 48 hours.
Step 7 Attach Fencing Material
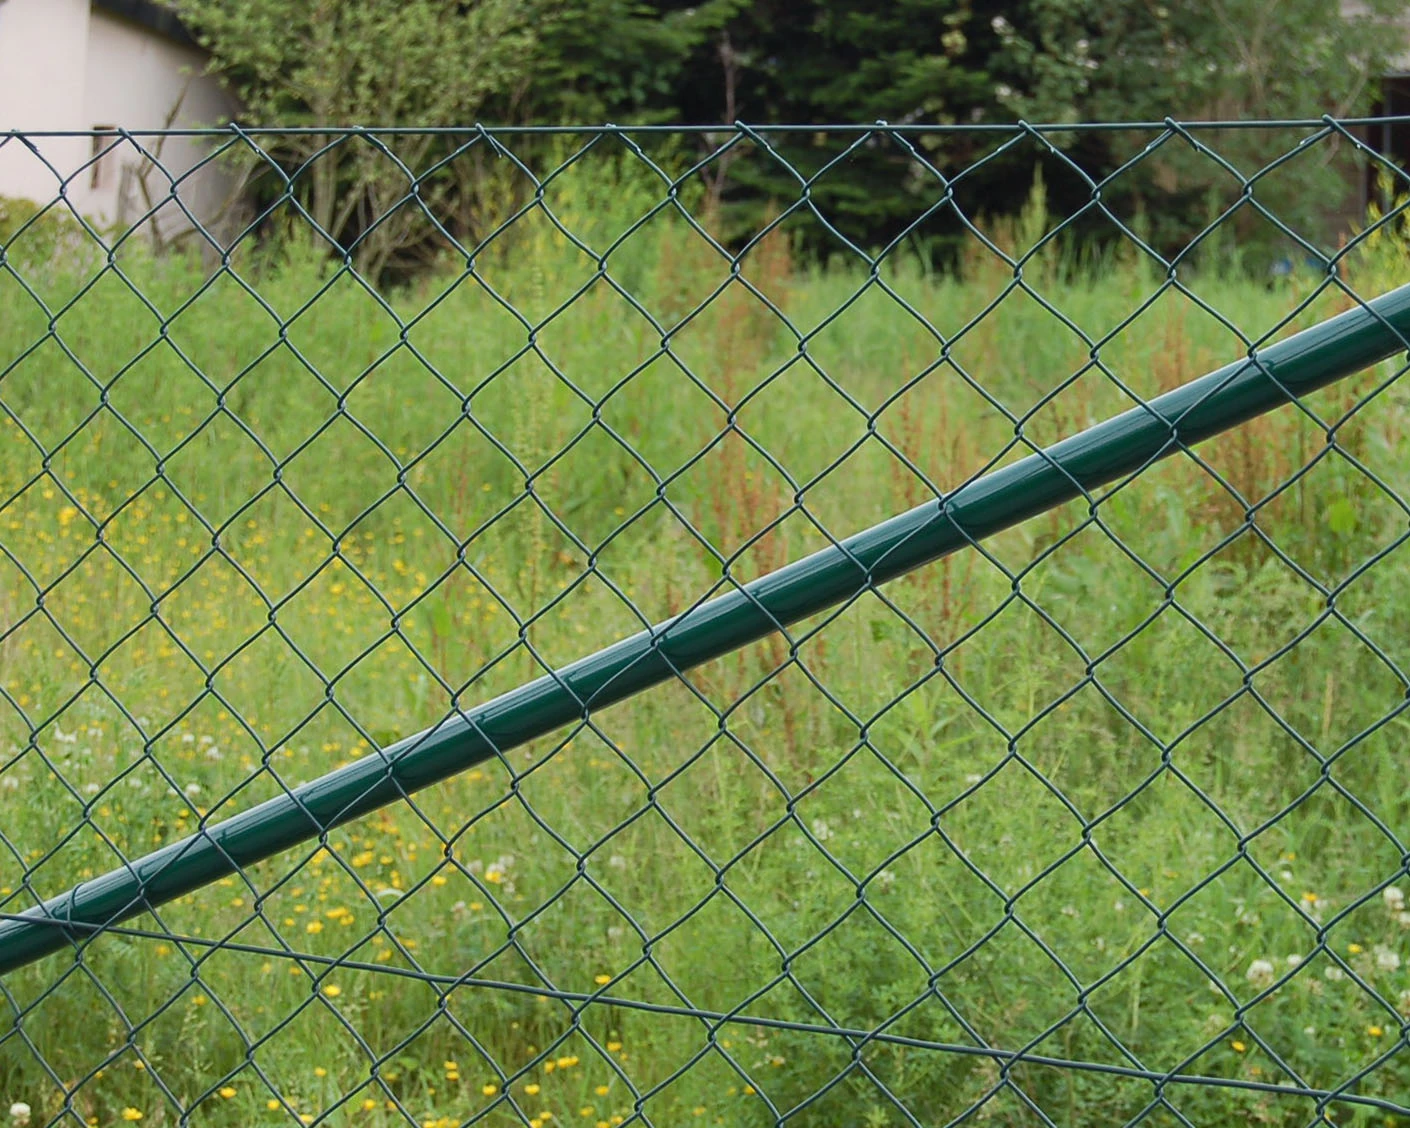
Once your fiberglass posts are secure, you can begin attaching your chosen fencing material. Whether it's vinyl, wood, or chain link, follow the specific instructions for the material you're using. Ensure that each panel is level and securely fastened to the posts.
Step 8 Final Touches
After the fence panels are securely attached, you may want to add finishing touches, such as caps for the posts or any desired landscaping around the fence. This will not only enhance the appearance but also provide additional protection to the posts.
Conclusion
Installing fiberglass fence posts is a straightforward process that, when done correctly, can lead to a durable and attractive fencing solution. By following these steps, you can ensure a successful installation, creating an inviting and secure environment for your home or garden. Enjoy your new fence, and take pride in your handiwork!


