Silt Fencing Installation An Essential Practice for Erosion Control
Erosion is a natural process that can lead to significant environmental degradation, particularly in construction and landscaping projects. To mitigate the impact of soil erosion, one effective method is the installation of silt fencing. This article outlines the purpose, materials, installation process, and maintenance of silt fencing, ensuring that you are equipped with the knowledge to implement this essential erosion control practice.
What is Silt Fencing?
Silt fencing is a temporary sediment control barrier that is commonly used in construction sites, landscaping, and various outdoor projects to intercept sediment-laden water. Made from a permeable fabric placed between wooden or metal stakes, silt fences are designed to filter out sediments while allowing water to pass through, thus reducing the amount of soil that washes away during heavy rainfall or construction activities.
Materials Needed for Installation
To install a silt fence, you will need the following materials
1. Silt Fence Fabric The fabric should be made from synthetic materials such as polypropylene or polyester, designed to withstand ultraviolet (UV) rays and resist deterioration.
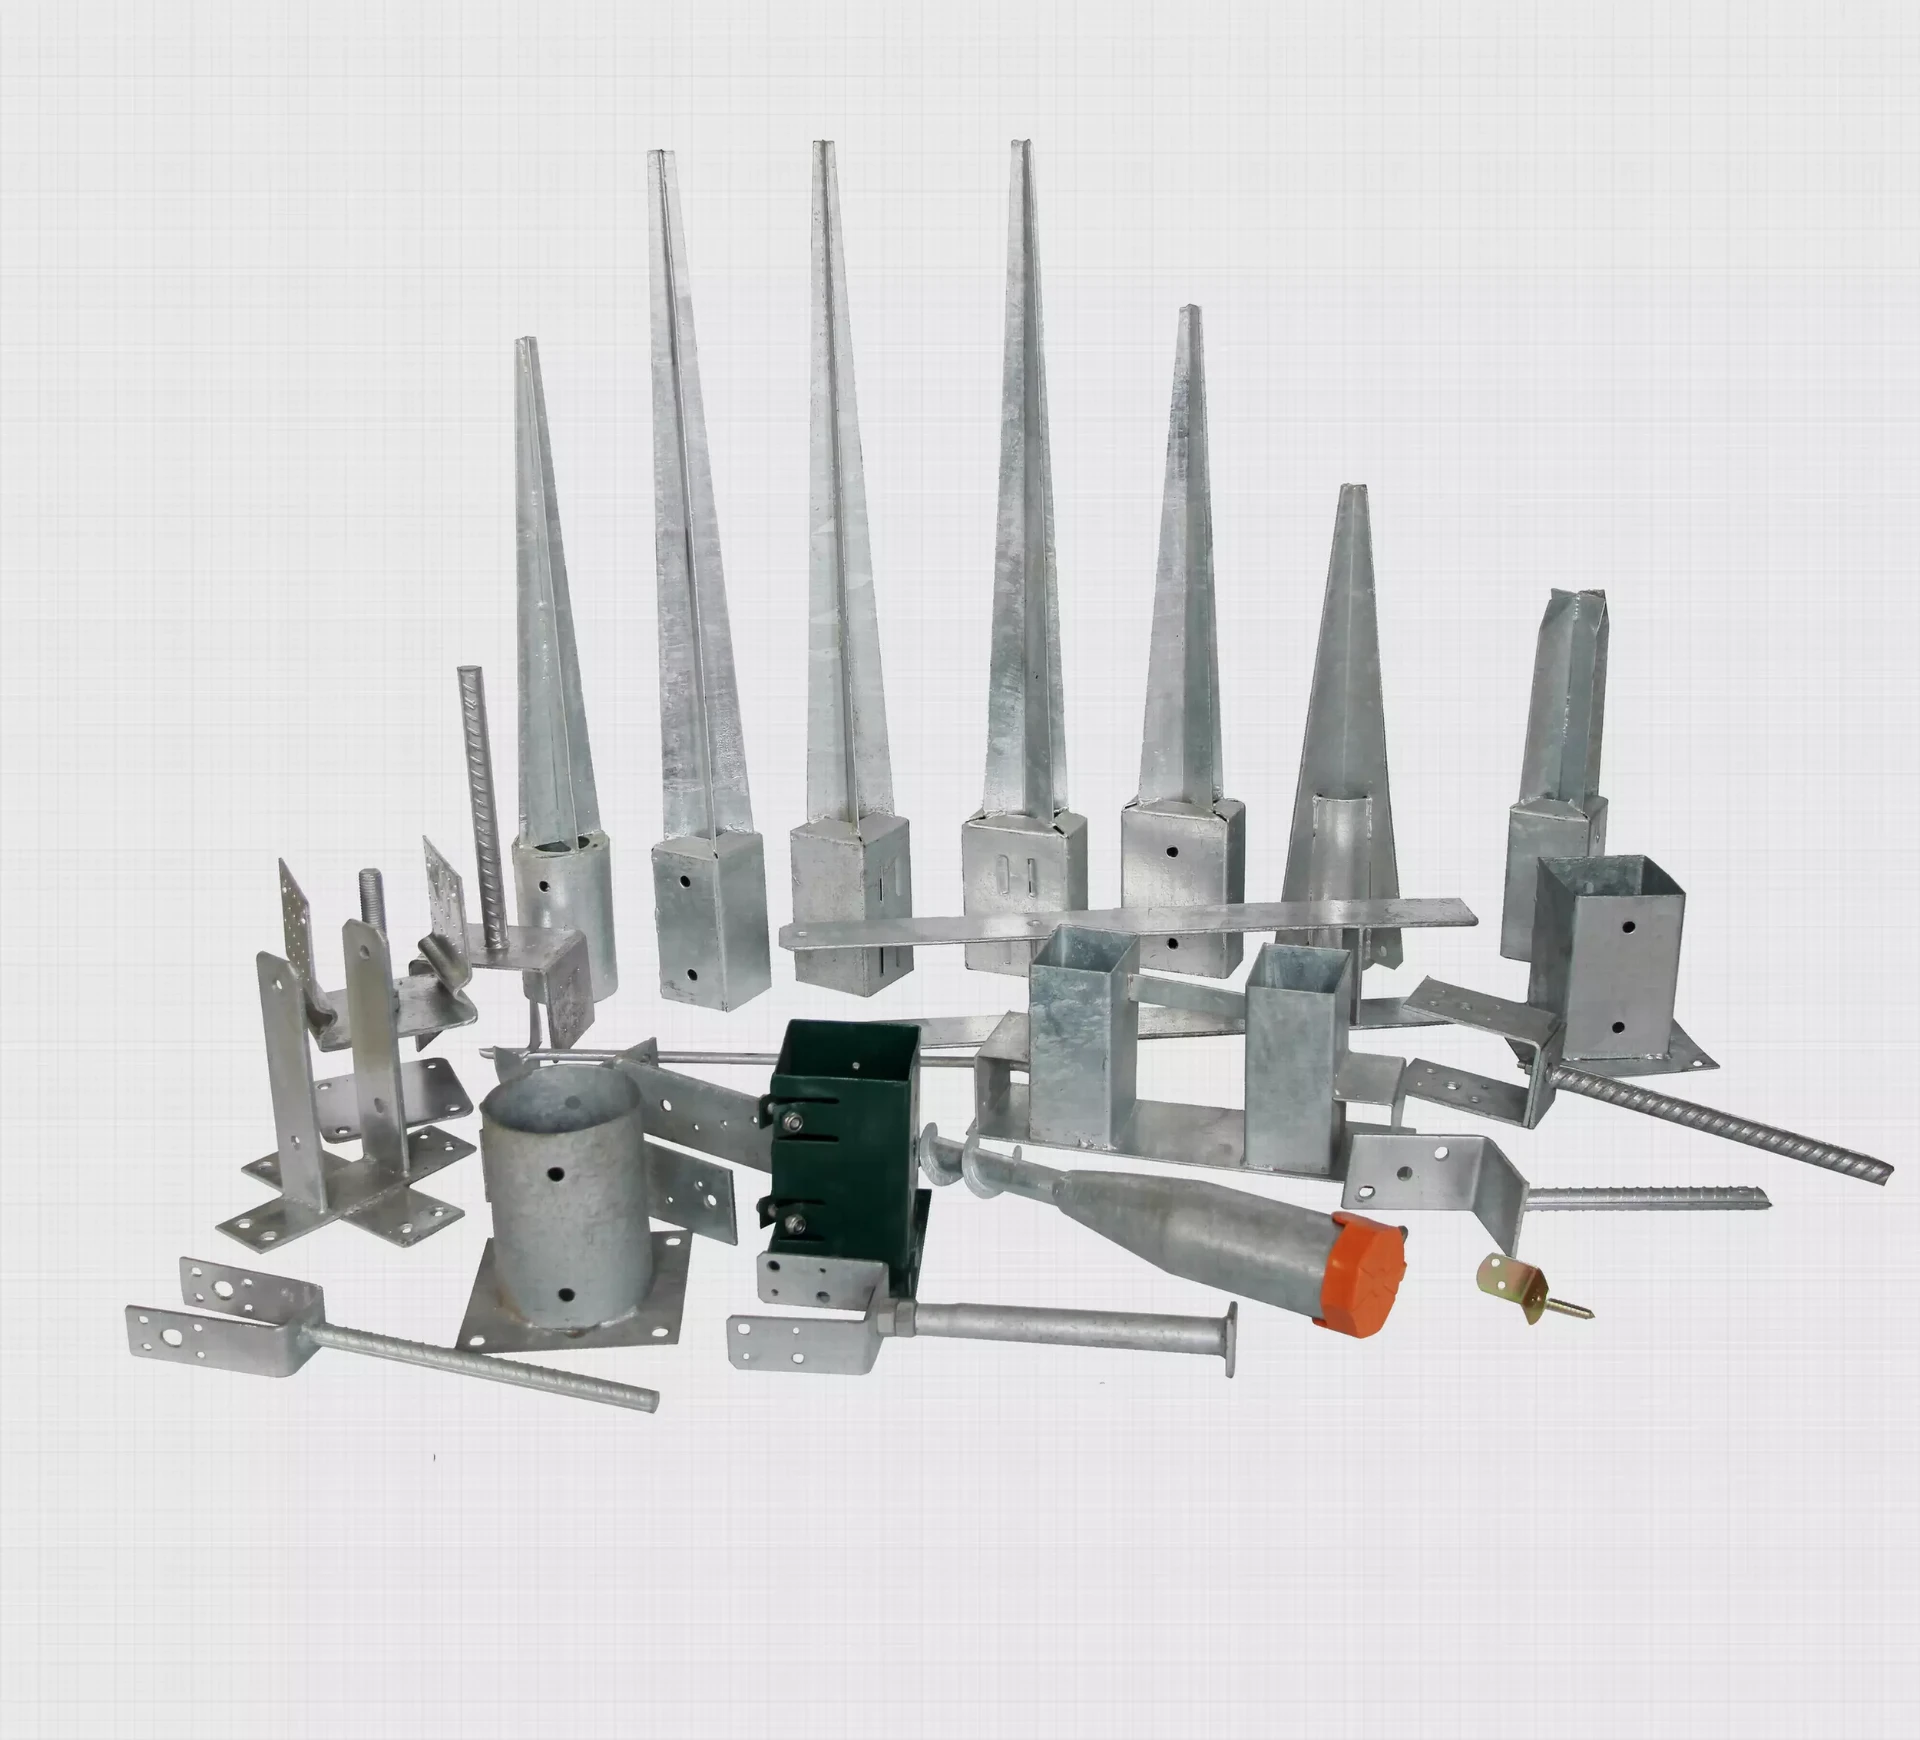
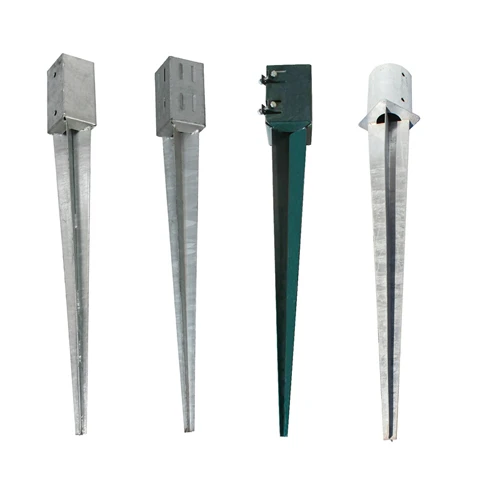
2. Support Stakes Wooden or metal stakes are needed to secure the fabric in place. Stakes should be at least 2-3 inches thick and long enough to be driven into the ground a sufficient depth.
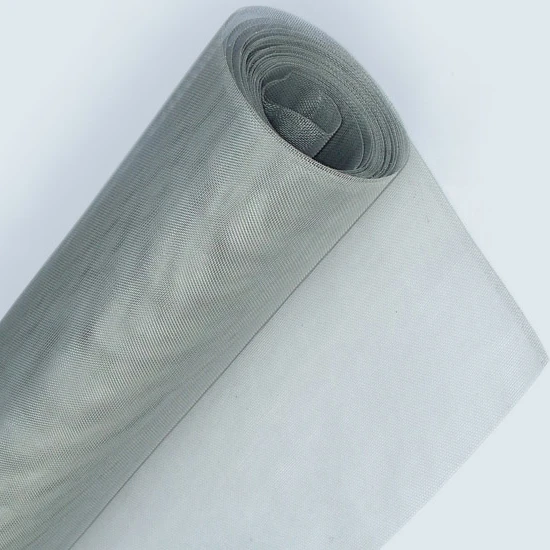
3. Wire Mesh (Optional) In some cases, adding wire mesh can provide additional reinforcement to the silt fence, especially in areas prone to strong winds or heavy rainfall.
Installation Process
silt fencing installation
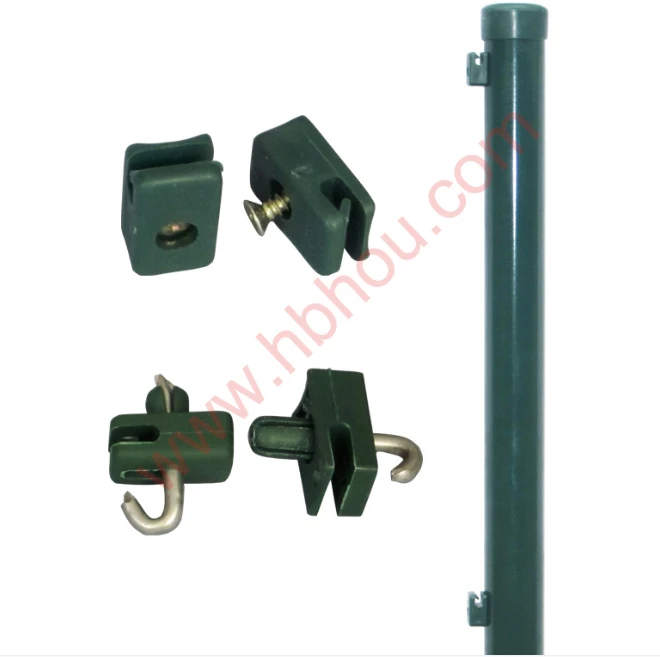
Installing a silt fence involves several steps to ensure it functions effectively
1. Site Preparation Identify the areas where sediment control is needed. The silt fence should be placed along the perimeter of the construction site or around areas where soil disturbance is planned. It's crucial to ensure that the area is free of debris and that the ground is relatively level.
2. Determining the Location The fence should be installed along the contour of the land, making sure to follow the natural flow of water. It should be positioned in a way that captures any sediment-laden runoff.
3. Setting Stakes Drive the stakes into the ground at intervals of 6 to 10 feet apart. The stakes should be driven deep enough to ensure stability, typically at least 1 foot into the ground.
4. Attaching the Fabric Unroll the silt fence fabric and attach it to the supports. The bottom of the fabric should be buried at least 6 inches into the soil to prevent water from flowing beneath the barrier. Secure the top edge of the fabric to the stakes using wire ties, staples, or hog rings.
5. Creating a Trench Dig a small trench at the base of the silt fence to assist in capturing sediment. This trench can enhance the effectiveness of the fence and prolong its lifespan.
6. Final Inspection After installation, inspect the silt fence to ensure that it is secure, properly anchored, and free from any tears or holes that could compromise its function.
Maintenance of Silt Fencing
Regular maintenance is key to ensuring the longevity and effectiveness of silt fencing. Inspect the fence periodically, especially after heavy rainfall, to check for sediment buildup and structural integrity. If the fabric becomes clogged with sediment, it may need to be removed, cleaned, or replaced. Any damages to the fence should be repaired promptly to maintain its protective function.
Conclusion
The installation of silt fencing is a straightforward yet highly effective method of controlling soil erosion and protecting the environment during construction and landscaping activities. By understanding the materials, installation process, and maintenance required, individuals and organizations can significantly mitigate the impacts of erosion, contributing to a healthier ecosystem. Whether you are a contractor, landscaper, or a homeowner, investing the time and effort into proper silt fence installation is a crucial step towards environmental stewardship.


