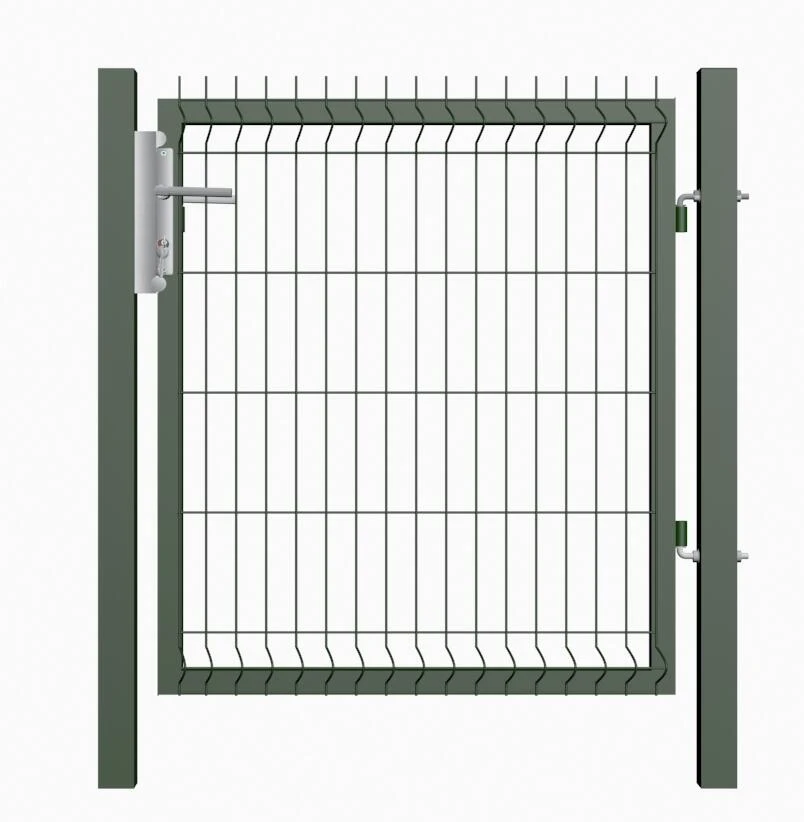
Setting Up a Snow Fence A Practical Guide
As winter approaches and snowfall becomes a common occurrence, property owners in snowy regions often face the challenge of managing snow accumulation around their homes and driveways. One effective solution is the installation of a snow fence. A snow fence helps control drifting snow, guide the accumulation to desired areas, and protect driveways and roads from excessive snow buildup. In this article, we'll discuss how to set up a snow fence effectively and the various considerations involved.
Understanding the Purpose of a Snow Fence
Before diving into the installation process, it's essential to understand why snow fences are beneficial. A snow fence acts as a barrier, redirecting wind and causing the snow to drop in a controlled area rather than piling up around your property. This can be particularly useful for protecting driveways, sidewalks, and entrances from being blocked by deep snow drifts.
Choosing the Right Location
The first step in setting up a snow fence is selecting the right location. Ideally, the fence should be placed upwind of areas you want to protect. The distance you place the fence from the area of concern can significantly affect its efficiency. A general rule of thumb is to position the fence about 30 feet away from the desired snow management areas. However, factors like wind direction, terrain, and surrounding structures can influence the exact placement.
Selecting the Proper Material
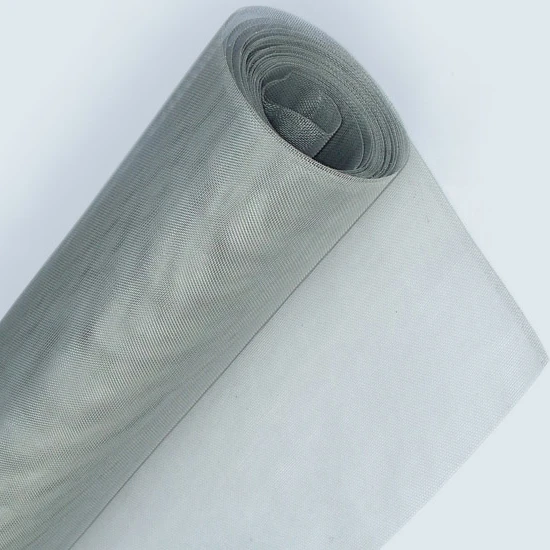
Snow fences can be made from various materials. The most common options include wooden slats, snow fence fabric, or plastic mesh. Wooden slats, typically spaced to allow some wind passage, are durable and effective for long-term use. On the other hand, snow fence fabric is easier to handle, lightweight, and provides good snow control without taking up too much space. Select a material based on your needs, budget, and aesthetic preferences.
Installation Steps
setting up snow fence

1. Prepare the Ground Clear the area where the snow fence will be installed. Remove any debris, rocks, or vegetation that could interfere with the fence's setup.
2. Mark the Fence Line Use stakes to mark where the fence will be placed. This helps ensure a straight line and that the fence is properly aligned.
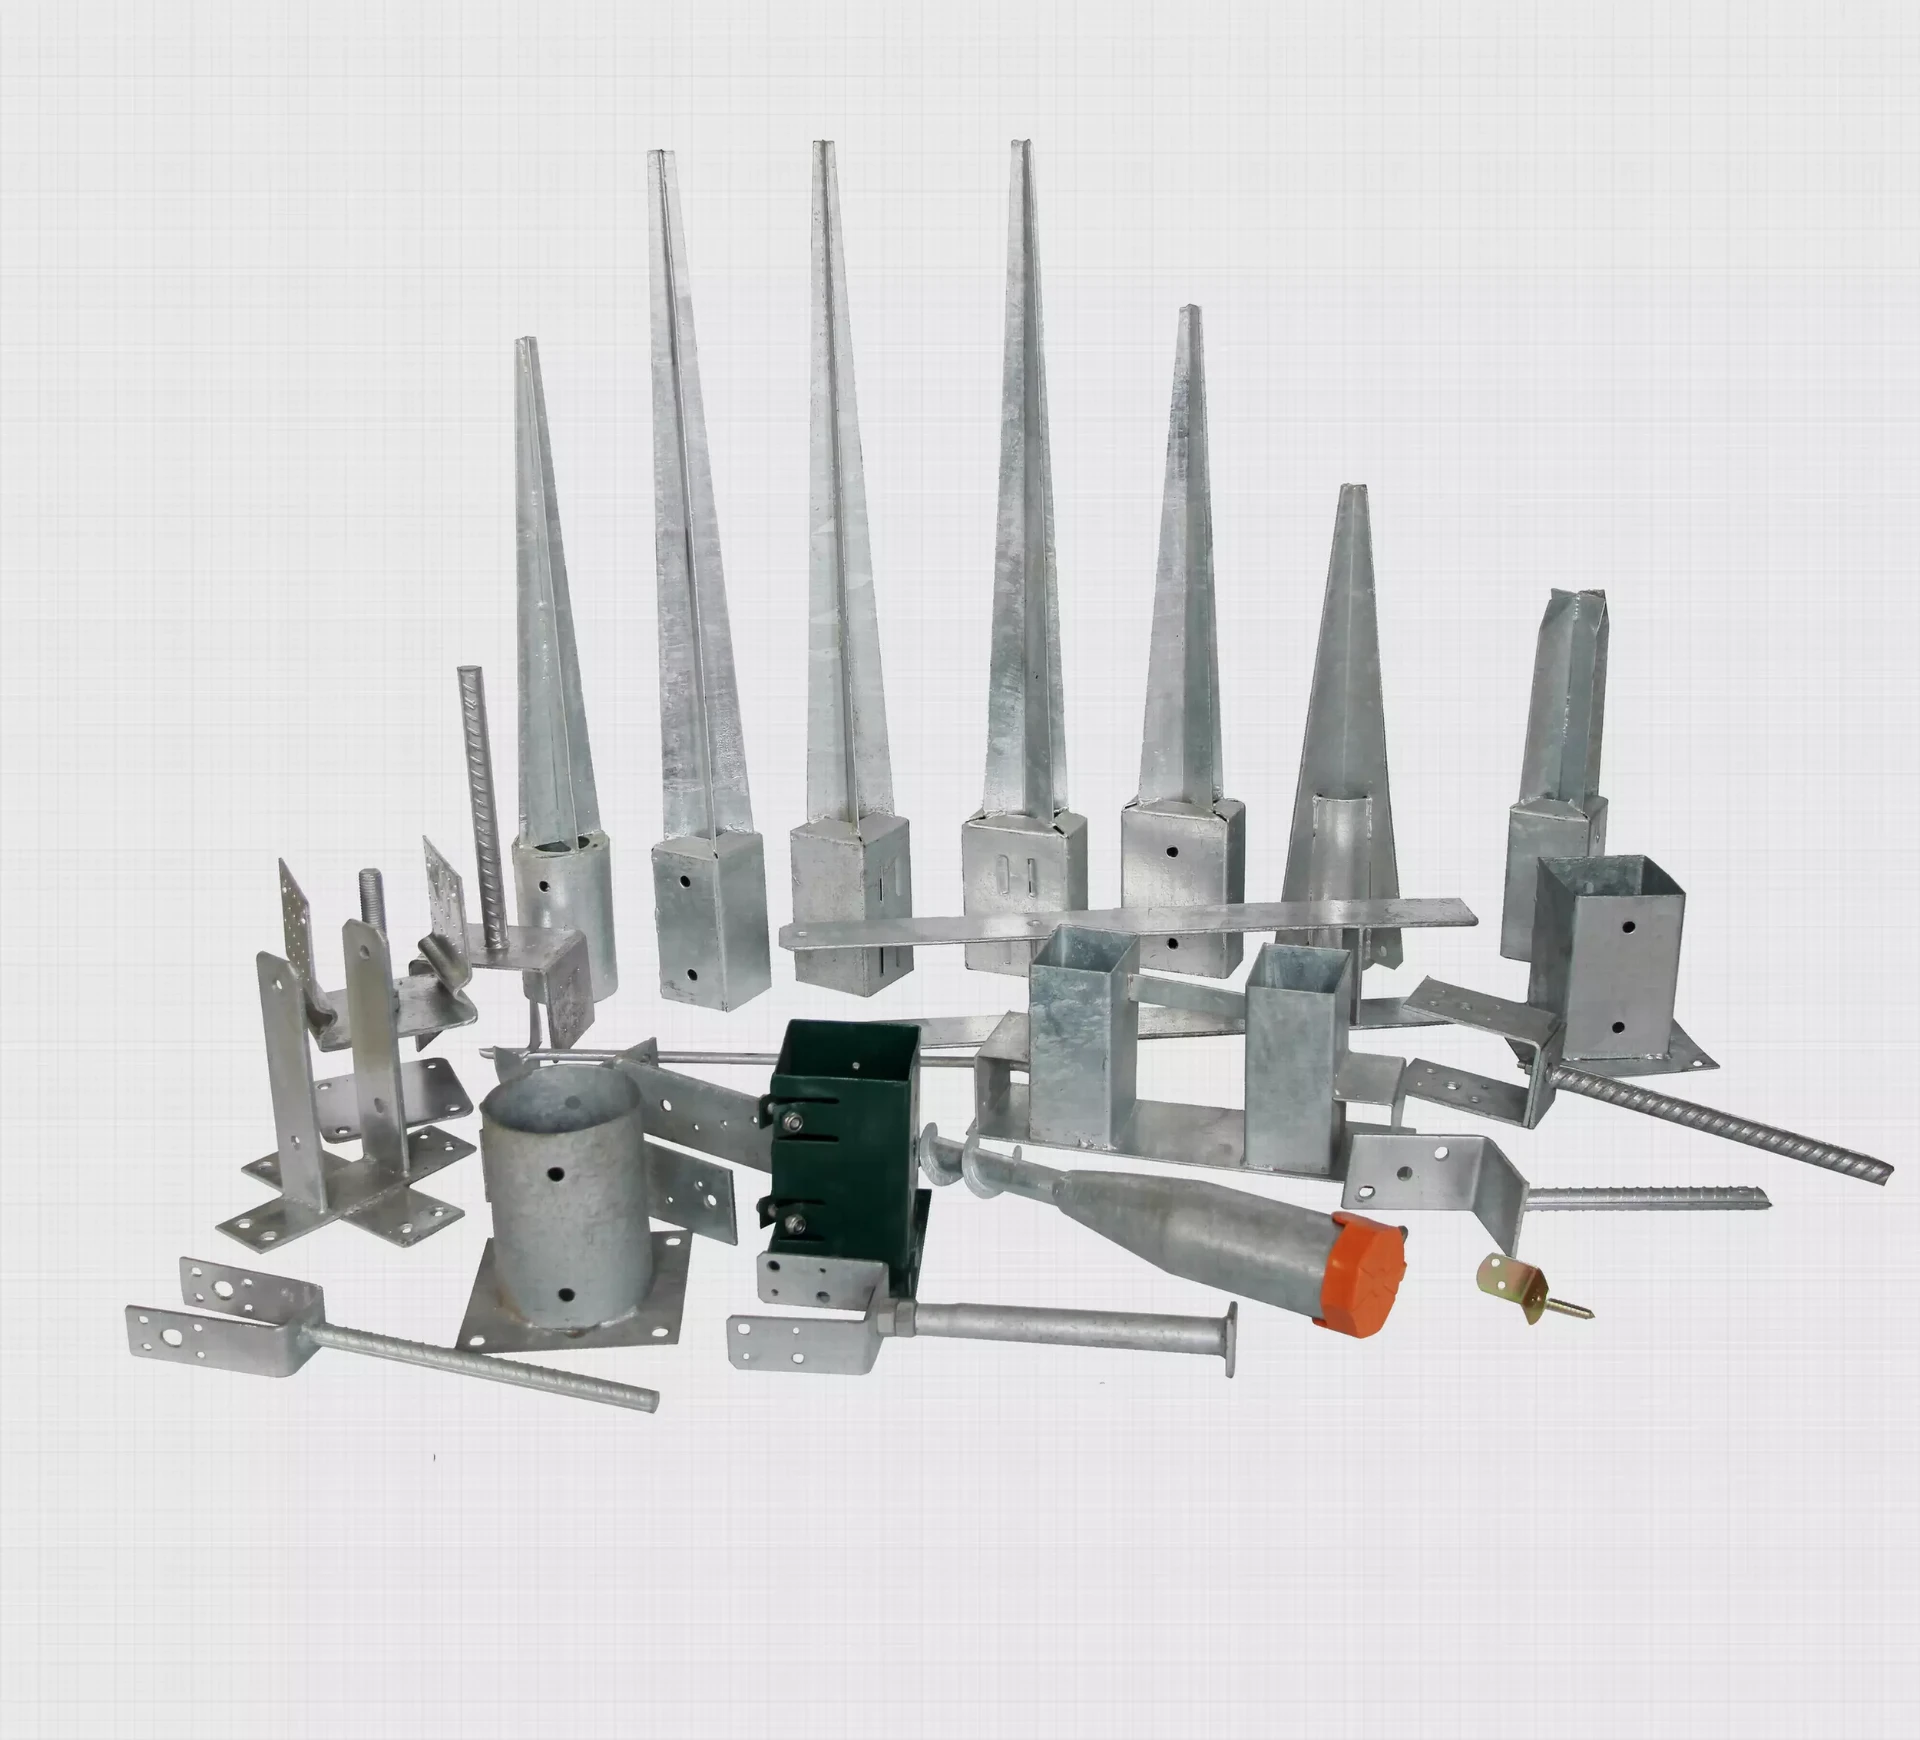
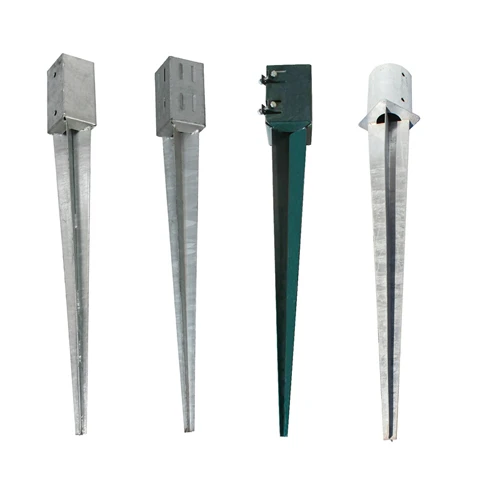
3. Set Up the Posts Depending on the material chosen, install the vertical posts securely into the ground. Wooden posts should be driven into the ground at least two feet for stability, while lighter materials can be secured with stakes or ties.
4. Attach the Fence Material Once the posts are in place, attach the snow fence material. Ensure that it's taut but not overly tight, as this could lead to damage during windstorms. For fabric or mesh, use zip ties or fence staples to secure it properly.
5. Secure the Base To enhance stability, particularly in areas prone to high winds, it’s beneficial to secure the base of the snow fence with weights or additional materials like gravel or bricks.
Maintenance and Considerations
Once the snow fence is installed, regular maintenance is necessary to ensure its effectiveness. Inspect the fence periodically for damage, especially after heavy storms or strong winds. Clear any snow buildup that may accumulate against the fence, as this can hinder its performance.
In conclusion, setting up a snow fence is a practical and effective way to manage snow accumulation during winter months. By carefully planning its placement, selecting suitable materials, and performing regular maintenance, you can keep your property safe and accessible, making winter much easier to handle.


