Setting Up a Chicken Wire Fence A Step-by-Step Guide
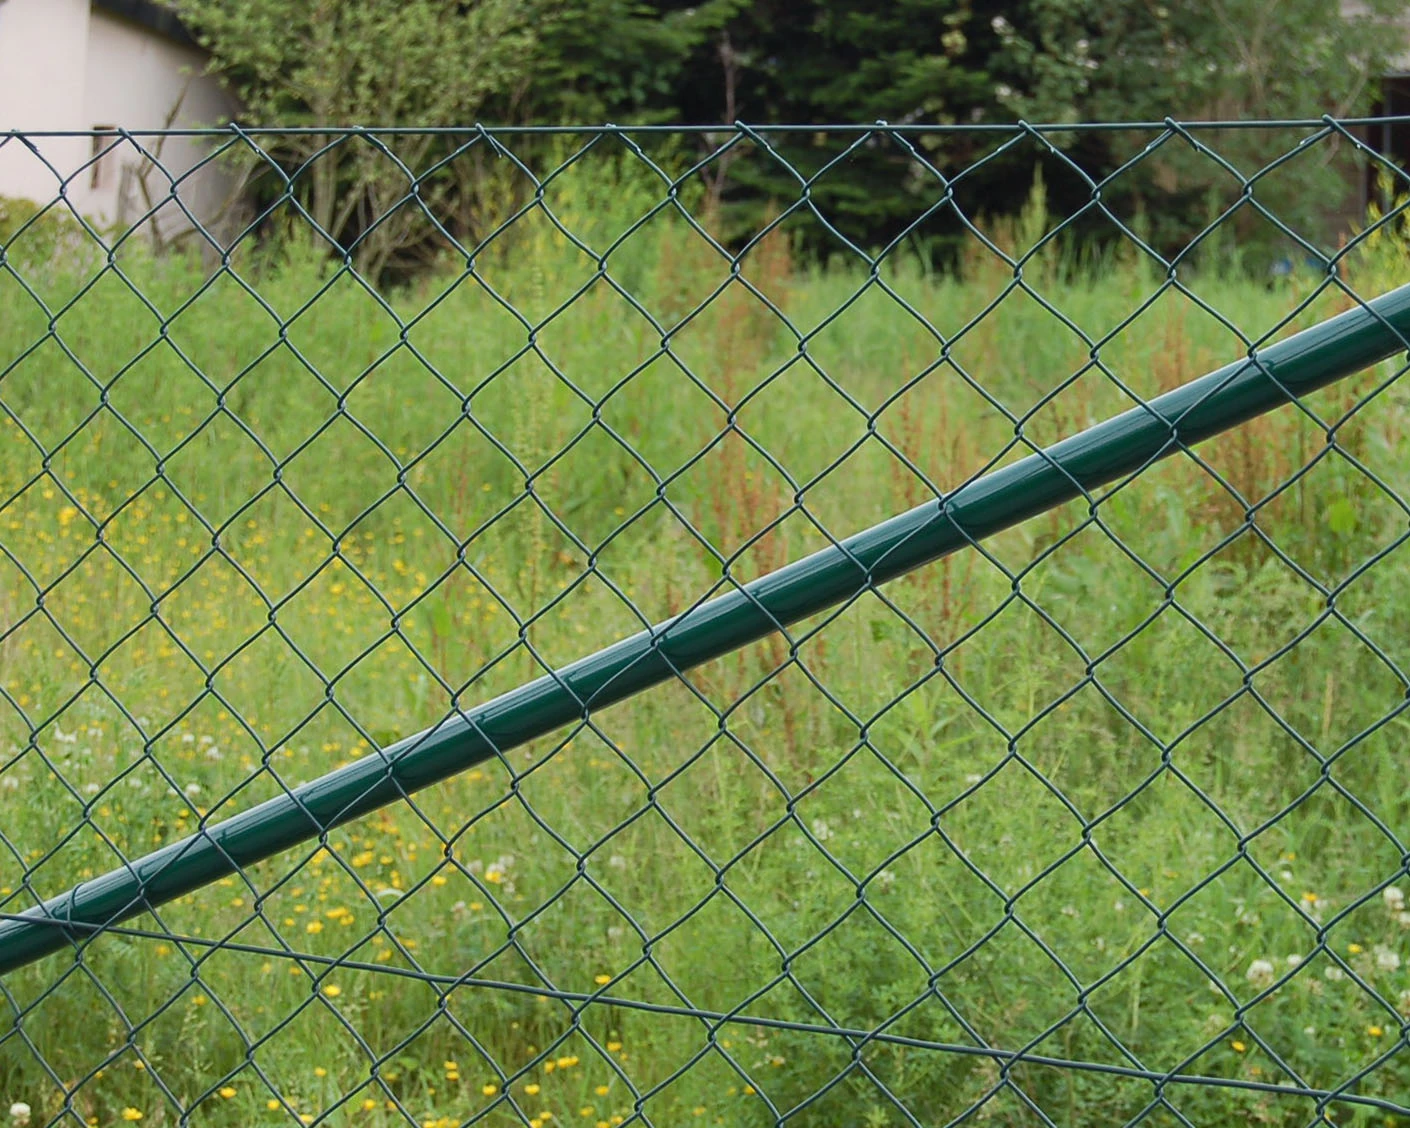
Creating a safe and secure environment for your chickens is essential for their well-being and for your peace of mind. One effective way to ensure this is by setting up a chicken wire fence. This type of fencing provides a protective barrier while allowing your feathered friends to enjoy the outdoors. Here’s a comprehensive guide on how to set up a chicken wire fence.
1. Planning Your Area
Before you start, determine the area you want to enclose. Consider the size and number of chickens you have, as well as any additional space needed for feeding or shelter. Sketch a rough layout of the fence, marking out gates and any other features. Ensure the area is free from sharp objects or hazards that could harm your chickens.
2. Gathering Materials
To set up your chicken wire fence, you will need
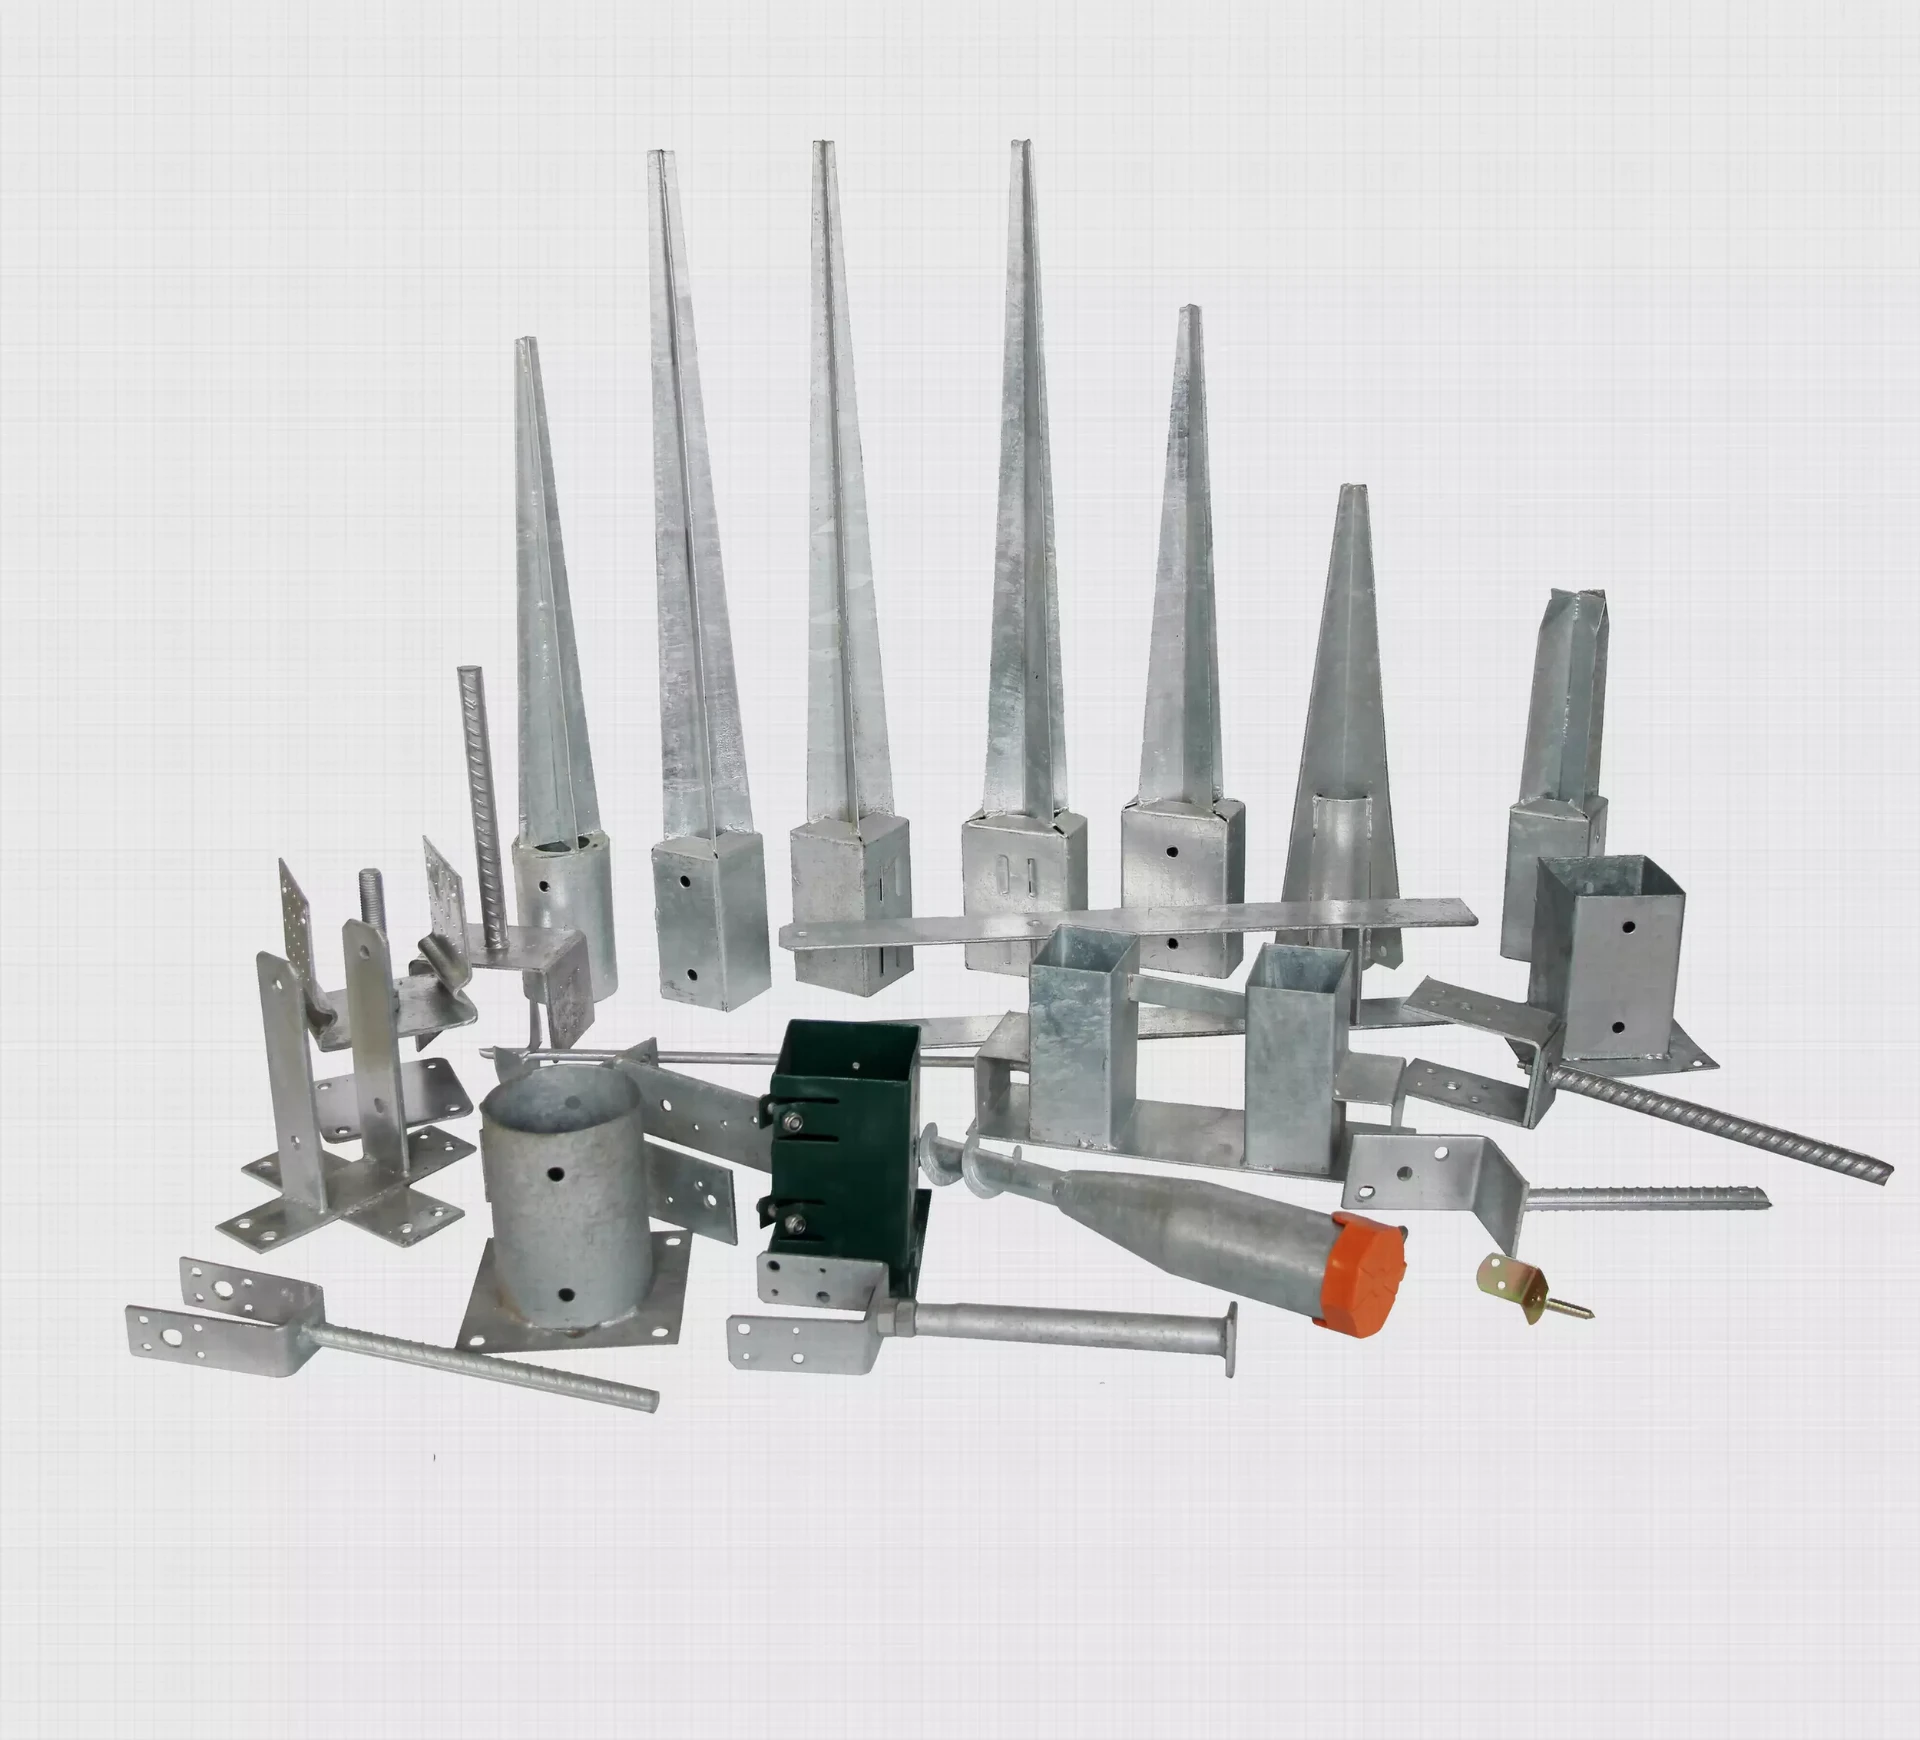
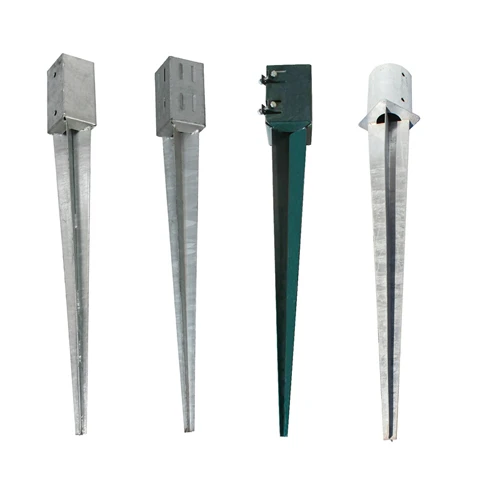
- Chicken wire (commonly available in different heights and mesh sizes) - Wooden or metal fence posts - A post driver or a digger for digging holes - Wire cutters - Fence staples or nails - A hammer or staple gun - A level and measuring tape
3. Installing the Fence Posts
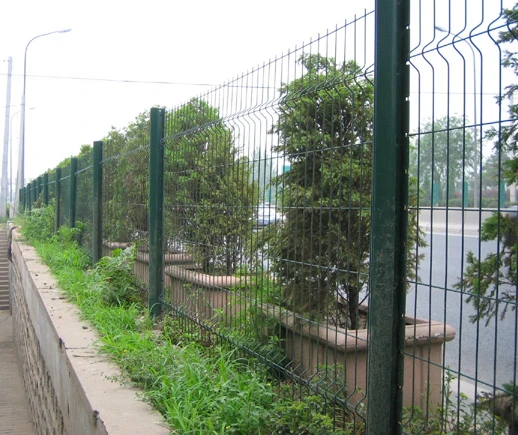
Begin by marking the location of your fence posts. Space them approximately 6-8 feet apart for stability. Using a post driver or digger, create holes for your posts deep enough to stabilize them, usually around 2 feet deep. Once the posts are installed, ensure they are level and straight before moving on to the next step.
setting up chicken wire fence
Start at one corner of the fenced area. Unroll the chicken wire along the length of the first side and secure it to the posts using fence staples or nails. Make sure the wire is taut and free of sagging for maximum security. Continue this process around the entire perimeter. If you have to join two pieces of wire, ensure that the ends are overlapped for strength.
5. Building Gates
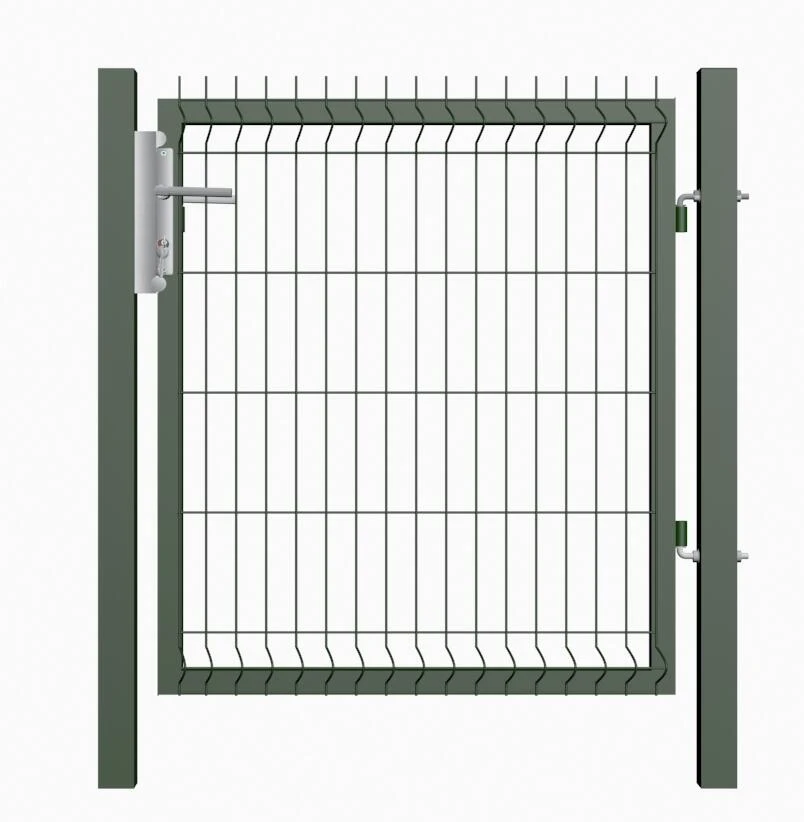
If your fence layout includes a gate, simply clear space for it between two posts. You can use a pre-made gate or construct one using additional chicken wire and wood. Ensure the gate swings inwards and can be securely latched to prevent any escape.
6. Finishing Touches
After the wire is attached, trim any excess length. Check for sharp edges that could harm your chickens and cover them if necessary. Finally, consider burying a part of the chicken wire underground (around 12 inches) to prevent digging predators from entering.
Conclusion
Setting up a chicken wire fence can be a rewarding project, providing your chickens with the safe environment they need to thrive. By following these steps, you’ll create a secure area for your birds to roam, forage, and enjoy the outdoors, ultimately leading to a happier flock and more productive egg-laying.


