Setting Steel Fence Posts in Concrete A Comprehensive Guide
Installing a fence is a significant home improvement project, and one of the most crucial aspects of this process is setting the fence posts. Steel fence posts are particularly sturdy and durable, making them an excellent choice for various fencing applications. Setting these posts in concrete is essential to ensure the longevity and stability of the fence. In this article, we will guide you through the steps necessary to properly set steel fence posts in concrete.
Tools and Materials Needed
Before you start, gather all necessary tools and materials. You will need
- Steel fence posts - Concrete mix (either ready-made or dry) - Water - Post hole digger or auger - Level - Measuring tape - Shovel - Trowel - Safety gear (gloves, goggles)
Step 1 Planning and Preparation
Begin by planning your fence layout. Clearly mark the locations of each fence post using stakes and string to ensure a straight line. Measure the distance between posts according to your fencing design, typically 6 to 8 feet apart.
Step 2 Digging the Post Holes
Using a post hole digger or auger, dig holes for your fence posts. The standard depth is about one-third of the post height, plus an additional few inches for gravel drainage. For example, if your steel post is 8 feet tall, the hole should be approximately 2.5 to 3 feet deep. Ensure the holes are at least 10-12 inches wide.
Step 3 Adding Gravel for Drainage
To prevent water accumulation around the base of the posts, add a layer of gravel to the bottom of each hole
. This drainage layer helps protect the steel from rust and corrosion, ensuring your fence remains sturdy over time.Step 4 Setting the Steel Posts
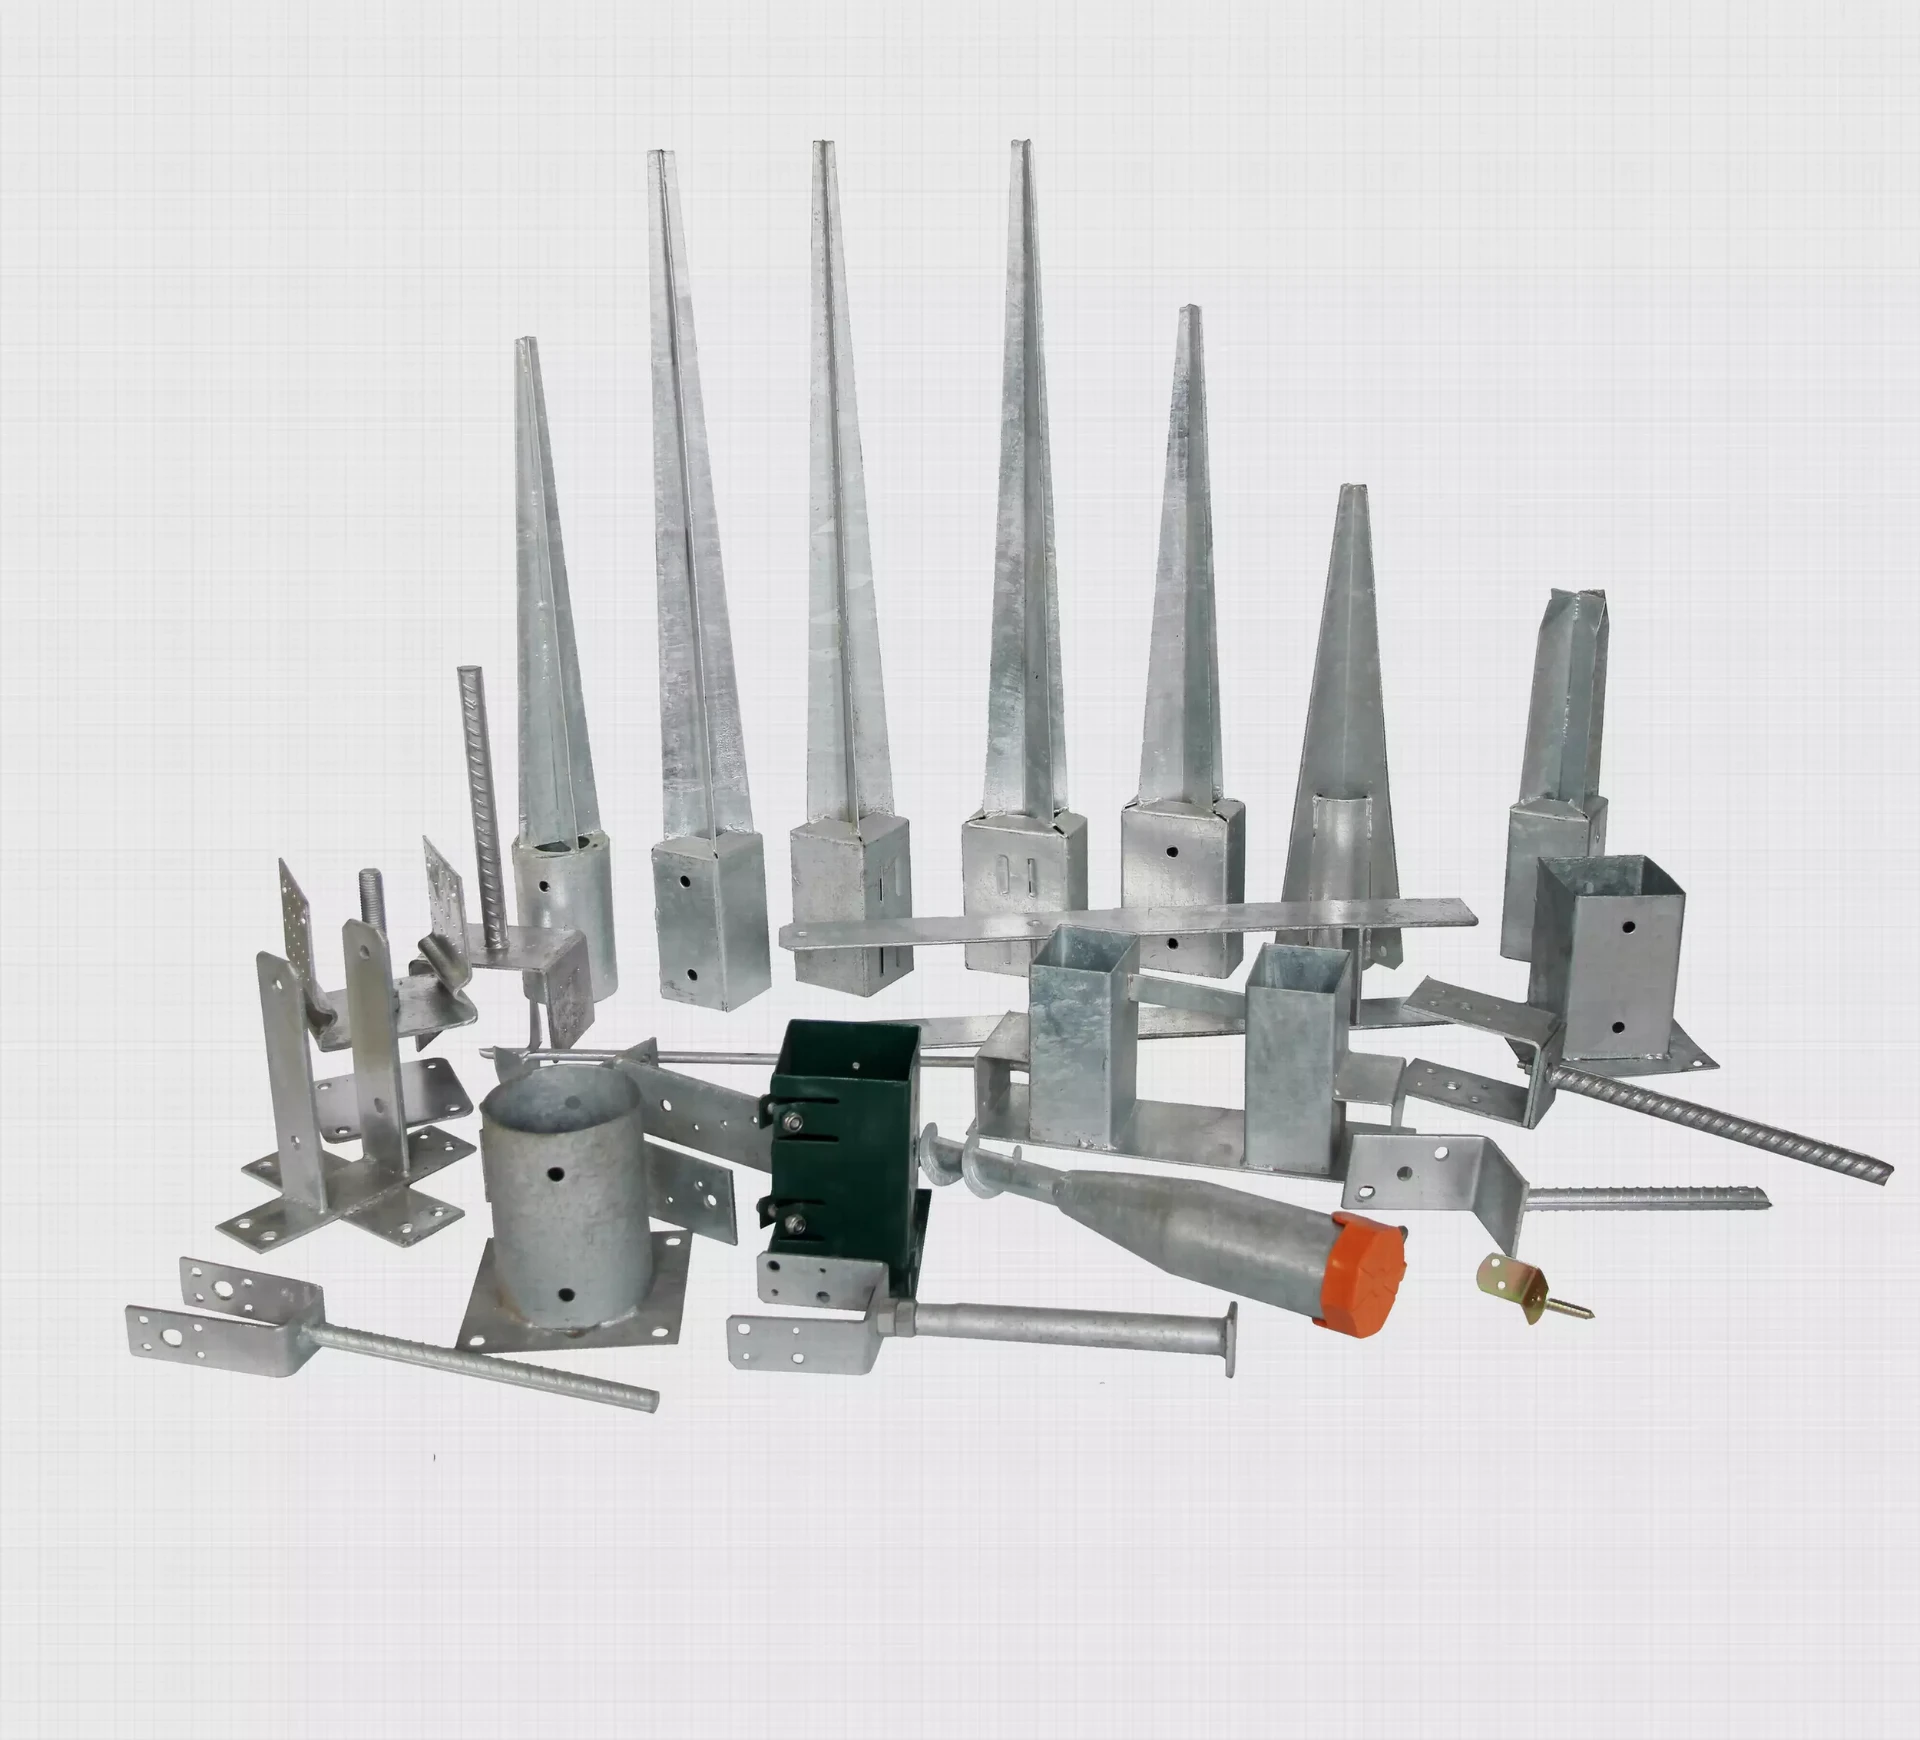
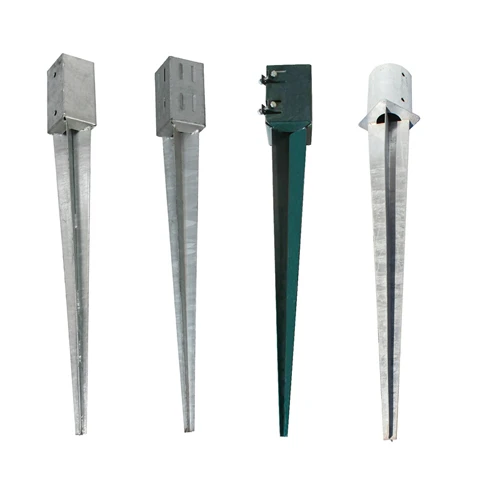
setting steel fence posts in concrete
Insert the steel post into the hole. Use a level to ensure the post is plumb (vertically straight). It is essential that the post stands straight; otherwise, your entire fence may end up crooked. Once the post is correctly aligned, hold it in place while you prepare the concrete.
Step 5 Mixing and Pouring Concrete
Follow the instructions on your concrete mix to prepare it. If you are using ready-mix bags, combine the powder with water in a wheelbarrow or large container. Mix until you achieve a uniform, workable consistency.
Slowly pour the mixed concrete into the hole around the post. Fill the hole completely but leave a few inches at the top for soil or grass cover. Use a trowel to slightly slope the concrete away from the post to promote water drainage.
Step 6 Securing the Post
Once the concrete is poured and smoothed around the post, check again with the level to ensure the post remains plumb. Use stakes or braces to hold the post in position while the concrete sets. This is crucial, as any movement during the curing process can misalign the post.
Step 7 Curing the Concrete
Allow the concrete to cure. Most concrete sets within 24-48 hours, but for maximum strength, it's advisable to wait at least a week before applying any tension to the posts (such as attaching the fence panels). Keep the area moist as the concrete cures to prevent cracking.
Step 8 Finishing Touches
After the concrete has cured, fill in any remaining gaps around the post with soil or gravel and compact it down firmly. This addition prevents soil erosion and stabilizes the surrounding area.
Conclusion
Setting steel fence posts in concrete is a fairly straightforward process, but it requires attention to detail and proper planning. By following these steps, you can ensure a stable and durable fence that will last for years to come. With the right tools, materials, and techniques, your fence will not only enhance your property’s aesthetics but also provide the security and boundary you need. Happy fencing!


