Setting Metal Fence Posts in Concrete A Comprehensive Guide
Installing a metal fence can significantly enhance the security, privacy, and aesthetics of your property. However, the effectiveness and longevity of your fence largely depend on how well you set your metal fence posts. The use of concrete in this process provides added stability and durability, especially in areas prone to high winds, heavy rains, or freeze-thaw cycles. In this guide, we’ll walk you through the steps involved in setting metal fence posts in concrete to ensure a solid and lasting installation.
1. Gather Your Materials
Before you begin, gather all necessary materials and tools. You will need
- Metal fence posts - Concrete mix (either ready-mix bags or bulk) - Gravel (for drainage) - A post hole digger or auger - A level - A measuring tape - String and stakes (for alignment) - A wheelbarrow or mixing container - Water - Trowel or shovel
2. Plan Your Fence Layout
Begin by planning the layout of your fence. Use string and stakes to mark the line where the fence will run. Make sure to measure and mark the spacing between posts; typical spacing is approximately 6 to 8 feet, depending on your fence design. Keep in mind any local zoning laws or regulations regarding fence height and placement.
3. Digging the Post Holes
Using a post hole digger or auger, dig holes at the marked locations. The depth of the holes should be about one-third the height of the fence post above ground. For example, if your fence is going to be 6 feet tall, the holes should be about 2 feet deep. This depth ensures that your posts are anchored securely, providing stability.
4. Add Gravel for Drainage
To enhance drainage and prevent moisture buildup around the post, add a few inches of gravel at the bottom of each hole. This will allow water to flow away from the post and help prevent rusting or rotting over time.
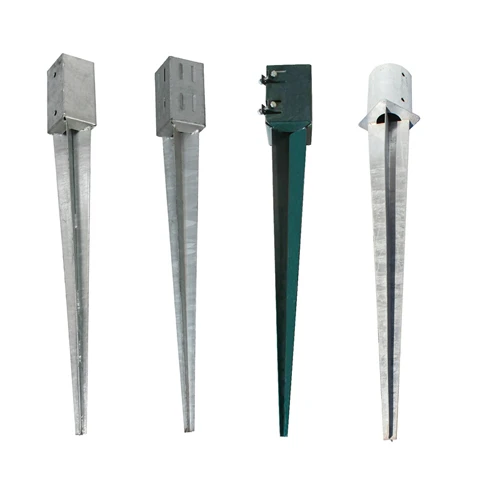
5. Set the Metal Posts
setting metal fence posts in concrete
Insert the metal posts into the holes, ensuring they are vertically aligned. Use a level to check that each post is plumb (vertically straight). This step is crucial for a professional-looking fence. If necessary, use additional gravel or soil to adjust the height and position of the post.
6. Mixing and Pouring Concrete
According to the instructions on your concrete mix, prepare the concrete. If you are using a ready-mix bag, add water and mix it in a wheelbarrow or mixing container until it reaches a uniform consistency. Once mixed, carefully pour the concrete into the post hole around each post. Leave some space at the top to allow for soil and landscaping if desired.
7. Stabilizing the Posts
After pouring the concrete, use a trowel or shovel to smooth the surface and ensure that the concrete is compacted around the base of the post. This will help eliminate air pockets that could weaken the installation. To further stabilize the posts, you can brace them temporarily with wooden boards until the concrete cures.
8. Allow the Concrete to Cure
Let the concrete cure as per the manufacturer's guidelines, typically for at least 24 to 48 hours. During this time, avoid putting any stress on the posts. Proper curing is essential for achieving maximum strength.
9. Finish the Installation
Once the concrete has cured, you can continue with the installation of your fence panels, gates, or any additional fixtures. Trim any excess concrete or repair the surrounding soil as needed to achieve a neat finish.
Conclusion
Setting metal fence posts in concrete may seem like a challenging task, but with the right tools and careful preparation, it can be done efficiently. Following these steps ensures your fence is well-anchored and ready to withstand the elements. A well-installed metal fence not only secures your property but also enhances its overall appeal. Happy fencing!


