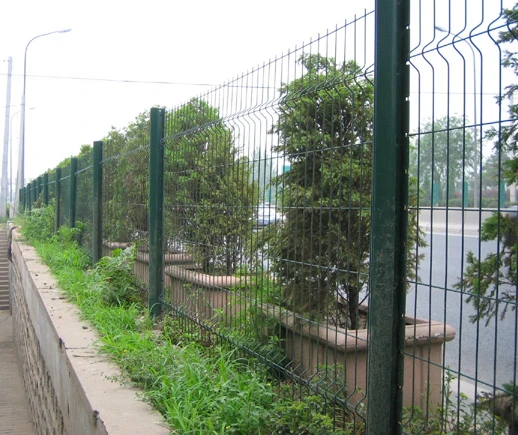
Setting Metal Fence Posts in Concrete A Comprehensive Guide
Installing a metal fence can enhance security, privacy, and aesthetic appeal to your property. However, the longevity and stability of your fence largely depend on how well you set the metal posts. One of the most reliable methods to secure these posts is by embedding them in concrete. This guide will walk you through the steps of setting metal fence posts in concrete, ensuring a strong and durable fence that can withstand the elements.
Tools and Materials Needed
Before you begin, gather the necessary tools and materials. You will need
- Metal fence posts - Concrete mix - Post hole digger or auger - Level - Measuring tape - String line or chalk line - Water - Trowel or shovel - Safety gear (gloves, goggles)
Step-by-Step Process
1. Planning and Measuring
The first step in your project is to plan the layout of your fence. Decide the positions for each metal post and use a measuring tape to ensure equal spacing, typically between six to eight feet apart. After marking the locations, use a string line to visualize the fence line and ensure everything is straight.
2. Digging the Holes
Using a post hole digger or auger, dig holes at each marked location. The hole depth should be at least one-third of the post height above ground, which provides a stable foundation. A depth of 2-3 feet is usually sufficient for most applications. Ensure the holes are wide enough to accommodate the posts and allow the concrete to form a solid anchor.
3. Adding Gravel (Optional)
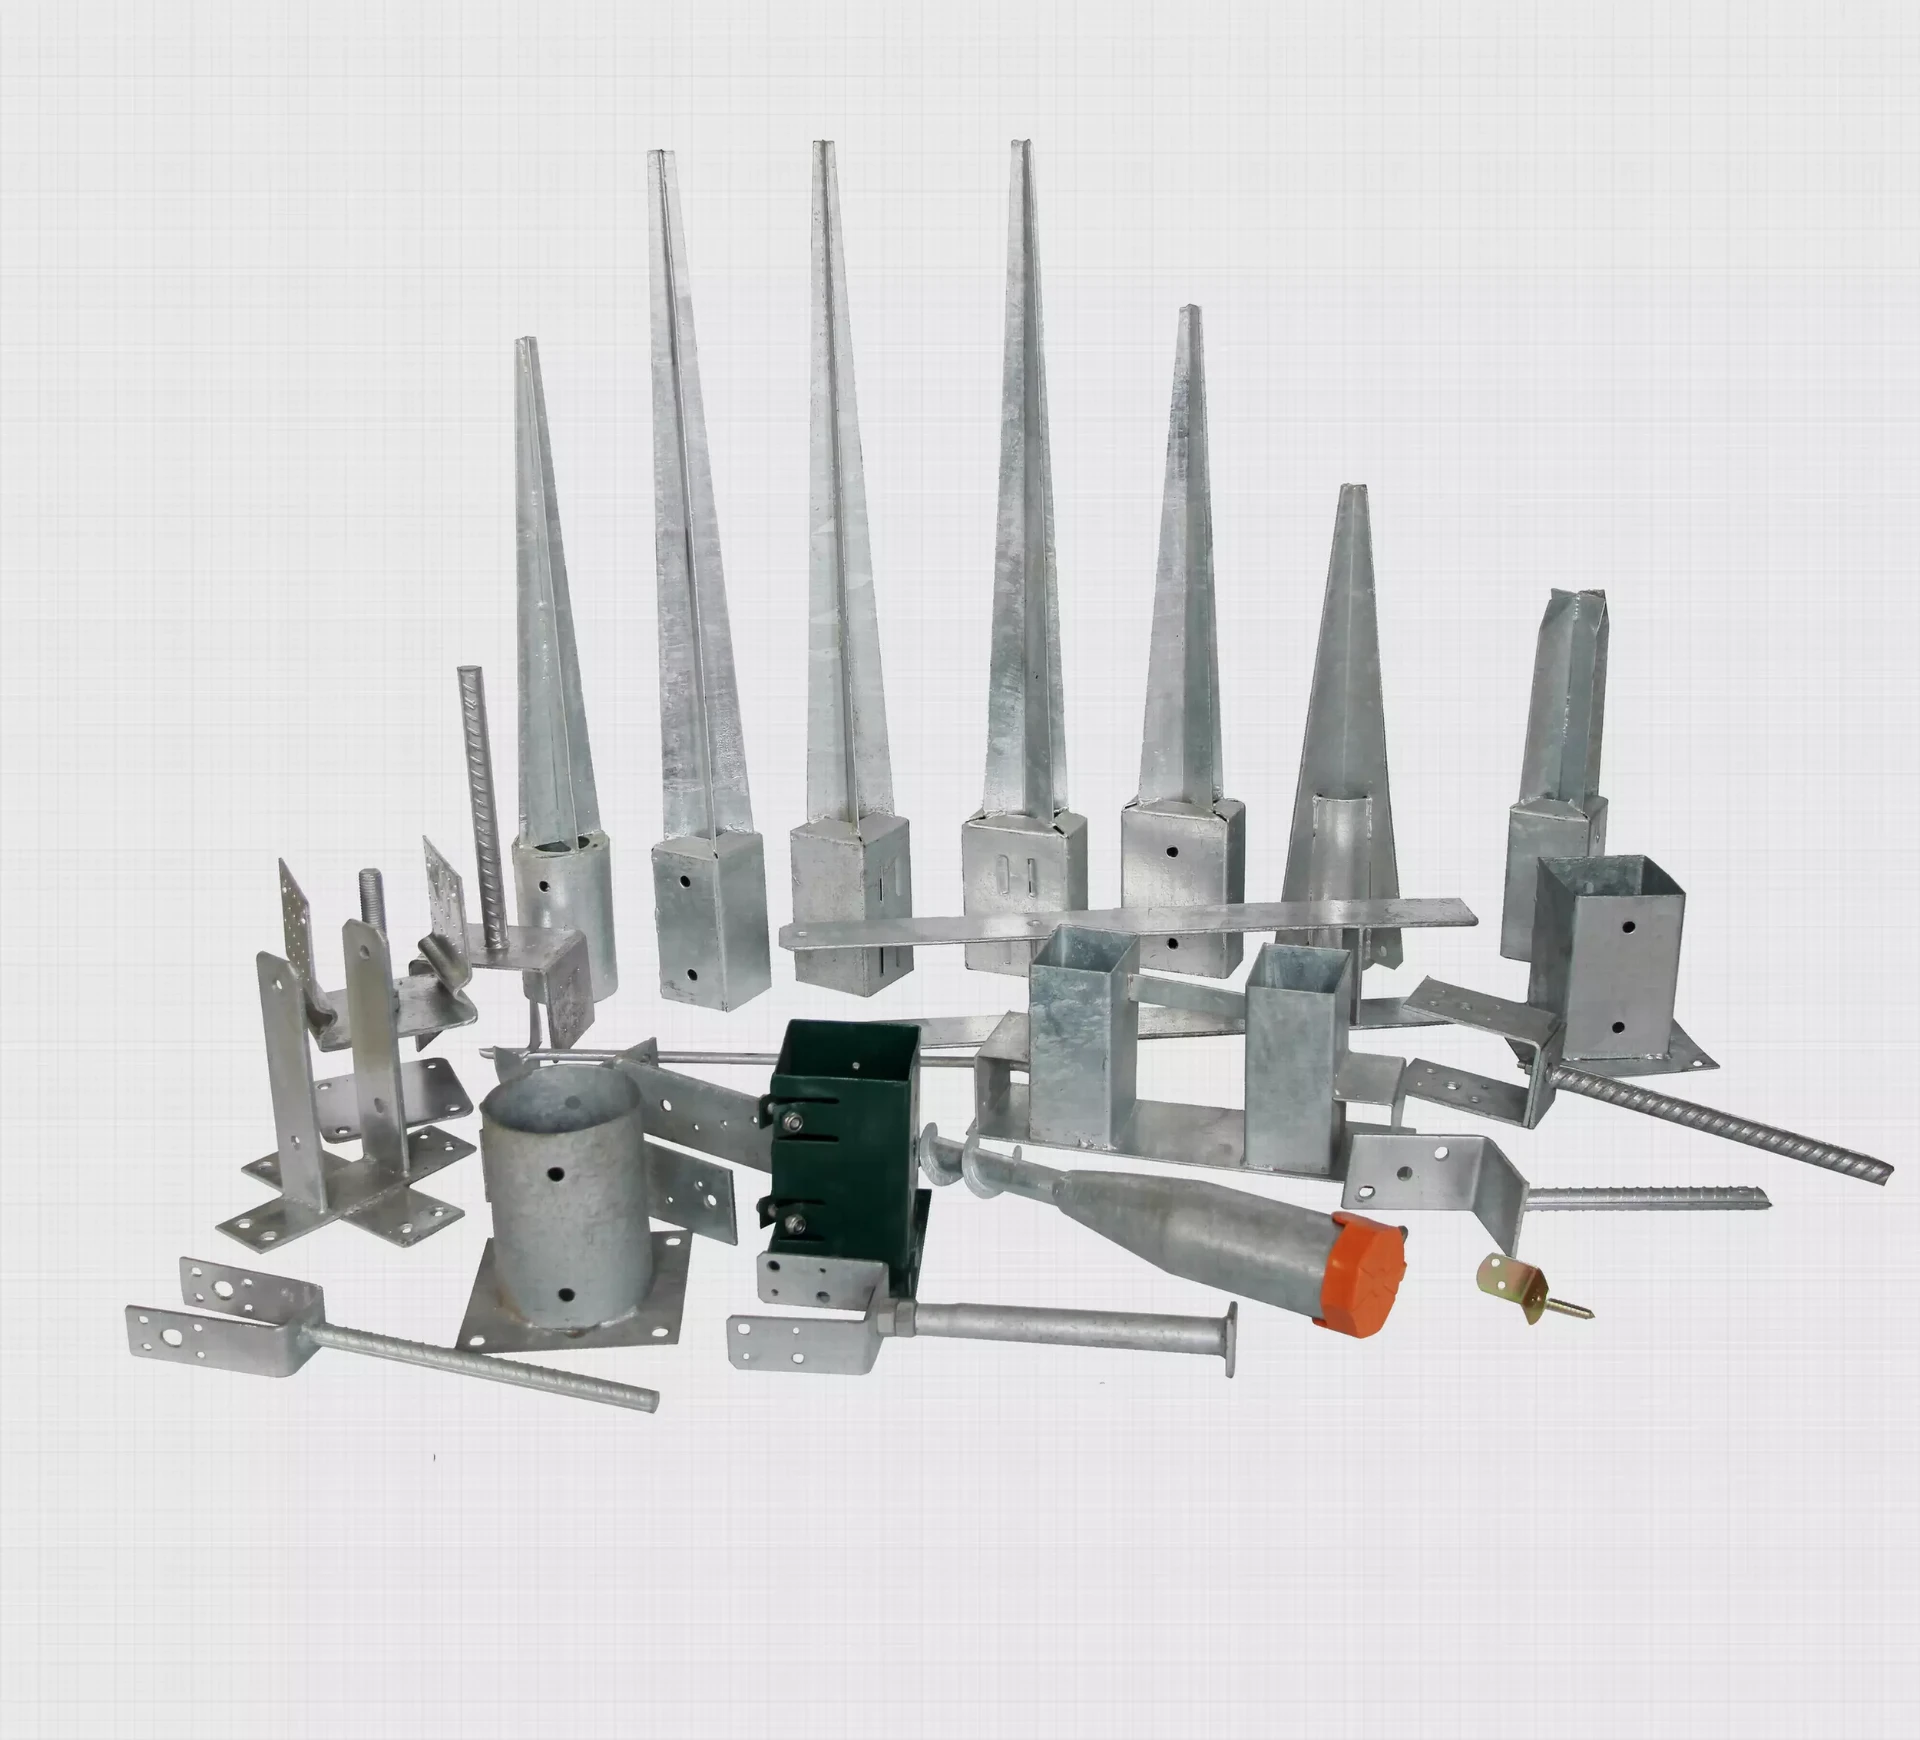
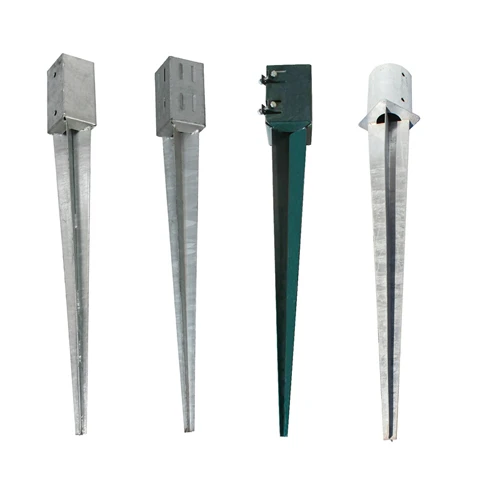
setting metal fence posts in concrete
To promote drainage and prevent the bottom of the posts from sitting in water, adding a few inches of gravel at the bottom of each hole is recommended. This will create a solid base and help prolong the life of the metal posts.
4. Setting the Posts
Place each metal post into its respective hole. Use a level to ensure the post is vertical. This step is crucial; a crooked post can ruin the overall look and stability of the fence. For added stability, you can temporarily brace the posts by securing them with wooden stakes or clamps until the concrete sets.
5. Mixing and Pouring Concrete
Follow the instructions on your concrete mix package to prepare the concrete. Typically, you will need to mix the concrete with water until it reaches a workable consistency. Once ready, pour the concrete into each hole around the post. Make sure the concrete fills the hole completely, surrounding the post and eliminating any air pockets.
6. Finishing the Concrete
After pouring, use a trowel or shovel to smooth the top of the concrete around the post. This will help to direct water away from the post and contribute to a cleaner appearance. Make sure to check the level of the post once again and make any necessary adjustments before the concrete begins to set.
7. Letting the Concrete Cure
Allow the concrete to cure properly. This process typically takes about 24-48 hours, depending on the weather and the specific concrete mix used. It's important not to disturb the posts during this time, as they need to remain stationary to ensure a strong bond.
Conclusion
Setting metal fence posts in concrete is a straightforward yet vital part of installing a robust fence. By following these steps, you can ensure that your fence will not only look great but will also stand the test of time. Whether you’re enhancing the privacy of your backyard or securing your business premises, a well-constructed metal fence can serve as a reliable protective barrier. Investing the time and effort into properly setting your posts will yield dividends in durability and performance for years to come.


