Setting Corner Fence Posts A DIY Guide
Fencing is not only a crucial aspect of property delineation but also contributes to the aesthetic appeal of your yard. Whether you’re enclosing a garden, creating a safe space for pets, or adding privacy, a well-constructed fence can serve multiple purposes. At the heart of any strong fence lies the corner posts. Setting corner fence posts correctly is essential for the stability and longevity of your fencing project. In this guide, we will walk you through the steps to properly set corner fence posts, ensuring a solid foundation for your entire fence.
Materials Needed
Before you begin, gather all necessary materials and tools. You will need
- Corner posts (typically 4x4 or 6x6 lumber) - Concrete mix or quick-setting concrete - Level - Post hole digger or auger - Measuring tape - String line - Gravel - Saw (if cutting posts to size) - Safety gear (gloves, goggles)
Step 1 Planning Your Fence
Before you set your corner posts, it's crucial to plan your fence layout. Determine where your corners will be located and measure distances accurately. Use a measuring tape to establish the dimensions of your fenced area. Mark the locations of your corner posts with stakes or paint to visualize your setup. Make sure to check local regulations regarding fencing to ensure compliance with property lines and zoning laws.
Step 2 Digging the Holes
The next step is to dig holes for your corner posts. The depth of the hole should be at least one-third the height of the post above ground. For example, if you plan to have a 6-foot fence, dig a hole at least 2 feet deep. The diameter of the hole should be about three times the width of the post. Use a post hole digger or auger for efficiency, making sure the bottom of the hole is flat.
Step 3 Setting the Post
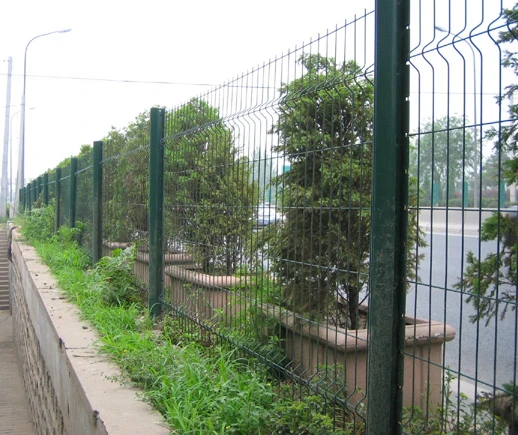
setting corner fence posts

Once the holes are prepared, it’s time to set the corner posts. Place a layer of gravel at the bottom of each hole to promote drainage. Insert the corner post vertically into the hole and use a level to ensure it is plumb (vertically straight). This step is critical; an improperly aligned post can lead to a crooked fence.
Step 4 Adding Concrete
After the post is positioned correctly, mix your concrete according to the manufacturer's instructions. Pour the concrete into the hole around the post, ensuring it fills all gaps. Leave a little space at the top of the hole for soil cover. Use the level again to double-check that the post remains straight while the concrete sets. Allow the concrete to cure for the recommended time, typically 24-48 hours, before proceeding with the installation of line posts.
Step 5 Connecting the Fence
With your corner posts secured, you can now run a string line between them to guide the placement of line posts. This will help in maintaining a straight line as you continue your fencing project. Measure and mark the spacing for the line posts, which is typically 6-8 feet apart, depending on the type of fence and materials you are using.
Step 6 Installation of Line Posts
Dig holes for the line posts as you did for the corner posts, ensuring they are at the same depth. Set each line post in the same manner, using gravel for drainage and concrete for stability. Regularly use a level during this process to maintain alignment.
Conclusion
Setting corner fence posts is a fundamental skill for anyone interested in DIY fencing projects. By following these steps, you ensure that your fence will be both sturdy and aesthetically pleasing. Taking the time to do it right the first time will save you from potential issues down the road. Once your fencing is complete, you can sit back and admire your handiwork, knowing you’ve improved the value and functionality of your property. Happy fencing!


