Setting a Vinyl Fence Post A Comprehensive Guide
Vinyl fencing offers a durable and low-maintenance alternative to traditional wooden fences. One of the most critical steps in installing a vinyl fence is setting the posts, as they provide the structural integrity of the fence. Properly setting vinyl fence posts ensures your fence will stand strong against the elements and last for years to come. Here’s a comprehensive guide to help you through the process.
Tools and Materials Needed
Before you begin, gather all the necessary tools and materials 1. Vinyl fence posts 2. Concrete mix (pre-mixed is convenient) 3. Post hole digger or auger 4. Level 5. Measuring tape 6. String line 7. Shovel 8. Safety glasses and gloves 9. Wood stakes (optional)
Step 1 Planning and Measurement
Start by determining the fencing layout. Use a measuring tape to outline the area where the fence will be installed. Mark the corners of the fence and any gate openings using wood stakes. To ensure accuracy, stretch a string line between the stakes to visualize the straight lines of the fence.
Measure the distance between each post. Most vinyl fences require spacing between 6 to 8 feet, depending on the specific product you choose. Calculating the exact number of posts needed will help avoid excessive purchases and ensure a smooth installation.
Step 2 Digging the Post Holes
Once you have the measurements, it's time to dig the post holes. Each hole should be about three times the width of the vinyl post and at least one-third of the post's length deep to provide adequate stability. For example, for a 6-foot post, you should aim for a hole that's 2 feet deep.
Use a post hole digger or auger to create the holes. Ensure that the postholes are straight and uniform. A professional tip If your ground is particularly hard or rocky, consider watering the area beforehand to soften the soil, making digging easier.
Step 3 Setting the Posts
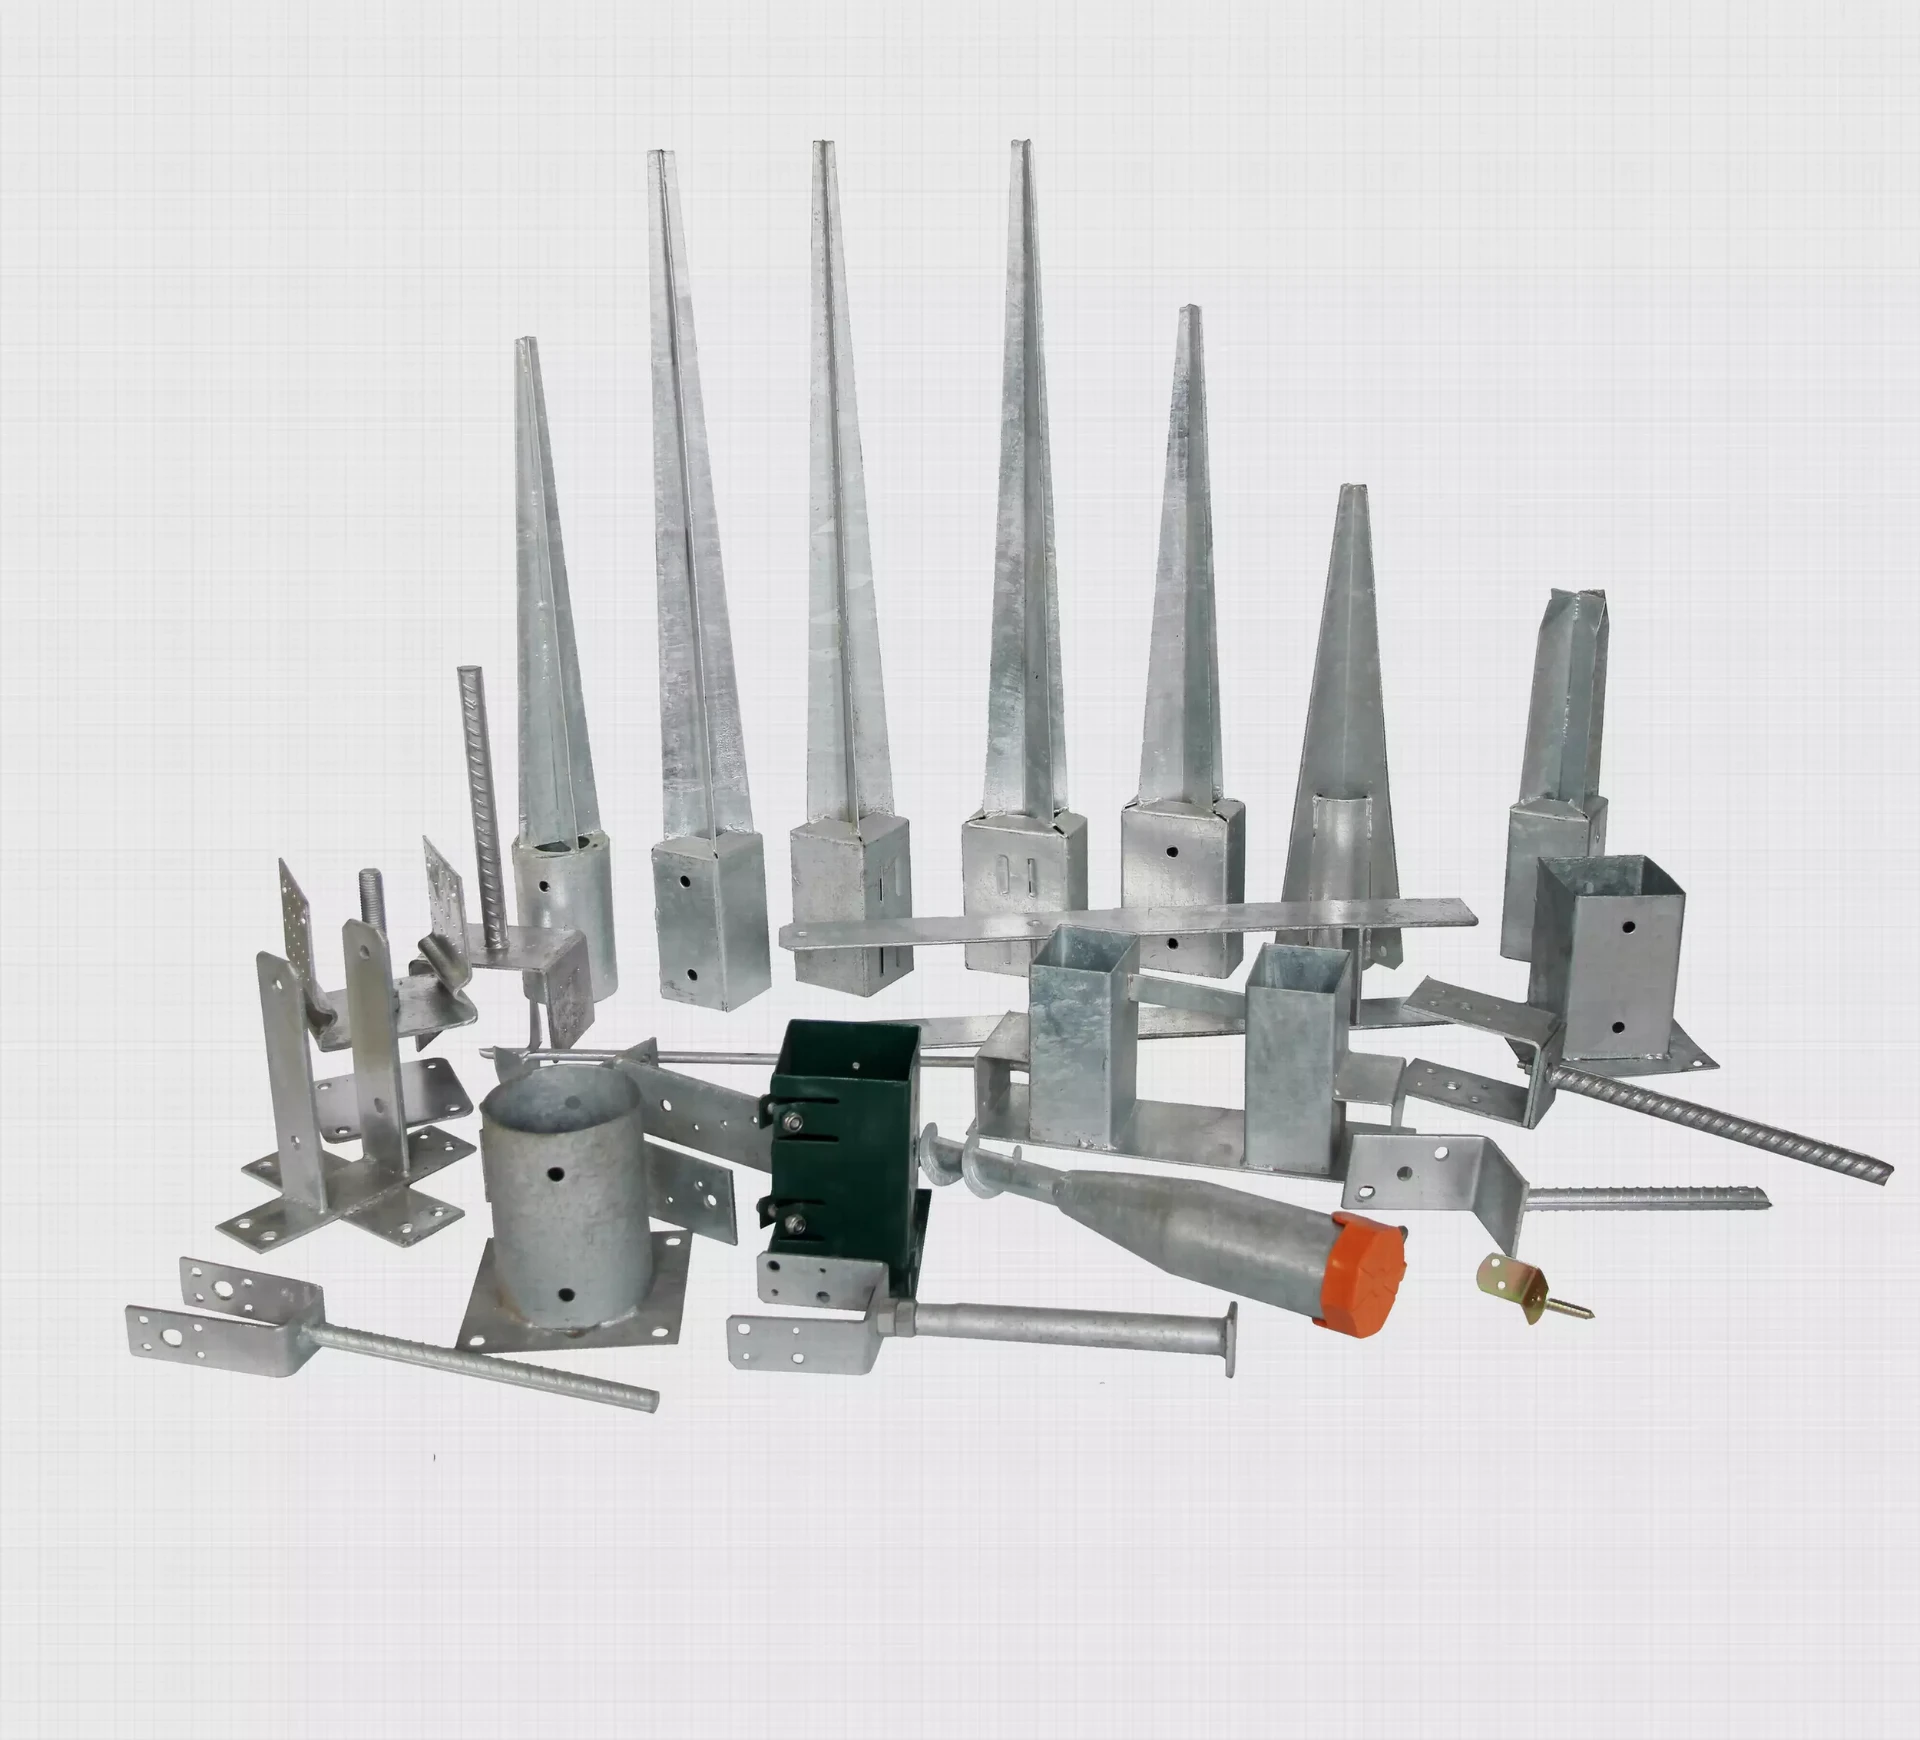
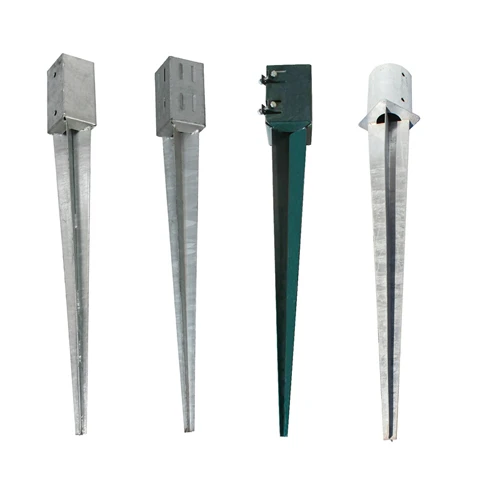
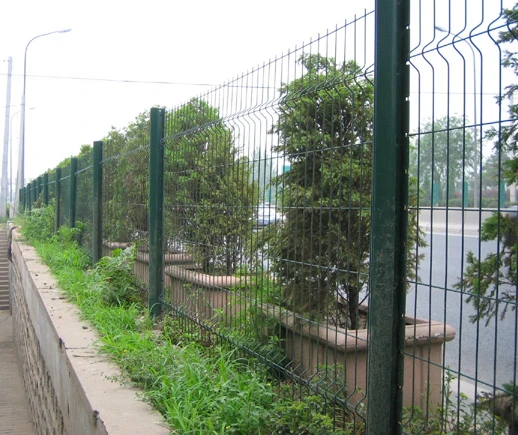
setting a vinyl fence post

After digging the holes, insert the vinyl fence posts into the holes. It’s crucial to ensure each post is vertical. Use a level on each post, adjusting as necessary until it stands straight. To backfill, you can use gravel or soil to help secure the posts in place.
Now, it's time to add concrete for added stability. Mix the concrete according to the package instructions and pour it into each hole around the post. Make sure the concrete is level with the top of the hole and that the post remains straight during this process.
Step 4 Allowing the Concrete to Cure
Once you’ve set the posts in concrete, it’s essential to allow them sufficient time to cure. Most concrete mixes require at least 24 to 48 hours to fully set before you attach the fence panels. During this time, avoid disturbing the posts to ensure they remain upright and stable.
Step 5 Attaching the Fence Panels
After the concrete has cured, it’s time to assemble the fence panels. Depending on the design of your vinyl fence, this might involve attaching panels to the posts using brackets or slots. Follow the manufacturer’s instructions carefully to ensure proper installation.
Begin at one end of the fence and work your way along, ensuring each panel is level before securing it in place. Use a measuring tape to check for uniform spacing between panels, maintaining the aesthetic appeal.
Step 6 Final Touches
Once all the panels are installed, take a step back to inspect your work. Make any necessary adjustments to ensure that everything is level and aligned. You can also trim any excess concrete or fill in any gaps with soil to give your fence a polished look.
Conclusion
Setting a vinyl fence post might seem like a daunting task, but with careful planning and attention to detail, it can be achieved successfully. In addition to enhancing your property’s aesthetic, a well-installed vinyl fence provides security and privacy. Following this guide, you will not only ensure the long-lasting durability of your fence but also enjoy the satisfaction of completing a home improvement project on your own. Happy fencing!


