Setting a Metal Fence Post A Step-by-Step Guide
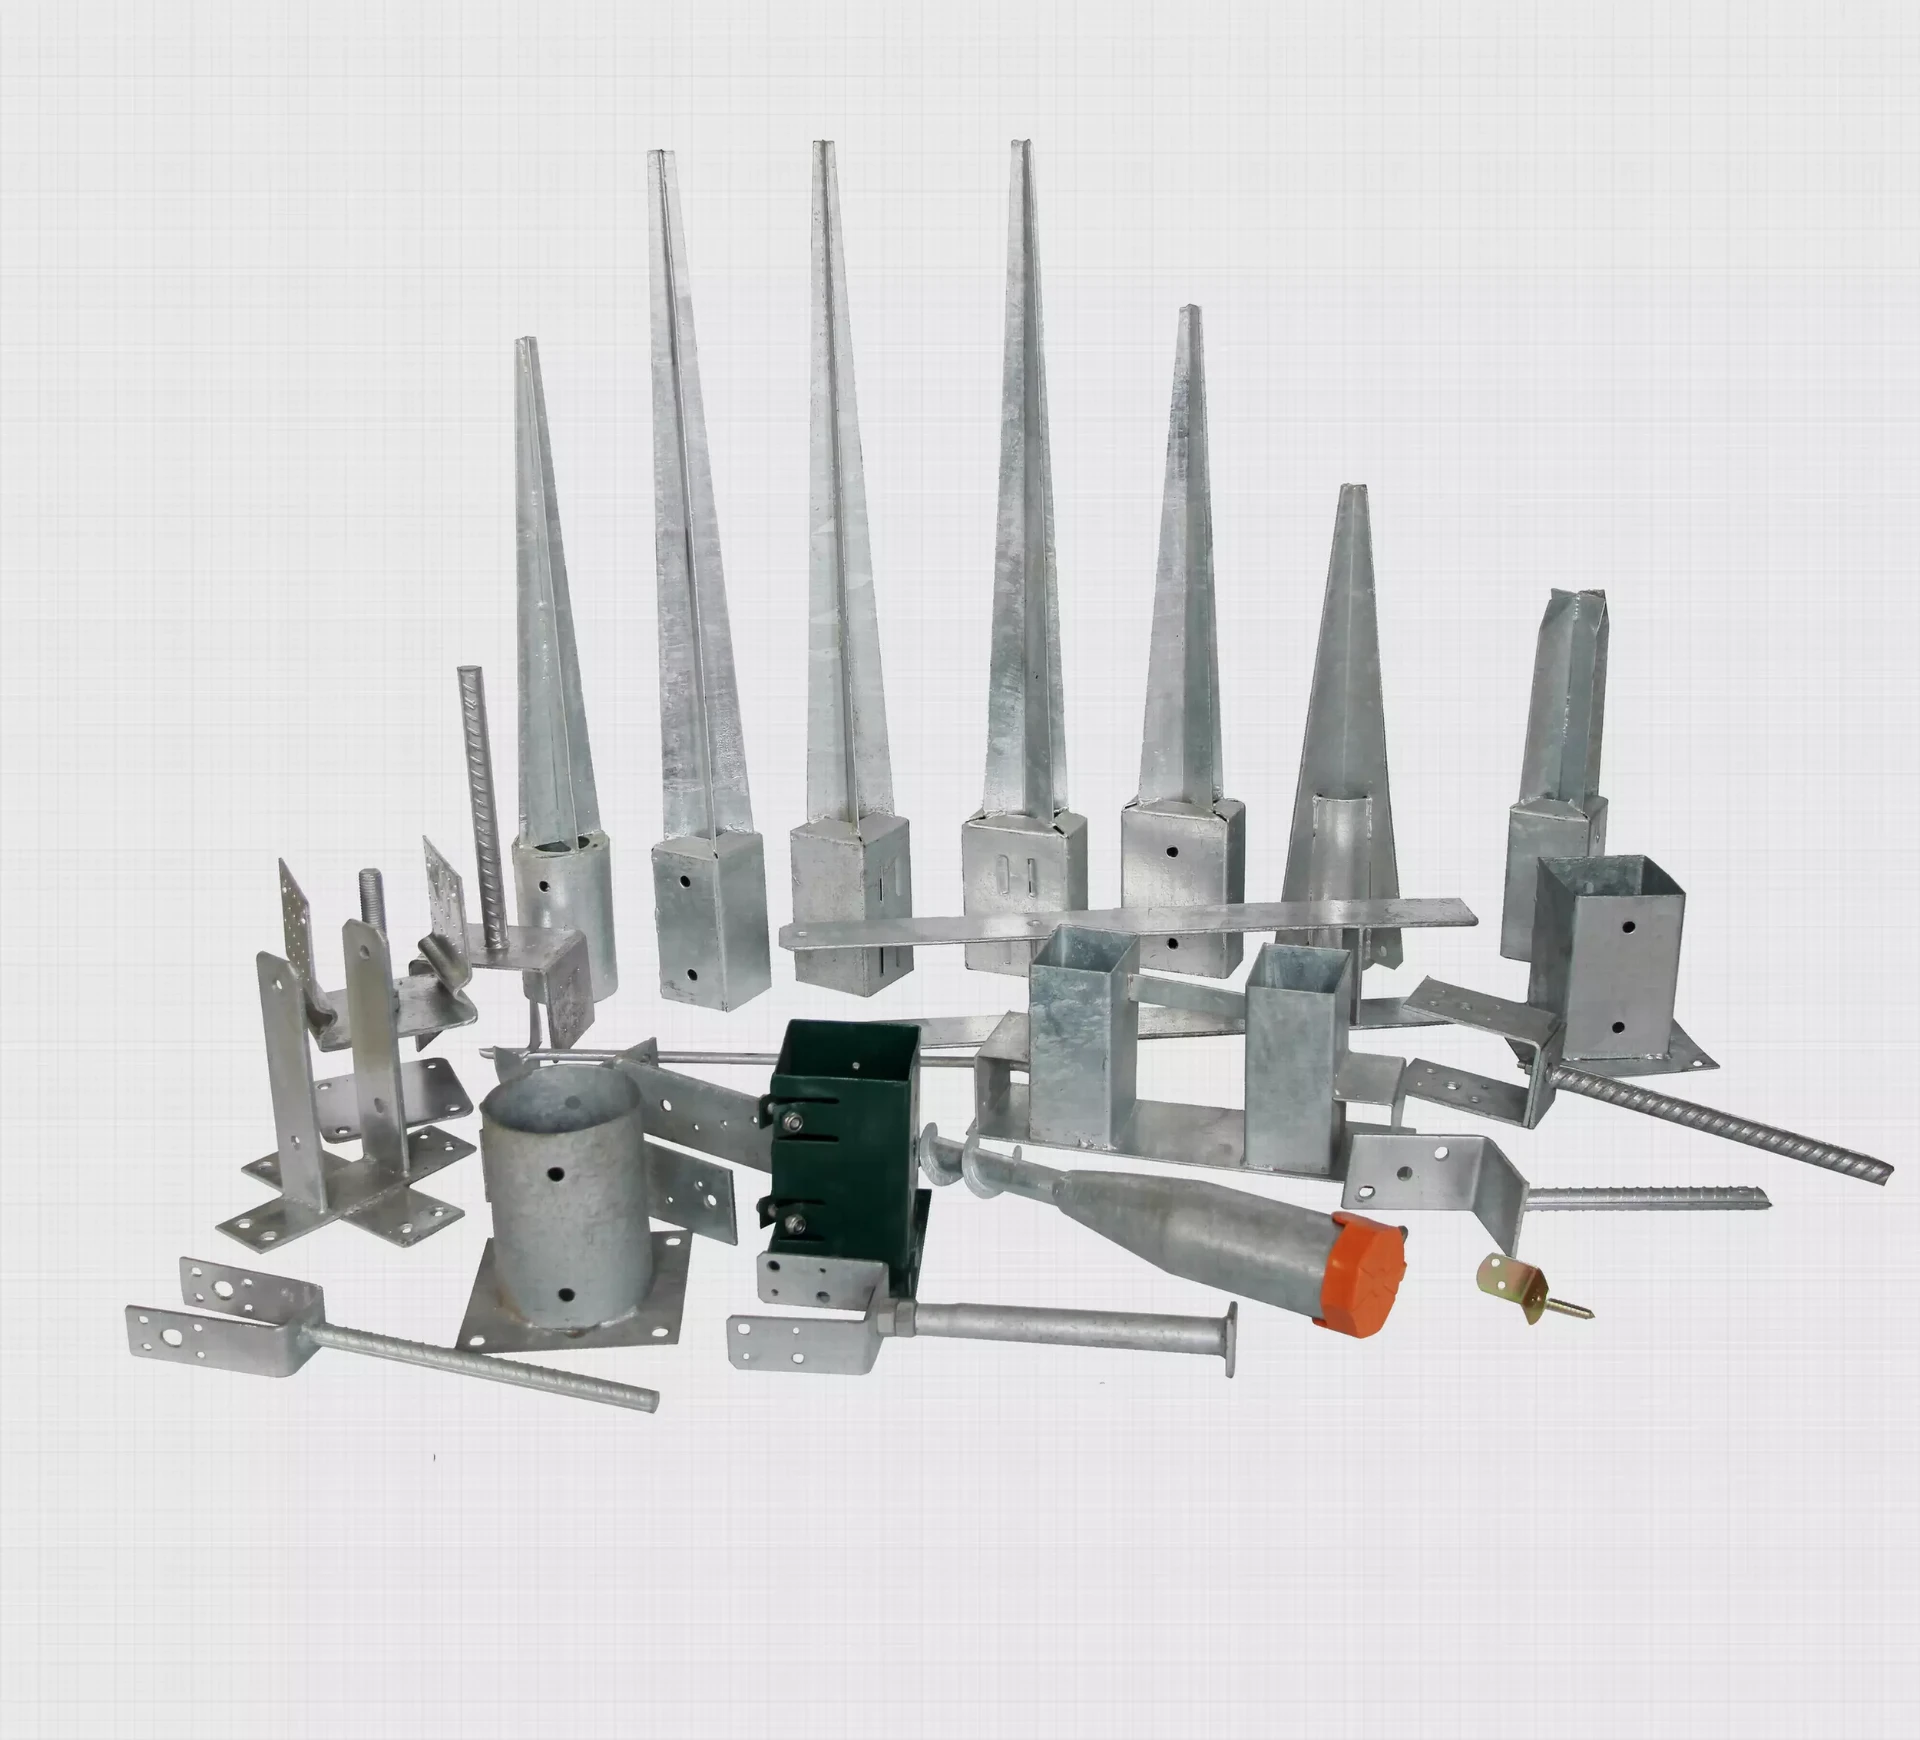
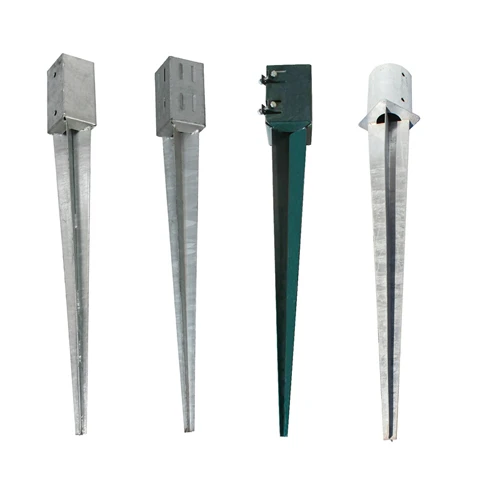
Setting a metal fence post might seem like a daunting task, but with the right tools and a little know-how, it can be straightforward and rewarding. Metal fence posts are popular for their durability and strength, making them an ideal choice for various fencing applications, whether for privacy, security, or aesthetic reasons. In this guide, we will walk you through the steps to properly set a metal fence post, ensuring stability and longevity for your fence.
Tools and Materials Needed
Before you begin, gather the necessary tools and materials 1. Metal Fence Posts Choose the appropriate type for your fence (line posts, corner posts, etc.). 2. Concrete Mix Quick-setting concrete is often preferred for faster results. 3. Digging Tools A post hole digger or auger will be essential for creating holes. 4. Level A carpenter's level will help ensure your posts are straight. 5. Measuring Tape Precision in measuring is crucial for spacing and height. 6. Safety Gear Gloves and safety glasses are recommended for protection. 7. Water Needed to mix with the concrete.
Step 1 Plan Your Fence Layout
Start with a clear plan of where you want your fence to be. Use a measuring tape to mark the length of your fence and determine where each post will go. A common distance between posts is about 6 to 8 feet, but this can vary depending on the type of fence. Mark each location with a stake or chalk.
Step 2 Dig the Post Holes
Using your post hole digger or auger, dig holes for each post. The depth of the hole should generally be about one-third the height of the post above ground. For example, for a 6-foot tall metal post, dig a hole about 2 feet deep. Ensure the holes are about 10-12 inches wide to provide ample room for the concrete.
Step 3 Prepare the Metal Post
Before placing the post in the ground, it’s advisable to treat the bottom with a rust-inhibiting primer or paint. This protective layer will help extend the lifespan of your metal post when buried in the soil, which can be conducive to rust and corrosion.
Step 4 Insert the Metal Post
setting a metal fence post
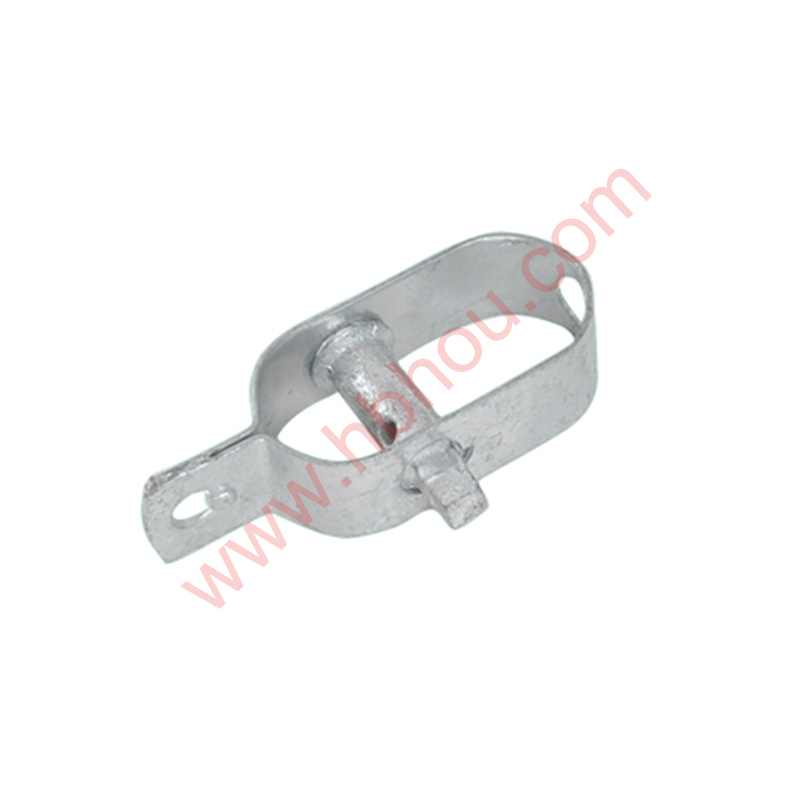
Place the metal fence post into the hole. Use a level to ensure it is straight. This step is crucial, as any tilt can lead to instability in the fence structure. If the post is leaning, adjust it accordingly.
Step 5 Pour the Concrete
Prepare your quick-setting concrete mix according to the manufacturer’s instructions. Pour the concrete into the hole around the post, filling it to just above ground level. Use a stick or rod to poke the concrete to eliminate any air pockets, ensuring a sturdy set.
Step 6 Allow the Concrete to Cure
Give the concrete time to set as per the manufacturer's recommendations, typically 24 to 48 hours. Avoid disturbing the post during this period to ensure it remains straight and secure.
Step 7 Backfill and Finish
Once the concrete has cured, backfill the area around the post with soil and tamp it down to eliminate any air gaps. This extra support will help reinforce the stability of the fence post.
Step 8 Continue with the Fence Installation
Repeat the process for each post along your fence line. Once all the posts are set and the concrete is firmly cured, you can begin attaching the fence panels or chain link, depending on your chosen design.
Conclusion
Setting a metal fence post is a project that can enhance the functionality and aesthetics of your property. With careful planning, the right tools, and adherence to the steps outlined above, you’ll achieve a durable fence that stands the test of time. Remember, patience is key during the curing process, as a well-set post will provide the necessary support for your fencing system. Happy fencing!


