Installing Metal Fence Posts in Concrete A Comprehensive Guide
When it comes to erecting a durable and long-lasting fence, the choice of materials is crucial. Metal fence posts are a popular option for those looking to enhance security and aesthetics in their outdoor spaces. These posts are known for their strength, longevity, and resistance to the elements. However, the effectiveness of metal fence posts largely depends on how they are installed, particularly when set in concrete. This article will guide you through the process of properly setting metal fence posts in concrete, ensuring that your fence stands the test of time.
Materials Needed
Before you begin, gather the necessary materials. You will need metal fence posts, concrete mix, a post hole digger or auger, a level, a measuring tape, gravel, a shovel, and water. It’s recommended to have safety gloves and goggles on hand for protection.
Step-by-Step Installation
1. Planning and Marking Start by planning the layout of your fence. Use stakes and string to mark the line where your fence will be installed. Make sure to measure the distance between posts—typically 6 to 8 feet apart, depending on the design and size of your fence.
2. Digging Post Holes Use a post hole digger or auger to dig holes for your metal posts. The depth of the holes should generally be one-third the height of the posts above ground; for example, a 6-foot fence should have holes that are at least 2 feet deep. The diameter of the hole should be about three times the width of the post.
3. Adding Gravel Place a few inches of gravel at the bottom of each hole. This improves drainage and prevents moisture from accumulating around the base of the post, which can lead to rust and deterioration.
set metal fence post in concrete

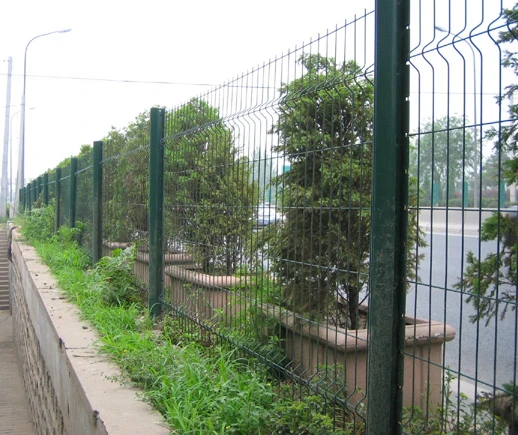
4. Setting the Posts Insert the metal posts into the holes, ensuring they are upright and aligned with your marked lines. Use a level to check that each post is plumb. If necessary, use stakes to hold the posts in position temporarily.
5. Mixing Concrete Prepare your concrete mix according to the instructions on the packaging. You can use a pre-mixed bag that only requires the addition of water. Ensure the mix is consistent and ready for pouring.
6. Pouring Concrete Begin pouring the concrete around the posts in the holes. Fill each hole to just below the ground level, allowing enough room for a little soil on top. Use a shovel or stick to tamp the concrete down and remove any air pockets, ensuring that the posts remain stable.
7. Finishing Touches Once the concrete is poured, check that the posts are still level and adjust if necessary. Allow the concrete to set according to the manufacturer’s instructions—typically 24 to 48 hours. During this time, do not disturb the posts.
8. Backfilling and Landscaping After the concrete has cured, you can backfill the holes with soil and compact it around the base of the posts. This will help stabilize the posts even further and prepare your landscape for the final touches.
Conclusion
Setting metal fence posts in concrete may seem labor-intensive, but the result is a sturdy and reliable fence that will serve its purpose well over time. By following these steps, you’ll ensure that your fence remains upright and secure throughout the years, adding both functionality and style to your property. Investing the time and effort into a proper installation will lead to satisfaction and peace of mind for years to come.


