Installing a Metal Fence Post in Concrete
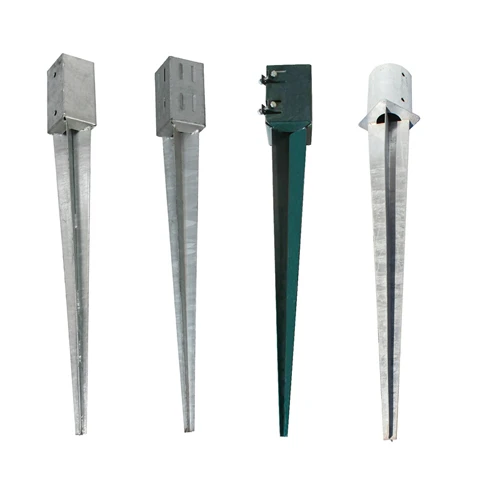
When it comes to setting up a sturdy and durable fence, one of the most critical factors is the installation of the fence posts. Choosing metal fence posts can enhance the longevity and stability of your fence significantly. This article will guide you through the essential steps to properly set a metal fence post in concrete.
Gather Your Materials
Before starting your project, gather all the necessary materials. You will need metal fence posts, concrete mix, a digging tool (post hole digger), a level, gravel, a mixing container, water, and safety gear. Make sure to wear gloves and eye protection during the installation process.
Determine the Location
Decide where you want to install your fence by marking the location of each post with stakes. Ensure that the layout aligns with any property lines and local regulations. Consider the spacing between the posts, which typically should be around 6 to 8 feet apart, depending on the type of fence you're installing.
Digging the Post Holes
Using a post hole digger, dig holes that are about one-third the length of the posts you’ll be setting. For example, if you have an 8-foot post, your holes should be approximately 2 to 3 feet deep. The width of the hole should be around 3 to 4 inches wider than the post itself to allow room for concrete and ensure stability.
Prepare the Concrete
set metal fence post in concrete

Next, you’ll need to mix the concrete according to the manufacturer’s instructions. Generally, this involves combining dry concrete mix with water in a mixing container until you achieve a workable consistency. It’s important not to make the mixture too runny, as this can affect the curing process.
Setting the Fence Post
Place a few inches of gravel at the bottom of the hole to assist with drainage. Insert the metal fence post into the hole and ensure it is plumb (vertically straight) using a level. Once the post is positioned correctly, begin pouring the concrete mix into the hole around the post, filling it to ground level. Use a trowel to eliminate air pockets and ensure the concrete is compact around the post.
Curing Time
After setting the post, allow the concrete to cure. This usually takes at least 24 to 48 hours, but it’s best to follow the specific curing time mentioned on your concrete mix instructions. During this period, avoid any stress on the post.
Final Touches
Once the concrete has set, you can proceed with attaching the fence panels to the posts. Check for alignment and stability once again before securing everything in place.
By following these straightforward steps, you can successfully install metal fence posts in concrete, ensuring that your fence stands strong and meets your needs for years to come.


