Replacing Chain Link Fence Posts A Step-by-Step Guide
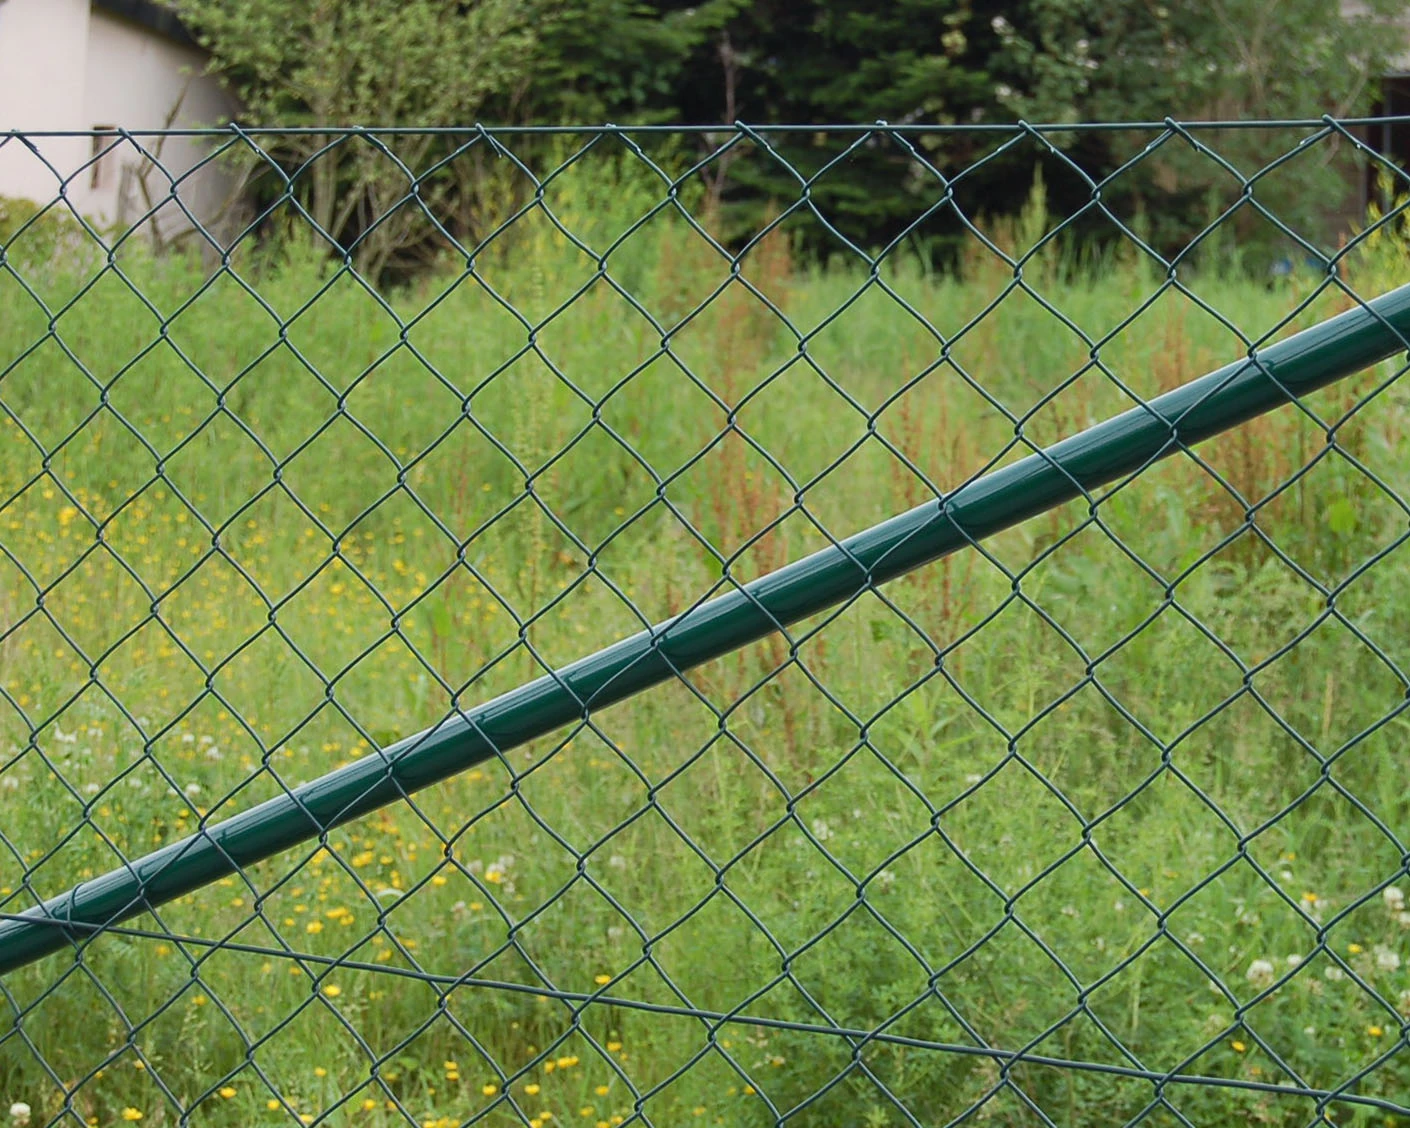
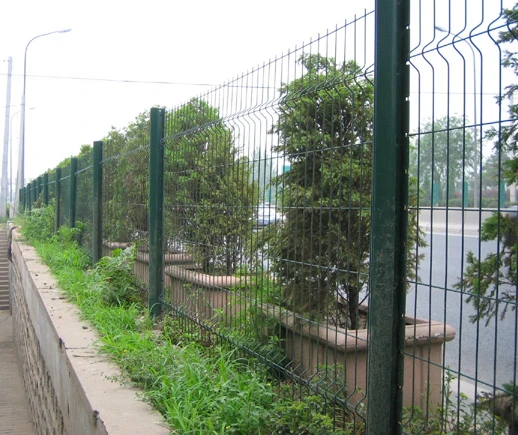
Chain link fences are popular among homeowners due to their durability, cost-effectiveness, and low maintenance. However, over time, the fence posts may succumb to rust, decay, or structural issues. When this happens, it's crucial to replace the damaged posts to ensure the integrity and functionality of your fence. In this article, we’ll outline a step-by-step guide to help you replace chain link fence posts effectively.
Step 1 Gather Your Materials
Before you begin the replacement process, gather all the necessary tools and materials. You will need
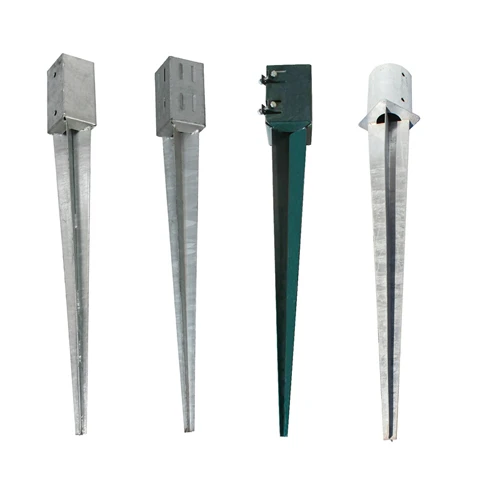
- New fence posts (ensure they are the same height and size as the old ones) - Post concrete or gravel for stabilization - A post hole digger or auger - A level - A hammer - Wire cutters - A saw (if trimming is required) - Safety equipment (gloves, goggles)
Step 2 Remove the Old Post
Start by removing the damaged post. Depending on the condition of the post and the soil around it, this may involve digging around the base with a post hole digger. If the post is set in concrete, you may need to cut the post off at ground level and dig out the remaining concrete. Once the old post is removed, clear the area to ensure you have space to work.
Step 3 Dig the New Post Hole
Using the post hole digger or auger, dig a hole for the new post. The hole should be about one-third the length of the post deep, allowing for ample support. Make sure the diameter of the hole is slightly larger than the post to accommodate the surrounding materials.
Step 4 Insert the New Post
replacing chain link fence post
Place the new post into the hole, ensuring it is positioned straight. Use a level to check that the post is vertical. If the post is leaning, adjust it as necessary. Once it is straight, temporarily brace it with stakes to hold it in place.
Step 5 Add Concrete or Gravel
Next, fill the hole with post concrete or gravel. If using concrete, follow the manufacturer’s instructions for mixing. Pour the concrete around the post until the hole is filled, ensuring that the post remains level. If using gravel, fill the hole around the post and then compact the gravel to provide stability.
Step 6 Attach the Chain Link Fabric
Once the concrete or gravel has set (if applicable), it’s time to reattach the chain link fabric. Use wire cutters to remove any old wire connecting the fabric to the post. Then, attach the fabric to the new post using tension bands and nuts, ensuring a secure fit.
Step 7 Finish and Clean Up
Finally, clean up any debris from the area and check the entire fence line for any other necessary repairs. This may include tightening other fabric connections or checking additional posts for stability.
Conclusion
Replacing chain link fence posts is a manageable DIY project that can enhance the safety and aesthetics of your property. By following these steps, you can ensure a successful installation, restoring your fence to its former strength and reliability. Whether you’re a seasoned DIY enthusiast or a beginner, this task can be a rewarding experience that adds value to your home.


