Installing Barbed Wire Fence A Comprehensive Guide
Barbed wire fencing has been a long-standing solution for maintaining boundaries, protecting property, and keeping livestock safe. It serves as a reliable deterrent against intruders, both human and animal. If you're considering installing a barbed wire fence, this comprehensive guide will walk you through the essential steps to ensure a successful installation.
Step 1 Planning and Preparation
The first step in any fencing project is careful planning. Start by deciding on the purpose of your fence. This could range from securing livestock to marking property lines. Once you've established this, measure the area where you plan to install the fence. Make sure to check local regulations or restrictions regarding fencing height and design to avoid any legal issues.
After determining your dimensions, outline your fence line using stakes and string. This will give you a visual representation of where your fence will go and help you make any necessary adjustments before digging.
Step 2 Gather Materials
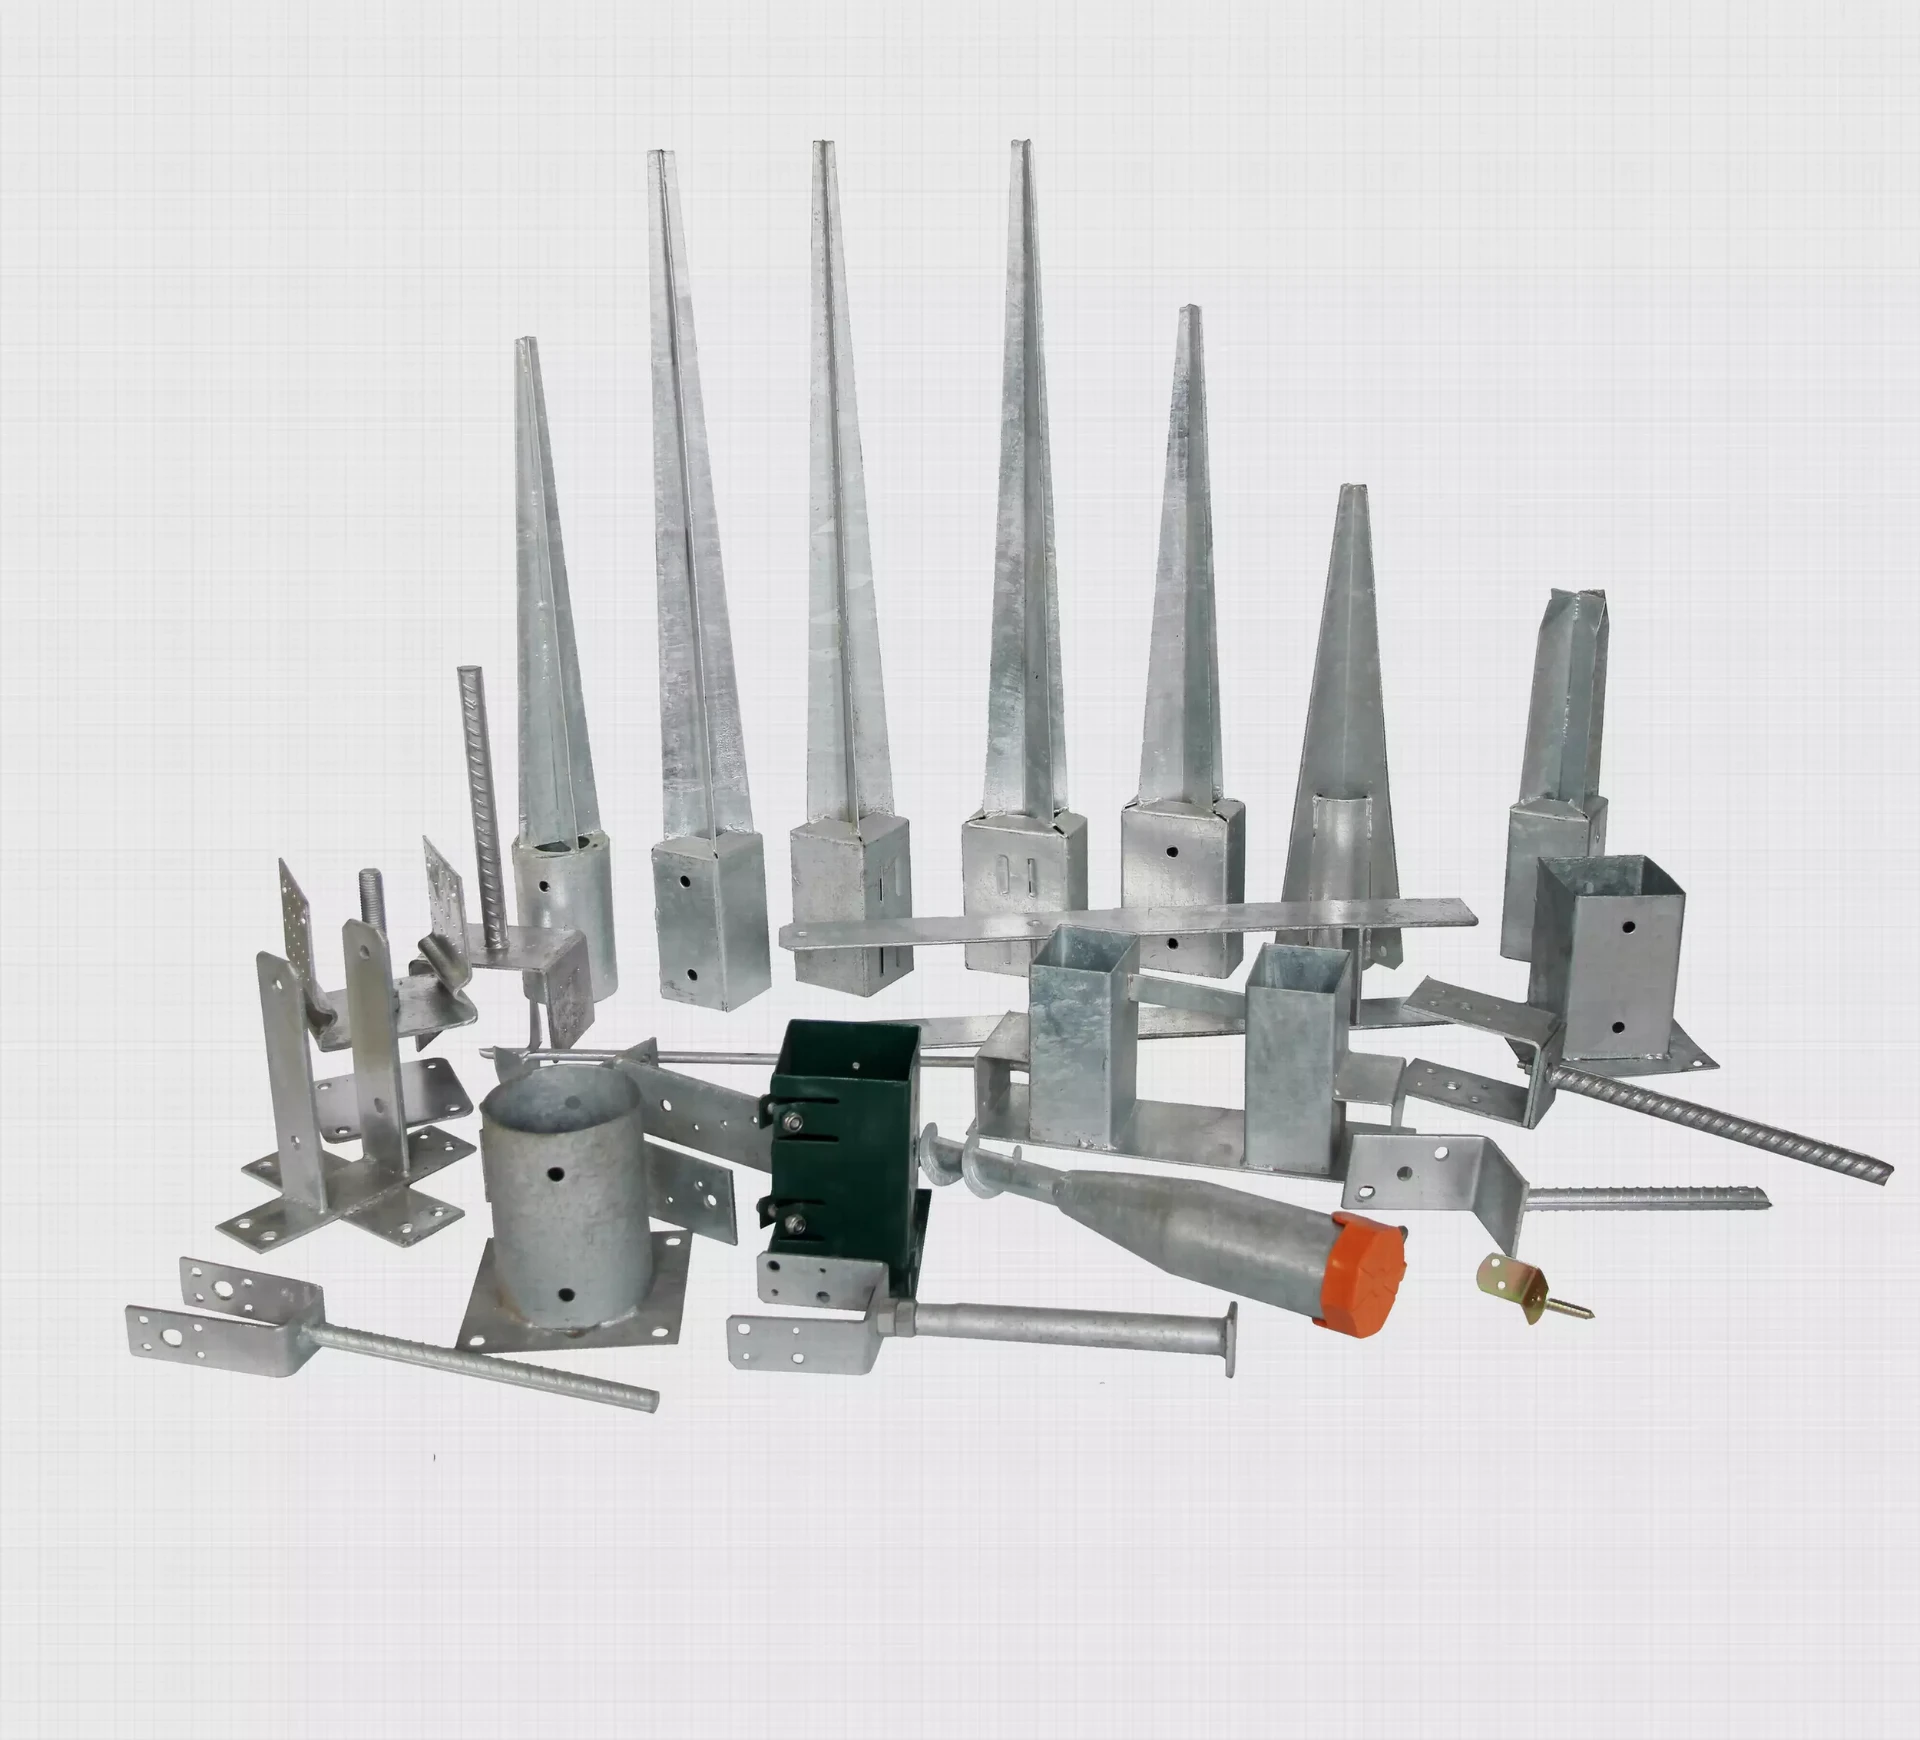
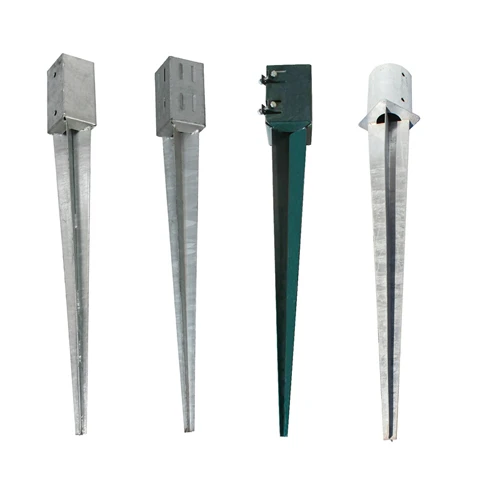
A successful barbed wire fence requires specific materials. You will need - Barbed wire (typically sold in rolls) - Fence posts (either wood, metal, or fiberglass) - Stays or support wires (to keep the barbed wire taut) - Fence staples (to secure the wire to the posts) - Tools like a post hole digger, hammer, wire cutters, and fencing pliers
Ensure that you have enough materials based on the length of your fence and the number of posts needed. Generally, fence posts should be placed 8 to 12 feet apart, depending on your terrain and type of livestock.
Step 3 Installing Fence Posts
installing barbed wire fence

Begin by digging holes for your fence posts. The depth should be approximately one-third of the post's length to ensure stability. When placing the posts, make sure they are aligned with your marked string line. Use a level to ensure each post is straight, and backfill the holes with gravel or soil to secure them.
Step 4 Attaching the Barbed Wire
With the fence posts installed and secure, it’s time to attach the barbed wire. Start at one end of the fence line and unroll the wire, threading it through the first post’s holes. Secure the wire using staples, making sure it is tight but not overly strained. You typically want to use at least three strands of barbed wire, spacing them evenly between the posts.
Ensure the barbed wire is taut, as loose wire can lead to sagging and reduce the fence's effectiveness. You can use fencing pliers to tighten the wire as needed.
Step 5 Finishing Touches
Once all strands of barbed wire are secured, walk along the entire length of your fence to check for any sagging or loose sections. Make adjustments where necessary to ensure that the fence is uniform and secure.
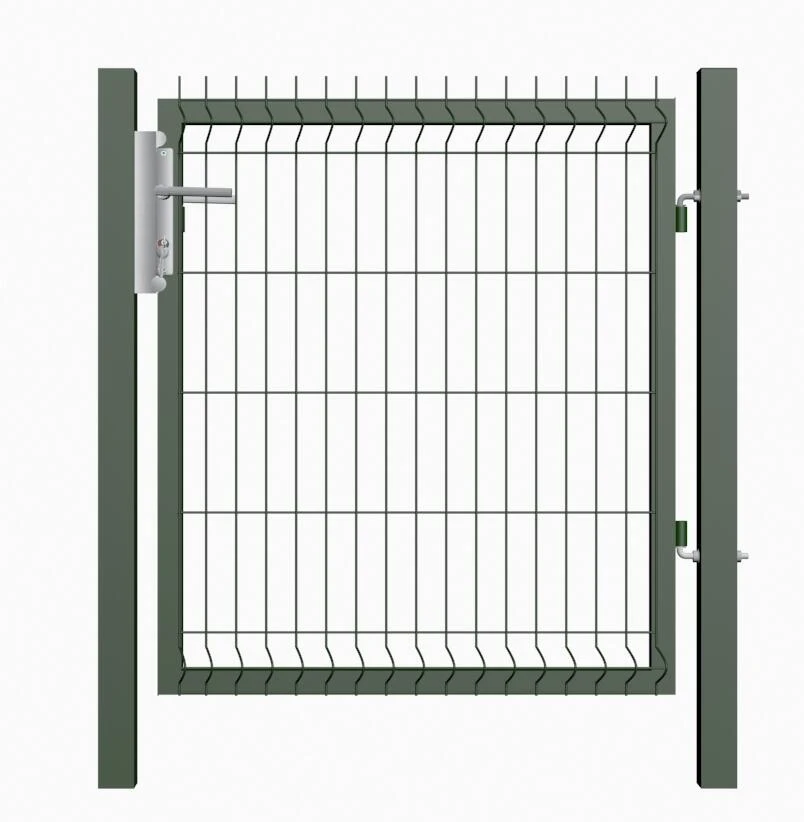
If desired, you can add a gate at any point for easy access to your property. Ensure the gate is properly mounted and can close securely.
Conclusion
Installing a barbed wire fence can be a straightforward task if you approach it methodically. By planning carefully, gathering the right materials, and following the steps outlined, you’ll have a strong and effective fence that fulfills its purpose, whether for keeping livestock in or protecting your property from intruders. Remember, safety is paramount—wear gloves and take precautions while handling barbed wire to avoid injuries. With the right approach, your fence will stand the test of time.


