Installing a Chain Link Fence Post A Step-by-Step Guide
Installing a chain link fence post may seem like a daunting task, but with the right tools and approach, it can be a manageable DIY project. Chain link fences are popular for their durability and affordability, making them an excellent choice for residential and commercial properties alike. Here’s a step-by-step guide to help you successfully install a chain link fence post.
Step 1 Gather Your Materials and Tools
Before you begin, make sure you have all the necessary materials and tools. You will need
- Chain link fence posts - Concrete mix - Gravel - A shovel or post hole digger - A level - A tape measure - A string line - Fence ties or brackets
Step 2 Plan and Measure
Start by marking the perimeter where your fence will go. Use stakes to outline the corners and run a string line between them to visualize the fence’s path. It’s crucial to measure the distance between posts accurately. Typically, chain link fence posts are placed 5 to 10 feet apart, depending on the fence height and local regulations.
Step 3 Dig the Post Holes
Using your shovel or post hole digger, excavate the holes for the posts. The holes should be about three times the width of the posts and at least two feet deep, especially if your fence will be subjected to strong winds or other environmental factors. Ensure the depth is consistent for better stability.
installing a chain link fence post
Step 4 Set the Posts
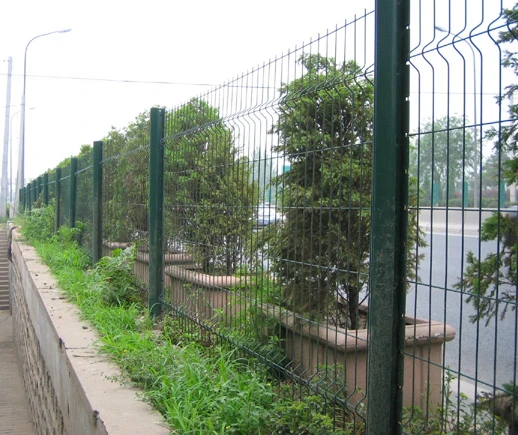
Place the fence posts in the holes, ensuring they are upright and properly aligned. To keep them straight, use a level. If you are installing more than one post, make sure they are at the same height by adjusting their positioning accordingly.
Step 5 Secure the Posts
Once the posts are aligned, fill the holes with gravel for drainage, and then pour concrete mix around the posts for extra stability. Make sure the concrete is properly mixed according to the package instructions and allow it to set for the recommended time, usually 24-48 hours.
Step 6 Attach the Chain Link Fabric
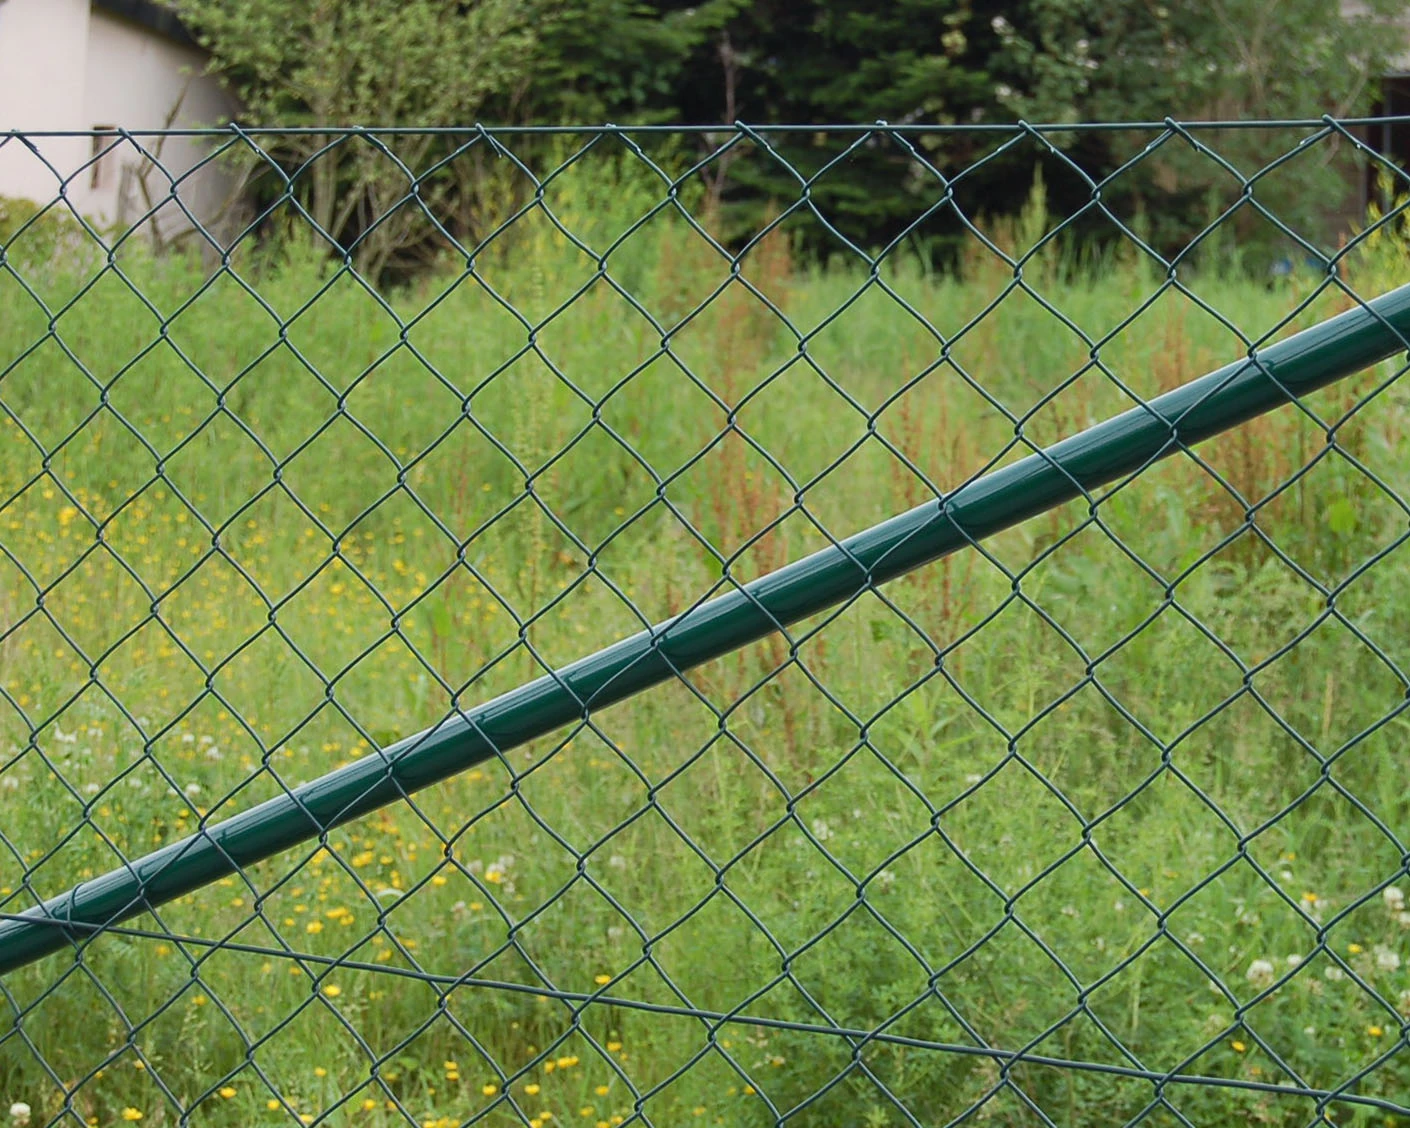
After the concrete has cured, it’s time to install the chain link fabric. Start at one end, attaching the fabric to the posts using fence ties or brackets. Pull the fabric taut to avoid sagging, and ensure it’s evenly distributed across the posts.
Step 7 Finishing Touches
Finally, check the whole fence line for any adjustments needed. Trim any excess fabric and secure loose ends. Add any additional features, such as gates or privacy slats, as desired.
In conclusion, installing a chain link fence post is a straightforward process that can enhance your property’s security and aesthetic appeal. By following these steps and taking your time, you can successfully complete your fence installation project!


