The Essential Guide to Fixing Chain Link Fences A Step-by-Step Approach
Chain link fences are a popular choice for homeowners and businesses alike, thanks to their durability, affordability, and ease of installation. However, like any structure, they can suffer from wear and tear over time. Whether it’s due to harsh weather conditions, accidental impacts, or age, you may find yourself needing to fix your chain link fence. This article will guide you through the essential steps for ensuring your fence remains in good condition, so you can continue to enjoy its benefits.
Assessing the Damage
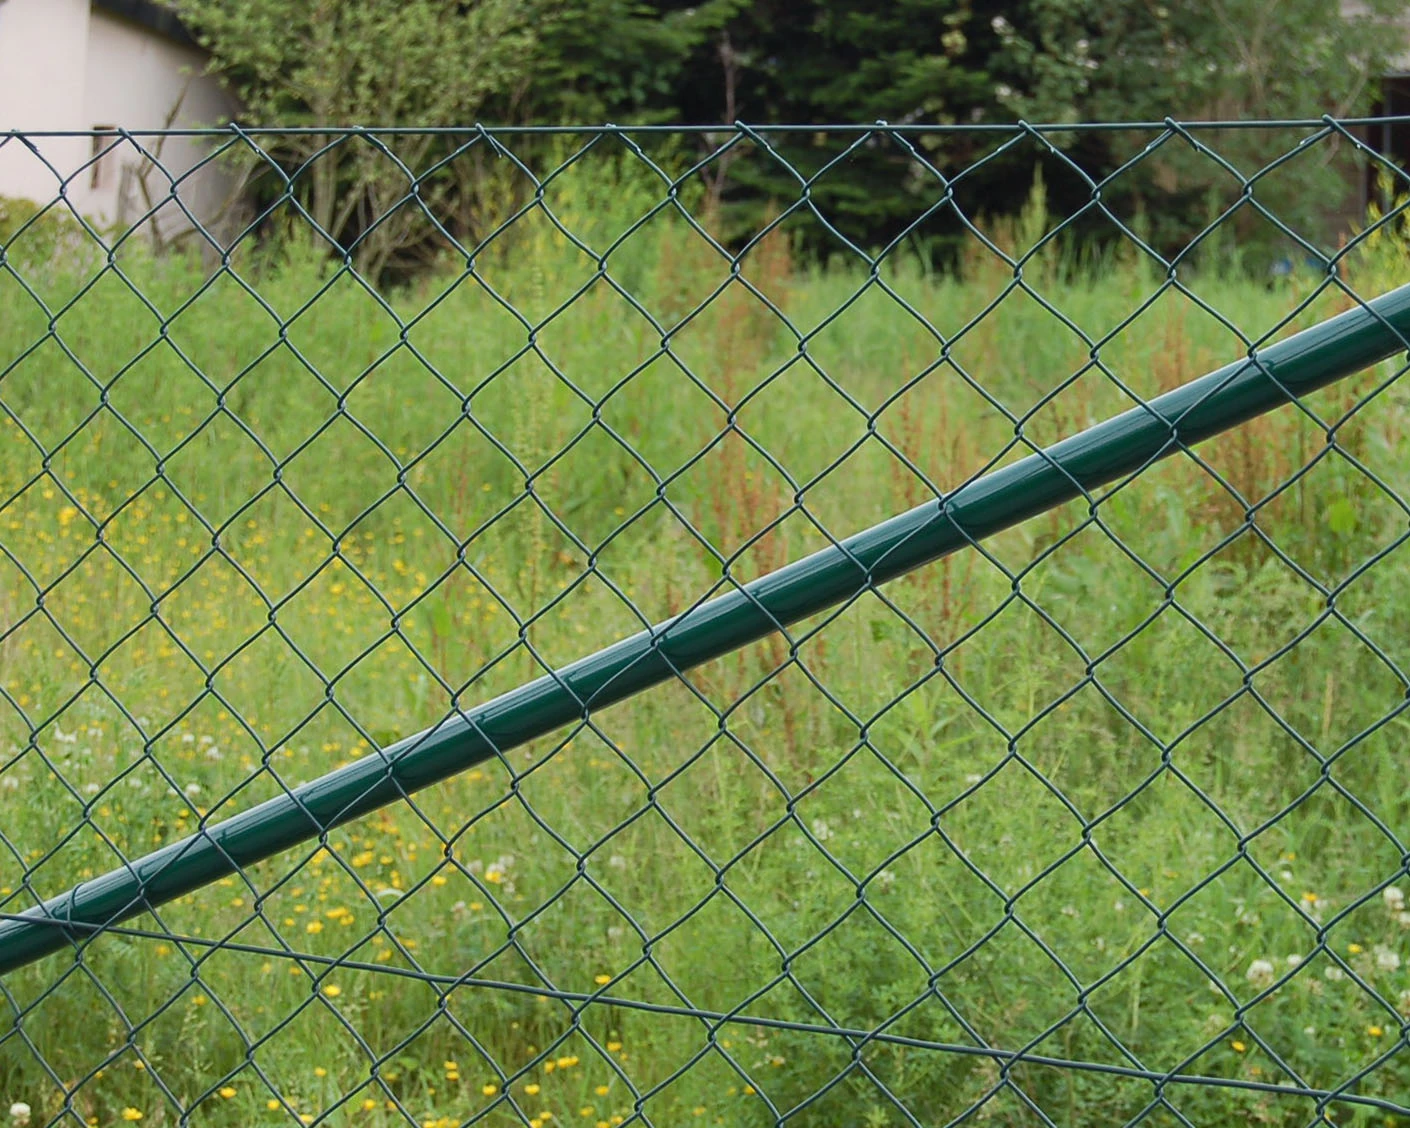
The first step in fixing a chain link fence is to assess the extent of the damage. Walk along the fence line and look for any sagging, broken links, rust, or leaning posts. Identify the affected areas so you can prioritize your repairs. Common issues include
- Damaged or Rusty Fabric Over time, the metal links can corrode, especially in areas with high humidity or extreme weather conditions. - Broken or Leaning Posts Posts that are not anchored properly or are rotting at the base can cause the entire fence to lean or collapse.
- Missing or Damaged Tension Bands and Braces These components are crucial for maintaining the integrity of the fence and keeping it taut
.Gathering Tools and Materials
Once you’ve identified the problems, gather the necessary tools and materials. Typically, you’ll need
- Pliers - Wire cutters - Replacement chain link fabric (if needed) - Tension bands and bolts - Fence posts (if replacement is necessary) - Concrete mix (for securing posts) - A level - A measuring tape - Gloves and safety goggles for protection
Repairing the Fence
fixing chain link fence
Now that you have everything you need, it’s time to get to work. Here’s a step-by-step process for fixing common chain link fence issues
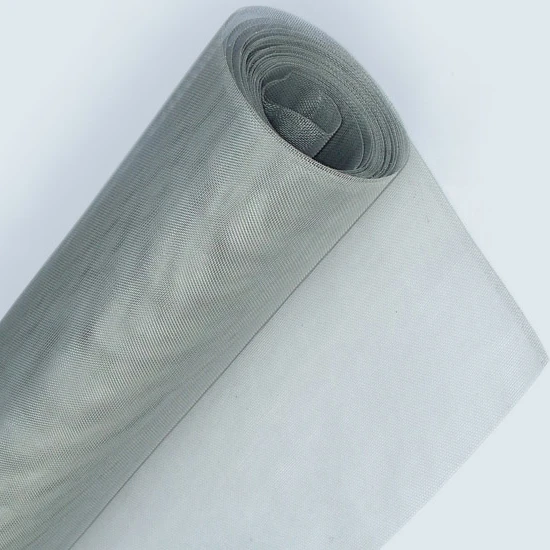
1. Repairing Chain Link Fabric - If you have small holes or damaged sections, you can patch them by weaving in new links or using wire to tie them together. - For larger gaps, you may need to cut out the damaged section and replace it with new chain link fabric. Make sure the new piece matches the existing fabric in terms of gauge and height.
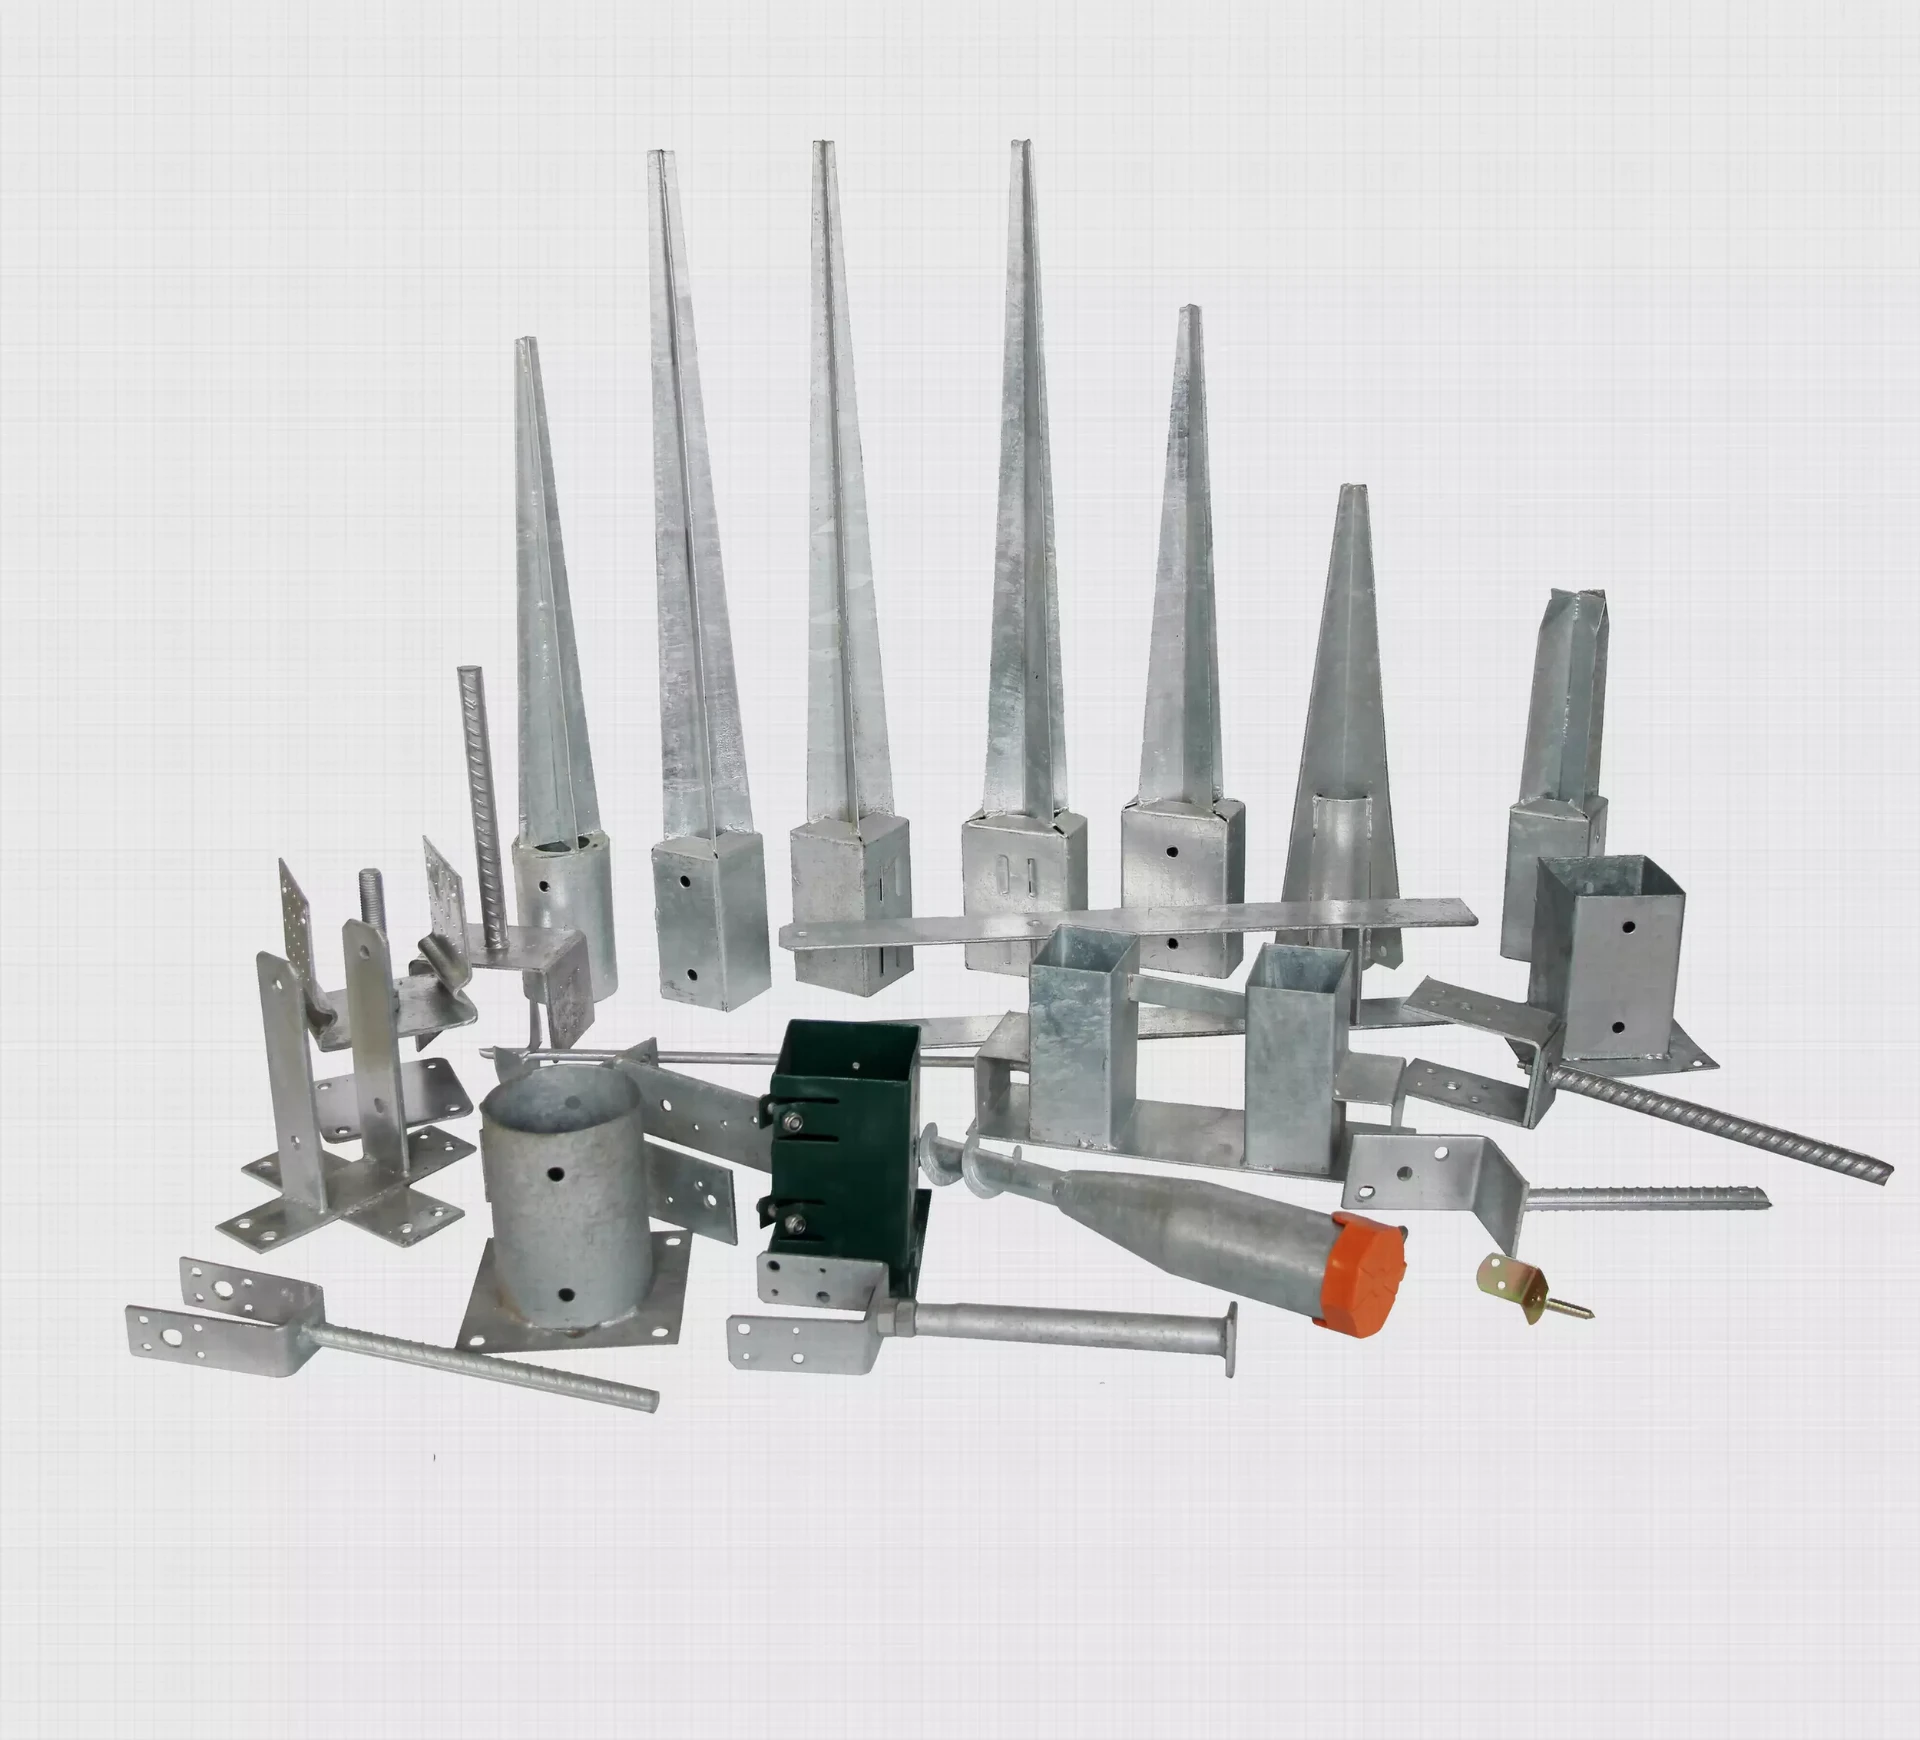
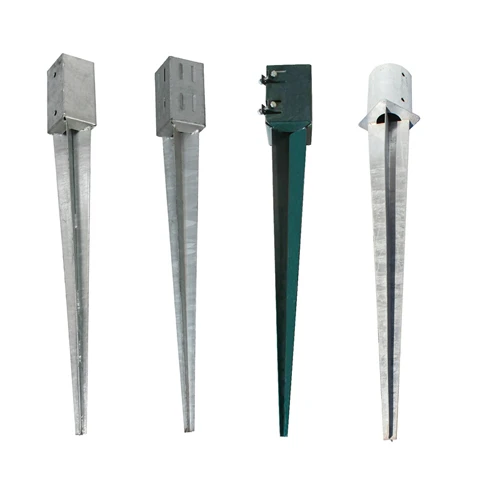
2. Reinforcing or Replacing Fence Posts - To repair leaning posts, first dig around the base to expose the concrete footing. If the post is fixable, you can add more concrete or fill the hole with gravel to stabilize it. Use a level to ensure it stands straight while the concrete sets. - If the post is damaged beyond repair, replace it entirely. Remove the old post, dig a new hole, and set the new post in concrete, ensuring it is aligned with the rest of the fence.
3. Fixing Tension Bands and Braces - Inspect your tension bands and braces to see if they are rusted or broken. Replace any damaged components by removing the old ones and installing new ones. - Tighten all hardware to ensure the fabric stays taut against the posts.
Final Touches
Once you've completed the repairs, take a step back and inspect your work. Ensure that all parts of the fence are properly aligned and securely attached. If you’ve replaced any parts, double-check that they are compatible with the existing fence structure.
You may want to consider treating your fence with rust-resistant paint or sealant to extend its lifespan and enhance its appearance. Regular maintenance—such as reapplying protective coatings and checking for damages—can prevent more significant issues in the future.
Conclusion
Fixing a chain link fence may seem like a daunting task, but with the right tools and a systematic approach, you can restore its integrity and functionality. Whether you’re dealing with rust, broken links, or unstable posts, addressing these problems promptly will ensure that your chain link fence continues to serve its purpose for years to come. By following the steps outlined in this guide, you’ll be well on your way to enjoying a sturdy, attractive fence that protects your property while enhancing its visual appeal.


