Setting Up a Chain Link Fence A Comprehensive Guide
Setting up a chain link fence is an excellent way to enhance privacy, security, and property boundaries. Whether you’re a homeowner looking to enclose your yard or a business owner wanting to protect your premises, a chain link fence offers a durable and cost-effective solution. This article provides a step-by-step guide to setting up a chain link fence, making the process manageable and straightforward.
Materials Needed
Before you start, gather all the materials you’ll need. This includes
- Chain link fabric - Fence posts (terminal posts and line posts) - Post caps and tension bands - Top rail - Tie wires - Concrete mix (for securing posts) - Fence stakes - Level - Tape measure - Fence puller (optional but helpful)
Step 1 Planning and Marking
Start by planning the layout of your fence. Use stakes and string to outline where the fence will go. Make sure to check with local building codes and regulations to ensure you’re following any legal requirements. It’s also a good idea to talk to your neighbors if the fence straddles a property line.
Step 2 Measuring and Digging Holes for Posts
Once your layout is marked, measure the distance between posts. Generally, the distance between line posts should be 5 to 10 feet apart, depending on the height of the fence. Mark the locations for each post with stakes.
Use a post hole digger to excavate holes for the posts. Each hole should be about one-third of the post's height in depth. For example, if you have a 6-foot fence, the holes should be around 2 feet deep.
Step 3 Setting the Posts
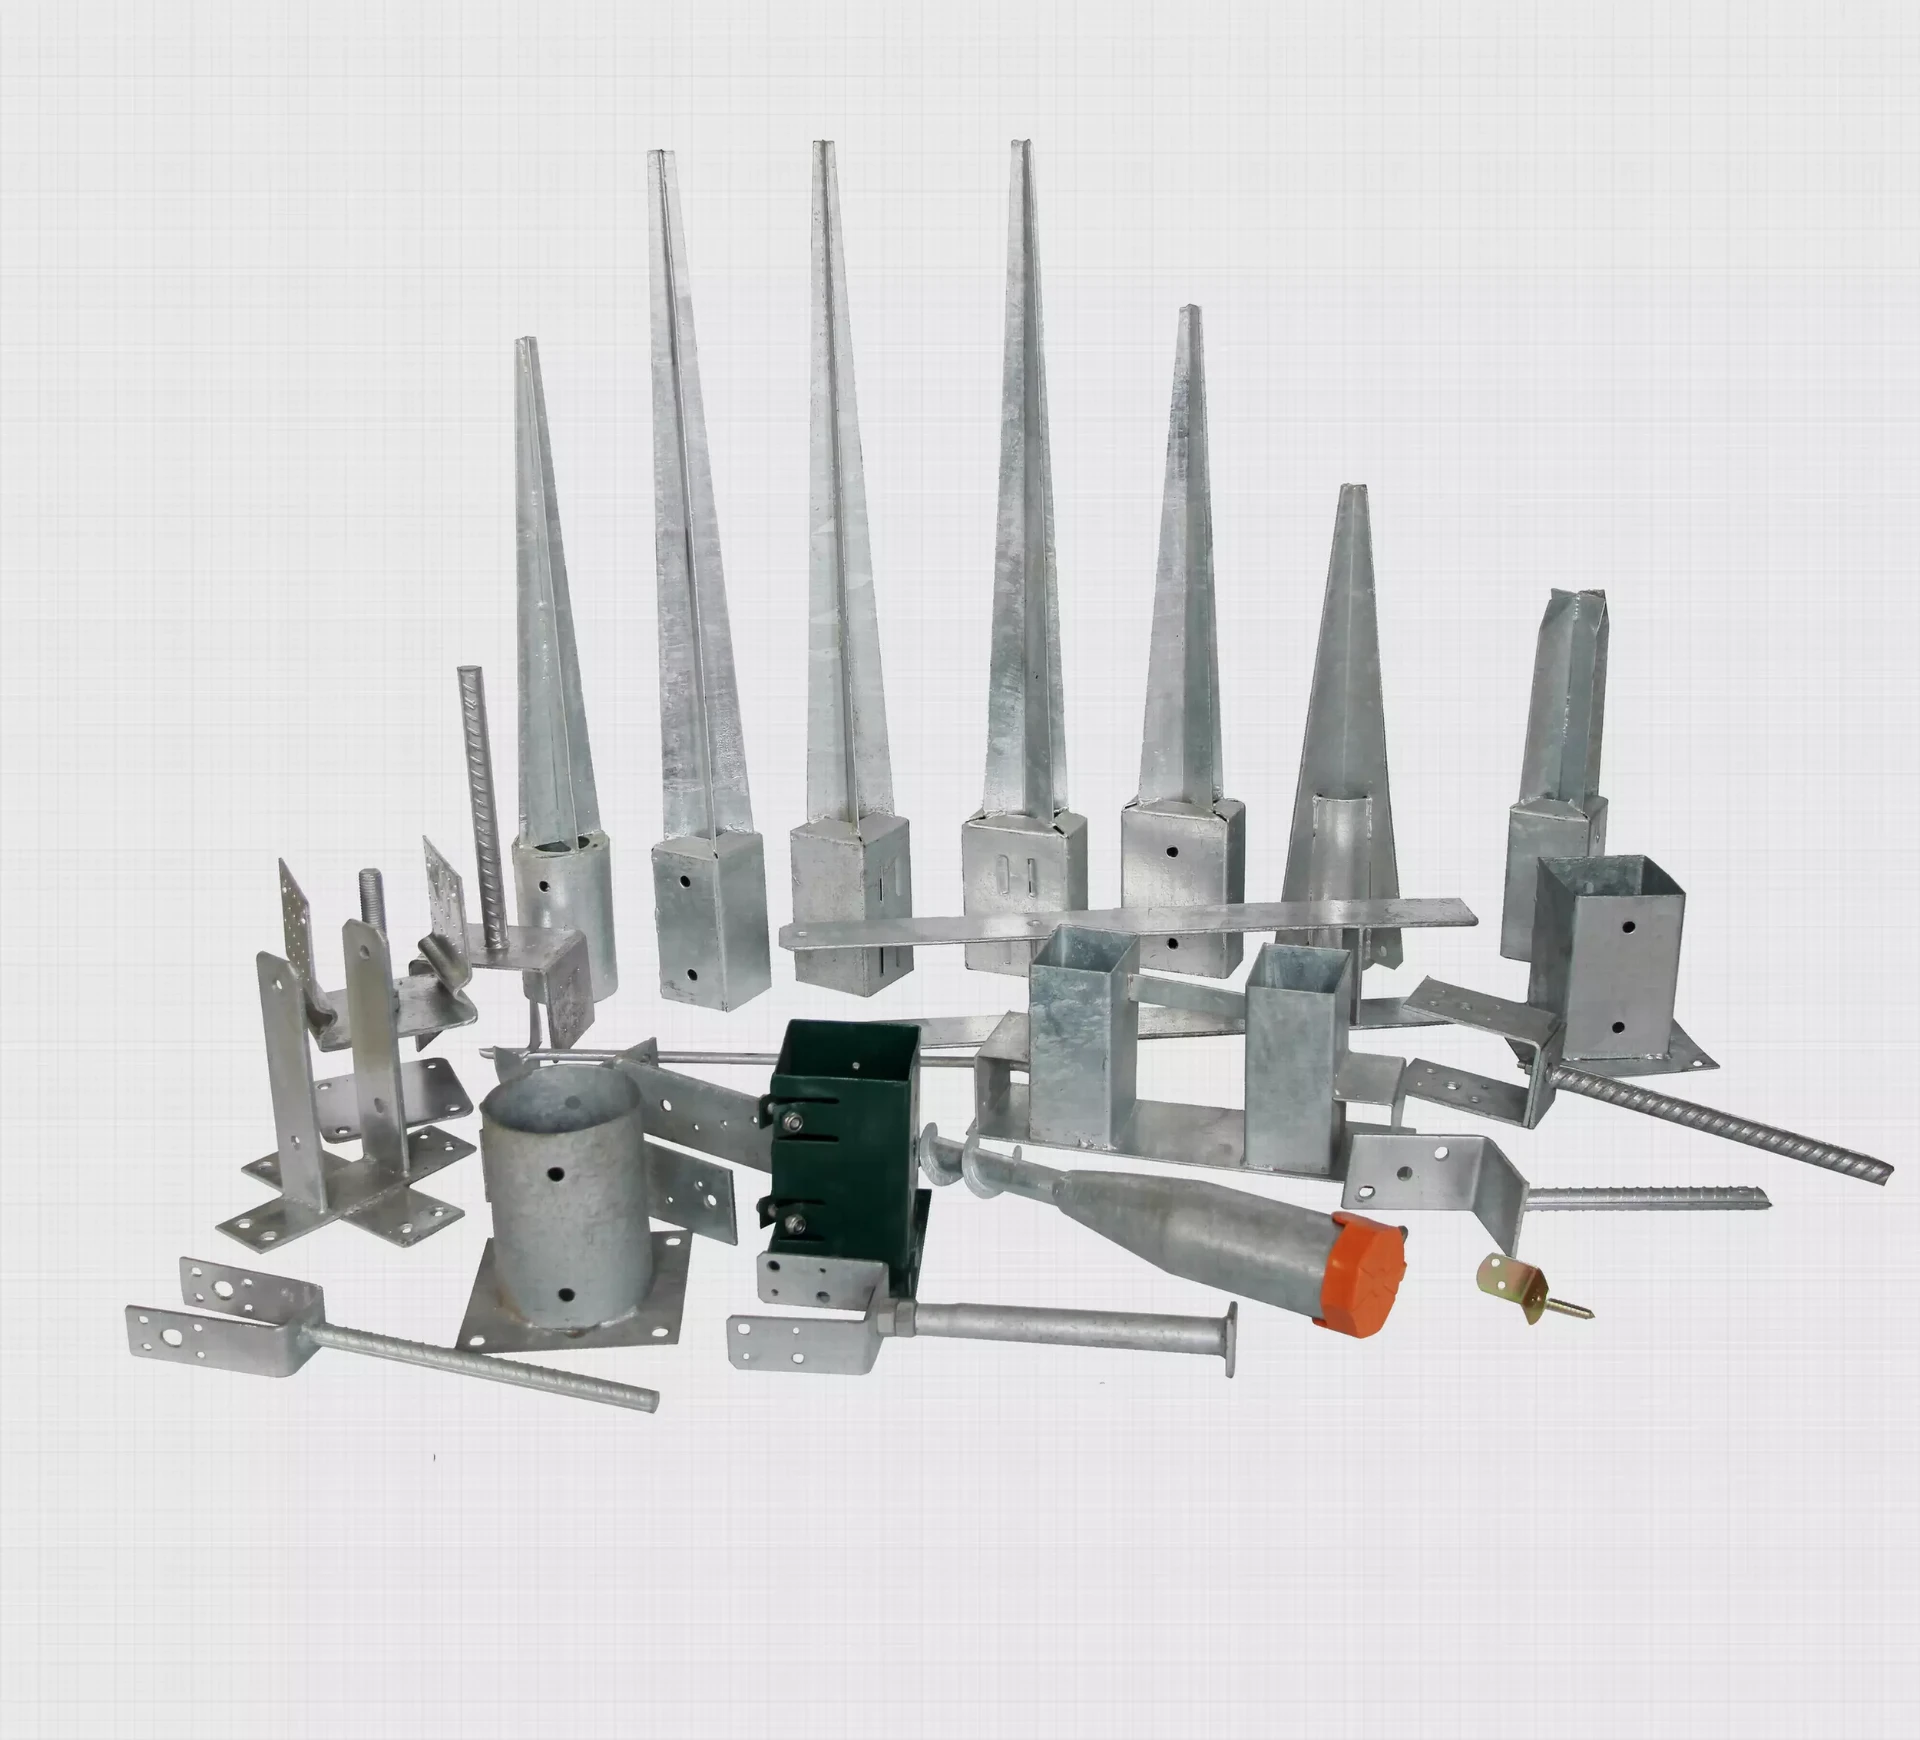
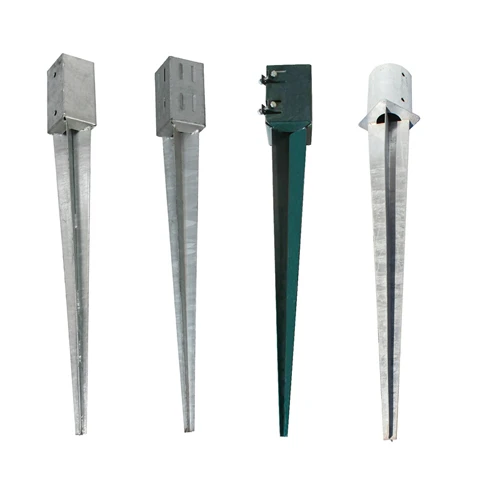
Place the terminal posts at the corners and ends of your fence line. Line posts should be placed in between the terminal posts. Set each post in its respective hole and use a level to ensure they are vertical.
chain link fence set up

Pour concrete mix into the holes around the posts to secure them. Follow the manufacturer’s instructions for mixing and curing time. Tapping the posts gently with a hammer while the concrete is wet can help eliminate air pockets and stabilize the posts.
Step 4 Installing the Top Rail
After the concrete has cured, typically for 24 to 48 hours, install the top rail. The top rail connects the terminal posts and provides added stability. Insert the top rail into the end cups on the terminal posts, securing it with screws.
Step 5 Hanging the Chain Link Fabric
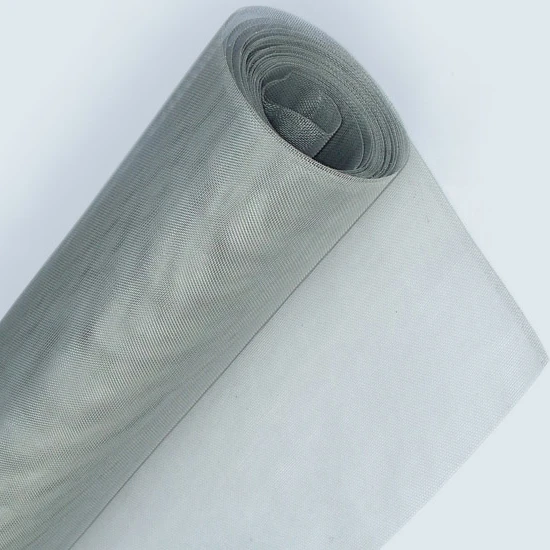
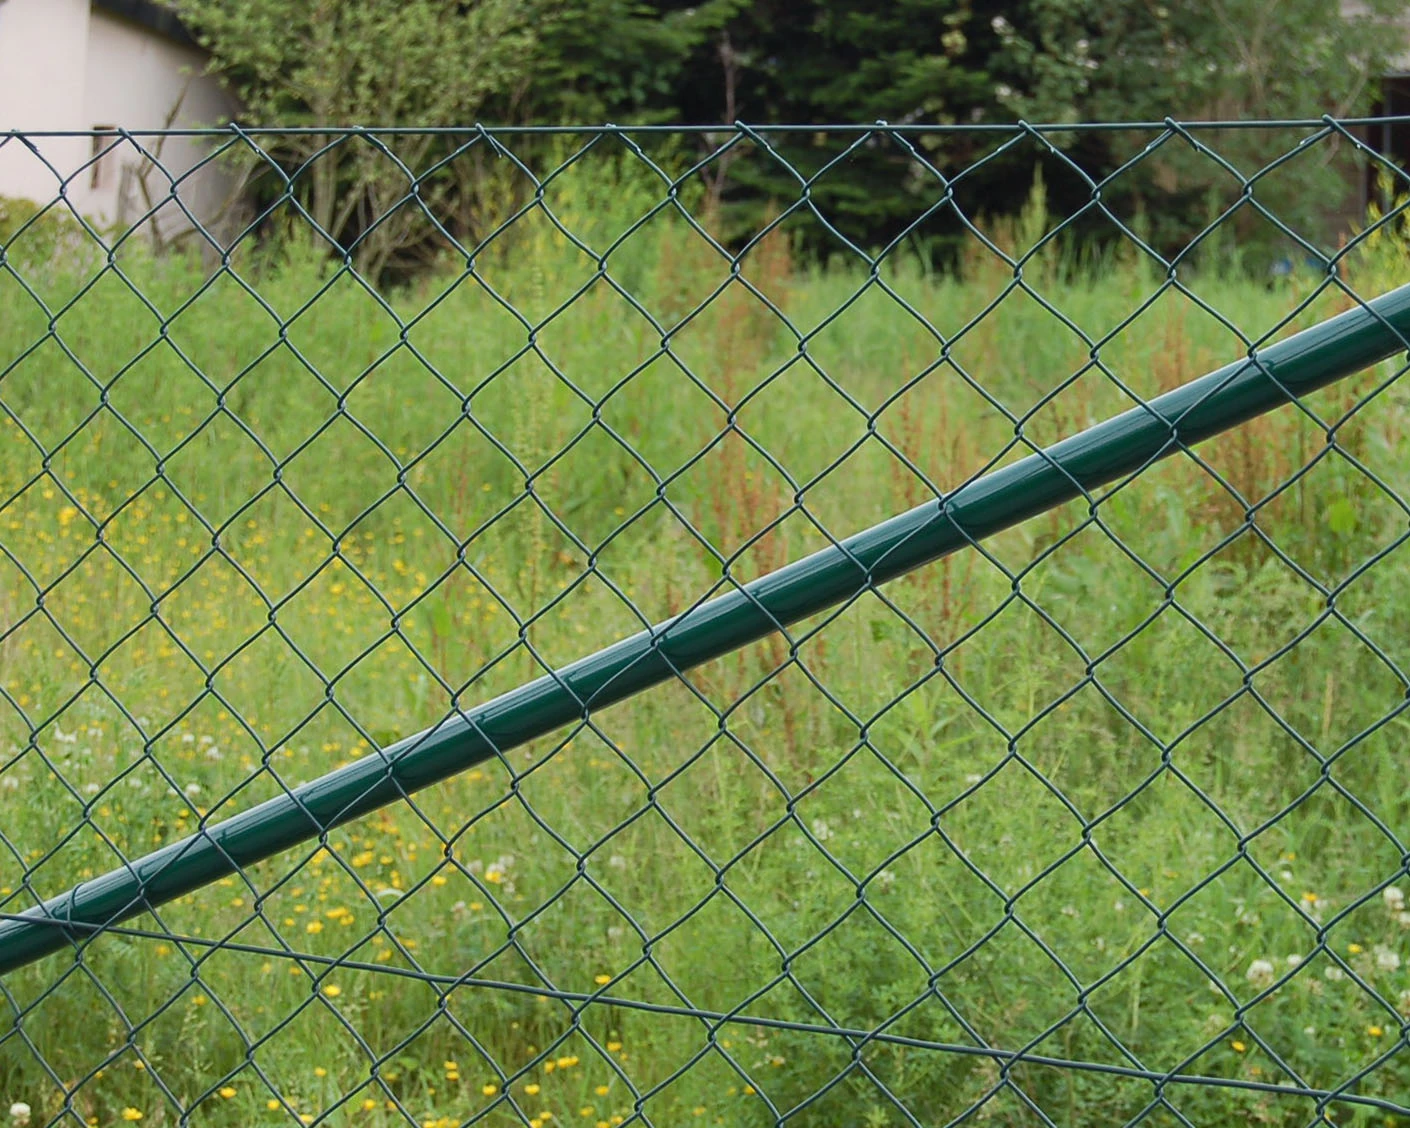
With the top rail in place, you can now hang the chain link fabric. Start by unrolling the fabric along the length of the fence. Attach one end to a terminal post using tension bands and bolts.
Next, pull the fabric tight towards the opposite terminal post. Using a fence puller can help to stretch the fabric evenly. Secure the fabric to the line posts with tie wires, ensuring that it is taut and properly aligned.
Step 6 Finishing Touches
Once the chain link fabric is in place, trim any excess material. Attach the tension wire to the bottom of the fence for additional support, especially if you have animals. Finally, cap the posts to prevent water from entering and causing rust.
Maintenance Tips
After installation, regular maintenance can extend the life of your chain link fence. Inspect for rust or damage periodically, especially after severe weather. Use a wire brush to clean any rusted areas and repaint with rust-resistant paint to prevent further deterioration.
Conclusion
Setting up a chain link fence is a practical project that enhances both security and aesthetics. By following these steps, you can ensure a successful installation process. With the right planning and execution, your new fence will serve as an effective boundary and addition to your property for years to come. Whether you’re enclosing a backyard or securing a commercial space, a chain link fence is a valuable investment.


