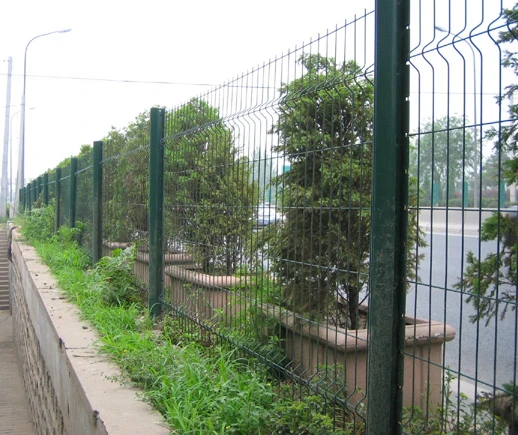
Building a Chain Link Fence with Wood Posts
When it comes to securing your property or creating a boundary around your yard, a chain link fence is a popular choice due to its durability and visibility. Combining it with wooden posts not only enhances the aesthetic appeal but also increases the stability of the fence. This article will guide you through the steps of building a chain link fence using wooden posts, ensuring that your project is successful and lasting.
Materials Needed
Before you begin, gather the following materials
1. Chain Link Fencing The gauge and height will depend on your specific needs. 2. Wooden Posts Typically, pressure-treated wood like cedar or pine is ideal; 4x4-inch posts are recommended for stability. 3. Post Concrete To secure the posts in the ground. 4. Fencing Hardware This includes tension bands, clips, corner guards, and a top rail. 5. Tools You’ll need a post hole digger, a level, a concrete mixer (if you’re not using pre-mixed), a measuring tape, and a saw for cutting wood.
Planning Your Fence
Start by determining the layout of your fence. Use stakes and string to outline where you want the fence to go. This gives you a visual representation and helps in measuring the distance between each post. Standard spacing for chain link fence posts is around 10 feet apart, but this can vary based on the height and design of the fence.
Digging the Post Holes
Once the layout is set, it's time to dig the post holes. Each hole should be about one-third the length of the post you’re using, typically 2-3 feet deep, depending on the height of the fence and soil conditions. Make sure to keep the holes wider than the posts, allowing room for concrete.
Setting the Wooden Posts
building chain link fence with wood posts

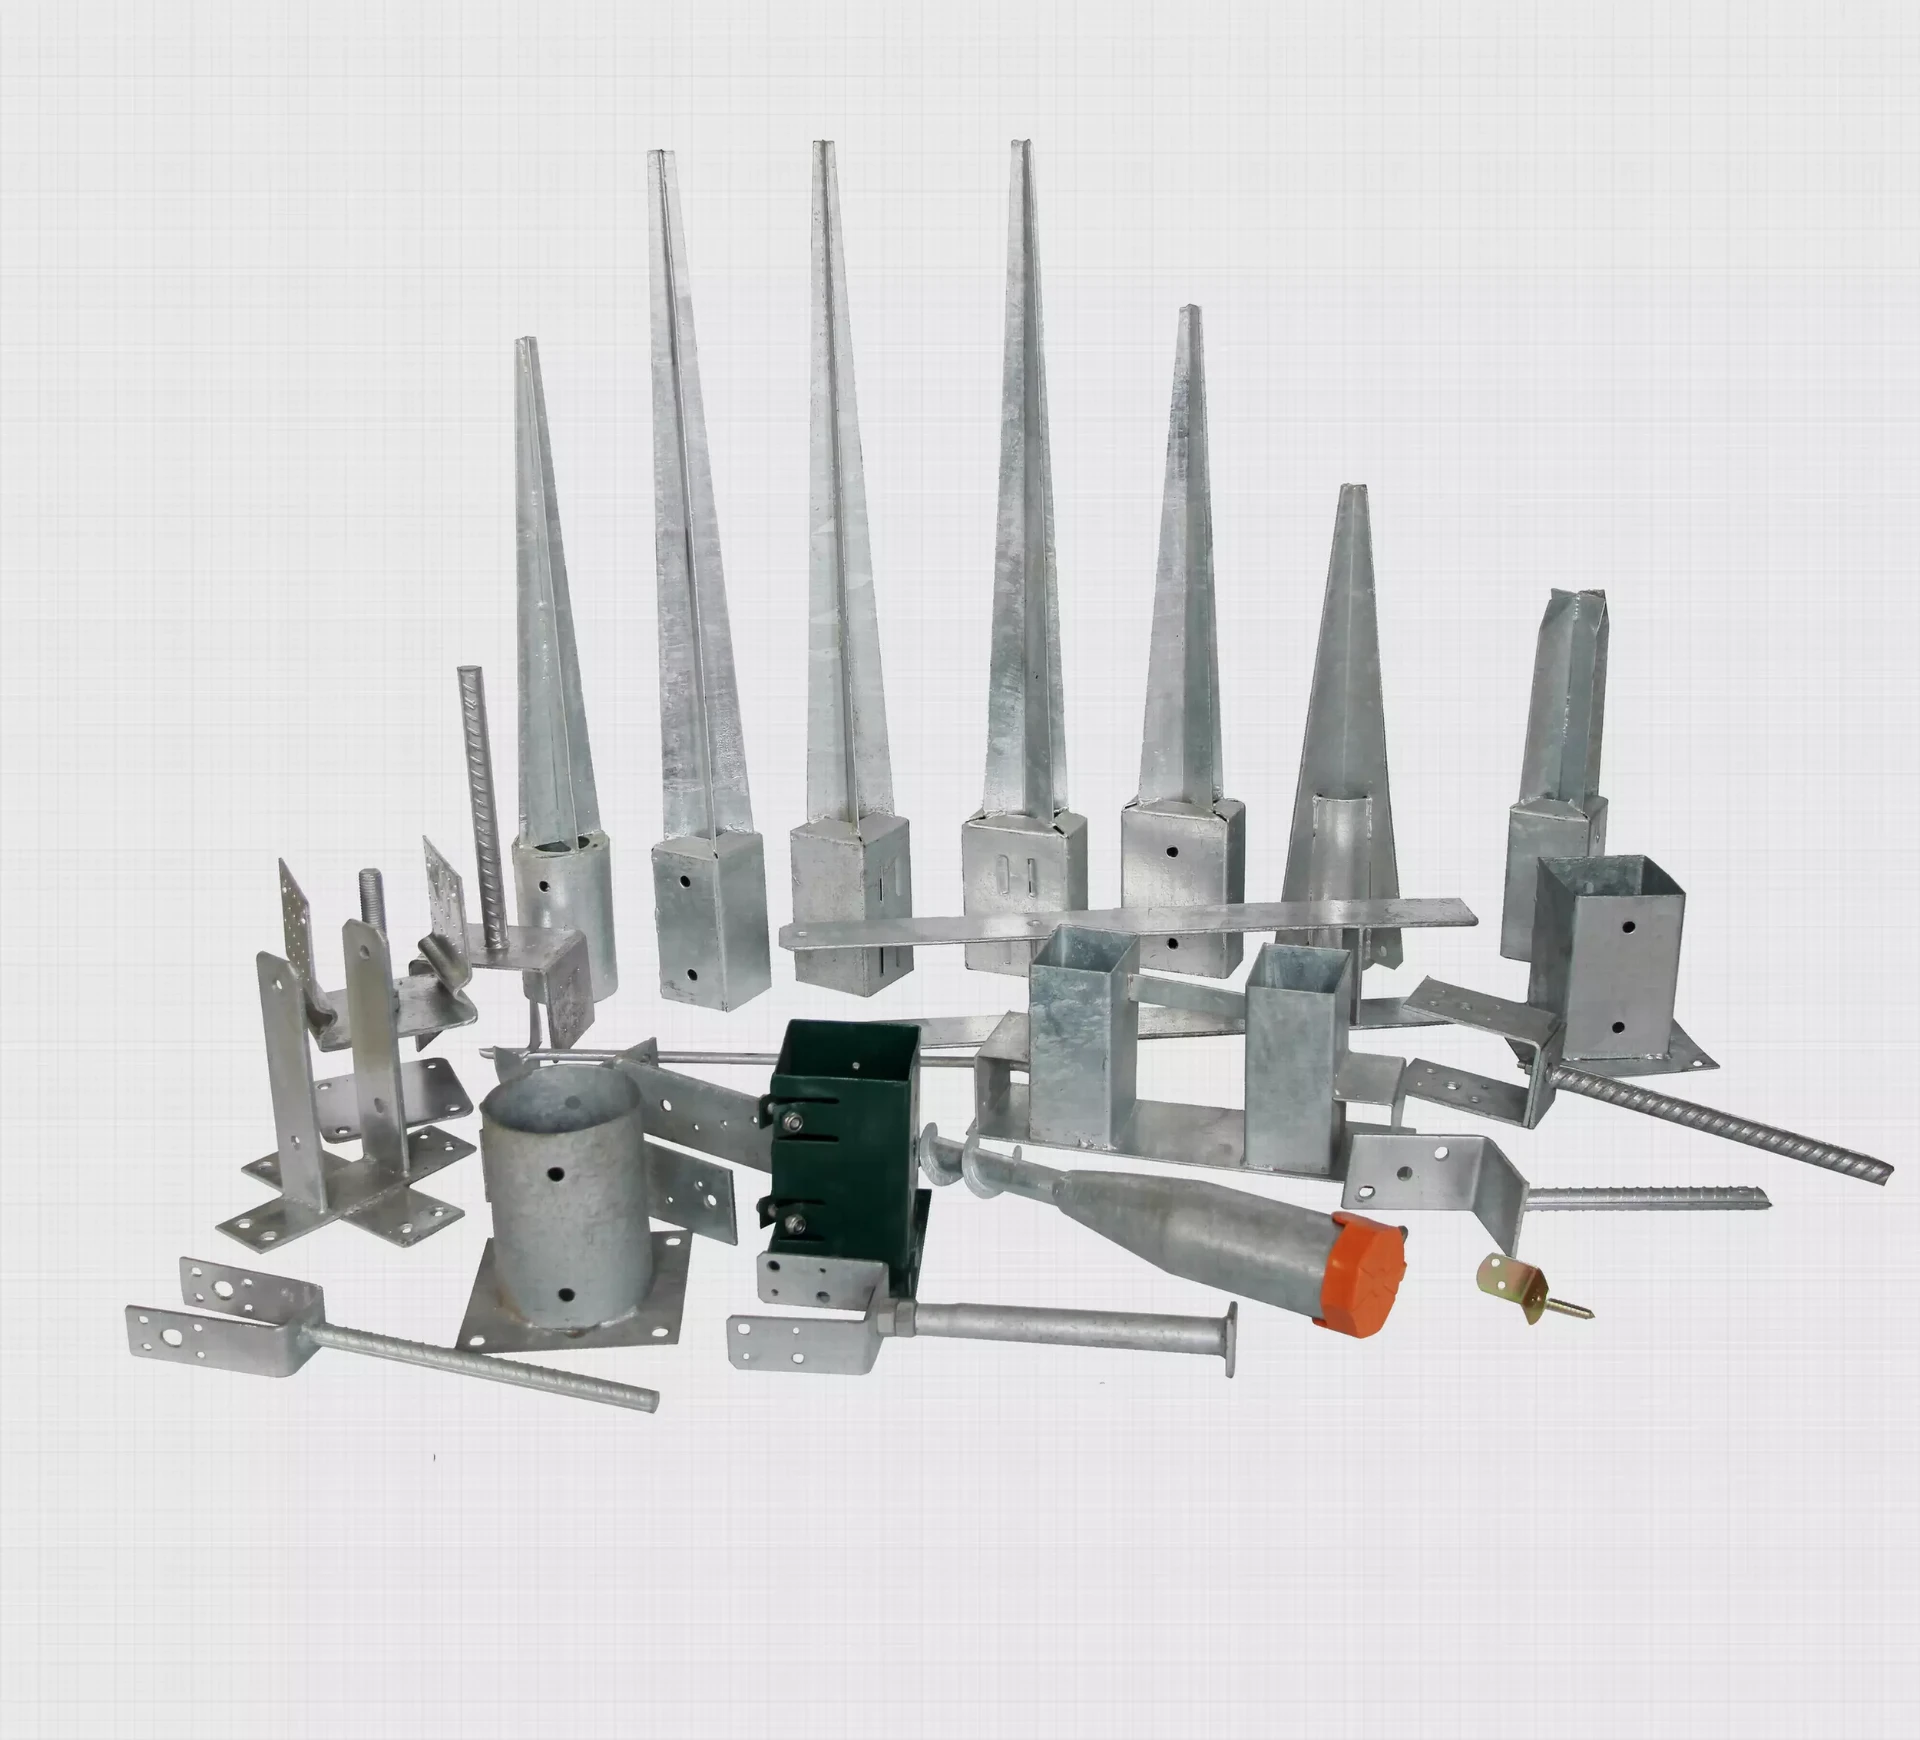
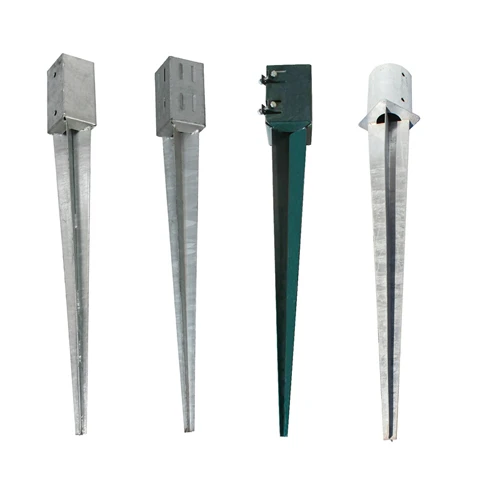
Place the wooden posts into the holes and ensure they are level and plumb. Use a level to check that each post is upright. Once positioned, mix your concrete according to the manufacturer's instructions and pour it into the holes around the posts. Allow the concrete to cure according to the instructions, usually for 24-48 hours. This will give your posts the stability they need.
Attaching the Chain Link Fencing
With the posts set securely, you can now attach the chain link fencing. Start by unrolling the chain link and attaching it to one end of the fence. You’ll need to use tension bands and a tension wire to pull the chain link taut. Begin at one end and work your way along, attaching clips to secure the chain link to the wooden posts.
If your fence has corners, ensure that you use corner posts securely anchored to maintain the structure. It’s essential to keep the chain link tight to avoid sagging, which can occur if it's too loose.
Adding Finishing Touches
Once the chain link is up, consider adding a top rail if your design requires one. This not only adds an extra layer of support but also enhances the finished look of your fence. Afterward, you can paint or stain your wooden posts to match your home or garden, providing additional weather protection.
Maintenance Tips
Maintaining your chain link fence is relatively easy. Regularly inspect the fencing for any damage or rust, particularly at the points where the chain link attaches to the posts. Touch up any paint on the wooden posts as needed and consider treating the wood every few years to prolong its life against the elements.
Conclusion
Building a chain link fence with wooden posts is an excellent way to combine functionality with the aesthetic warmth of wood. With the right materials, careful planning, and execution, you can create a secure and visually appealing fence that enhances your property’s value while providing peace of mind. Whether you are a DIY enthusiast or a first-timer, this project is manageable and rewarding, allowing you to take pride in your handiwork for years to come.


