The Best Way to Set Fence Posts A Comprehensive Guide
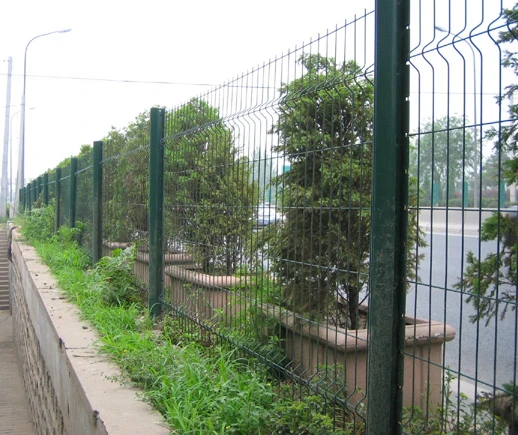
When it comes to installing a fence, the strength and stability of the structure largely depend on how well the fence posts are set. Properly installed fence posts ensure that your fence will stand the test of time against the elements and the pressures of nature, whether you're building a wooden, vinyl, or chain-link fence. Here’s a comprehensive guide on the best way to set fence posts for a durable and long-lasting fence.
Materials Needed
Before diving into the installation process, it’s crucial to gather the necessary materials and tools. You will need
- Fence posts (wood, vinyl, or metal) - Post hole digger or auger - Gravel for drainage - Concrete (optional for added stability) - Level - String line and stakes for alignment - Tape measure - Safety gear (gloves, goggles)
Planning and Marking
1. Determine the Layout Start by planning the layout of your fence. Use stakes and string lines to mark where each fence post will be placed. It's essential to ensure that the posts are evenly spaced, typically between 6 to 8 feet apart, depending on the type of fence you’re installing.
2. Check Local Regulations Before you dig, check with local authorities to ensure compliance with regulations concerning fence height, property lines, and permits.
Digging the Post Holes
3. Digging Using a post hole digger or auger, dig holes for each fence post. The depth of the holes should be at least one-third the height of the post above ground. For example, if you’re using a 6-foot post, the hole should be around 2 feet deep. A deeper hole will provide better stability.
4. Width of the Holes The holes should be about three times the width of the post. If you’re using 4x4 posts, aim for a hole that’s about 12 inches wide. This allows room for stabilization materials, such as gravel.
best way to set fence posts
Setting the Posts
5. Preparing the Base Start by adding 6 inches of gravel at the bottom of the hole for drainage. This helps prevent moisture buildup, which can lead to rotting or rusting of the posts over time.
6. Positioning the Post Place the post into the hole, ensuring it’s plumb (vertically straight) using a level. It’s crucial to get this step right, as any tilt can cause issues down the line.
7. Backfilling Begin backfilling the hole with additional gravel or dirt. If you choose to use concrete, pour it around the post to add extra stability. If using concrete, remember to leave a slight curve at the top to direct water away from the post.
Final Touches
8. Securing the Post As you backfill or pour concrete, periodically check the post’s level to ensure it remains straight. Once you’re satisfied with the position, allow the concrete to set according to the manufacturer’s instructions (usually 24-48 hours).
9. Cutting to Height After the concrete has cured, you can cut the posts to the desired height if they are taller than necessary.
10. Adding the Fence Panels With the posts securely in place, you can start attaching your fence panels according to the manufacturer’s guidelines, ensuring that everything aligns correctly.
Conclusion
Setting fence posts is a pivotal step in ensuring that your fence remains sturdy, straight, and functional for many years. By following these steps and taking your time with each phase of the installation process, you can create a fence that not only enhances the beauty of your property but also provides security and privacy. Remember, proper preparation and attention to detail make all the difference in achieving a successful fence installation. Happy fencing!


